
Equipment Needed
- Large mixing bowl
- Spatula or wooden spoon
- Measuring cups and spoons
- Small bowl for rolling
- Baking sheet or plate
- Parchment paper (optional, but helpful)
- Can opener
Step-by-Step Instructions
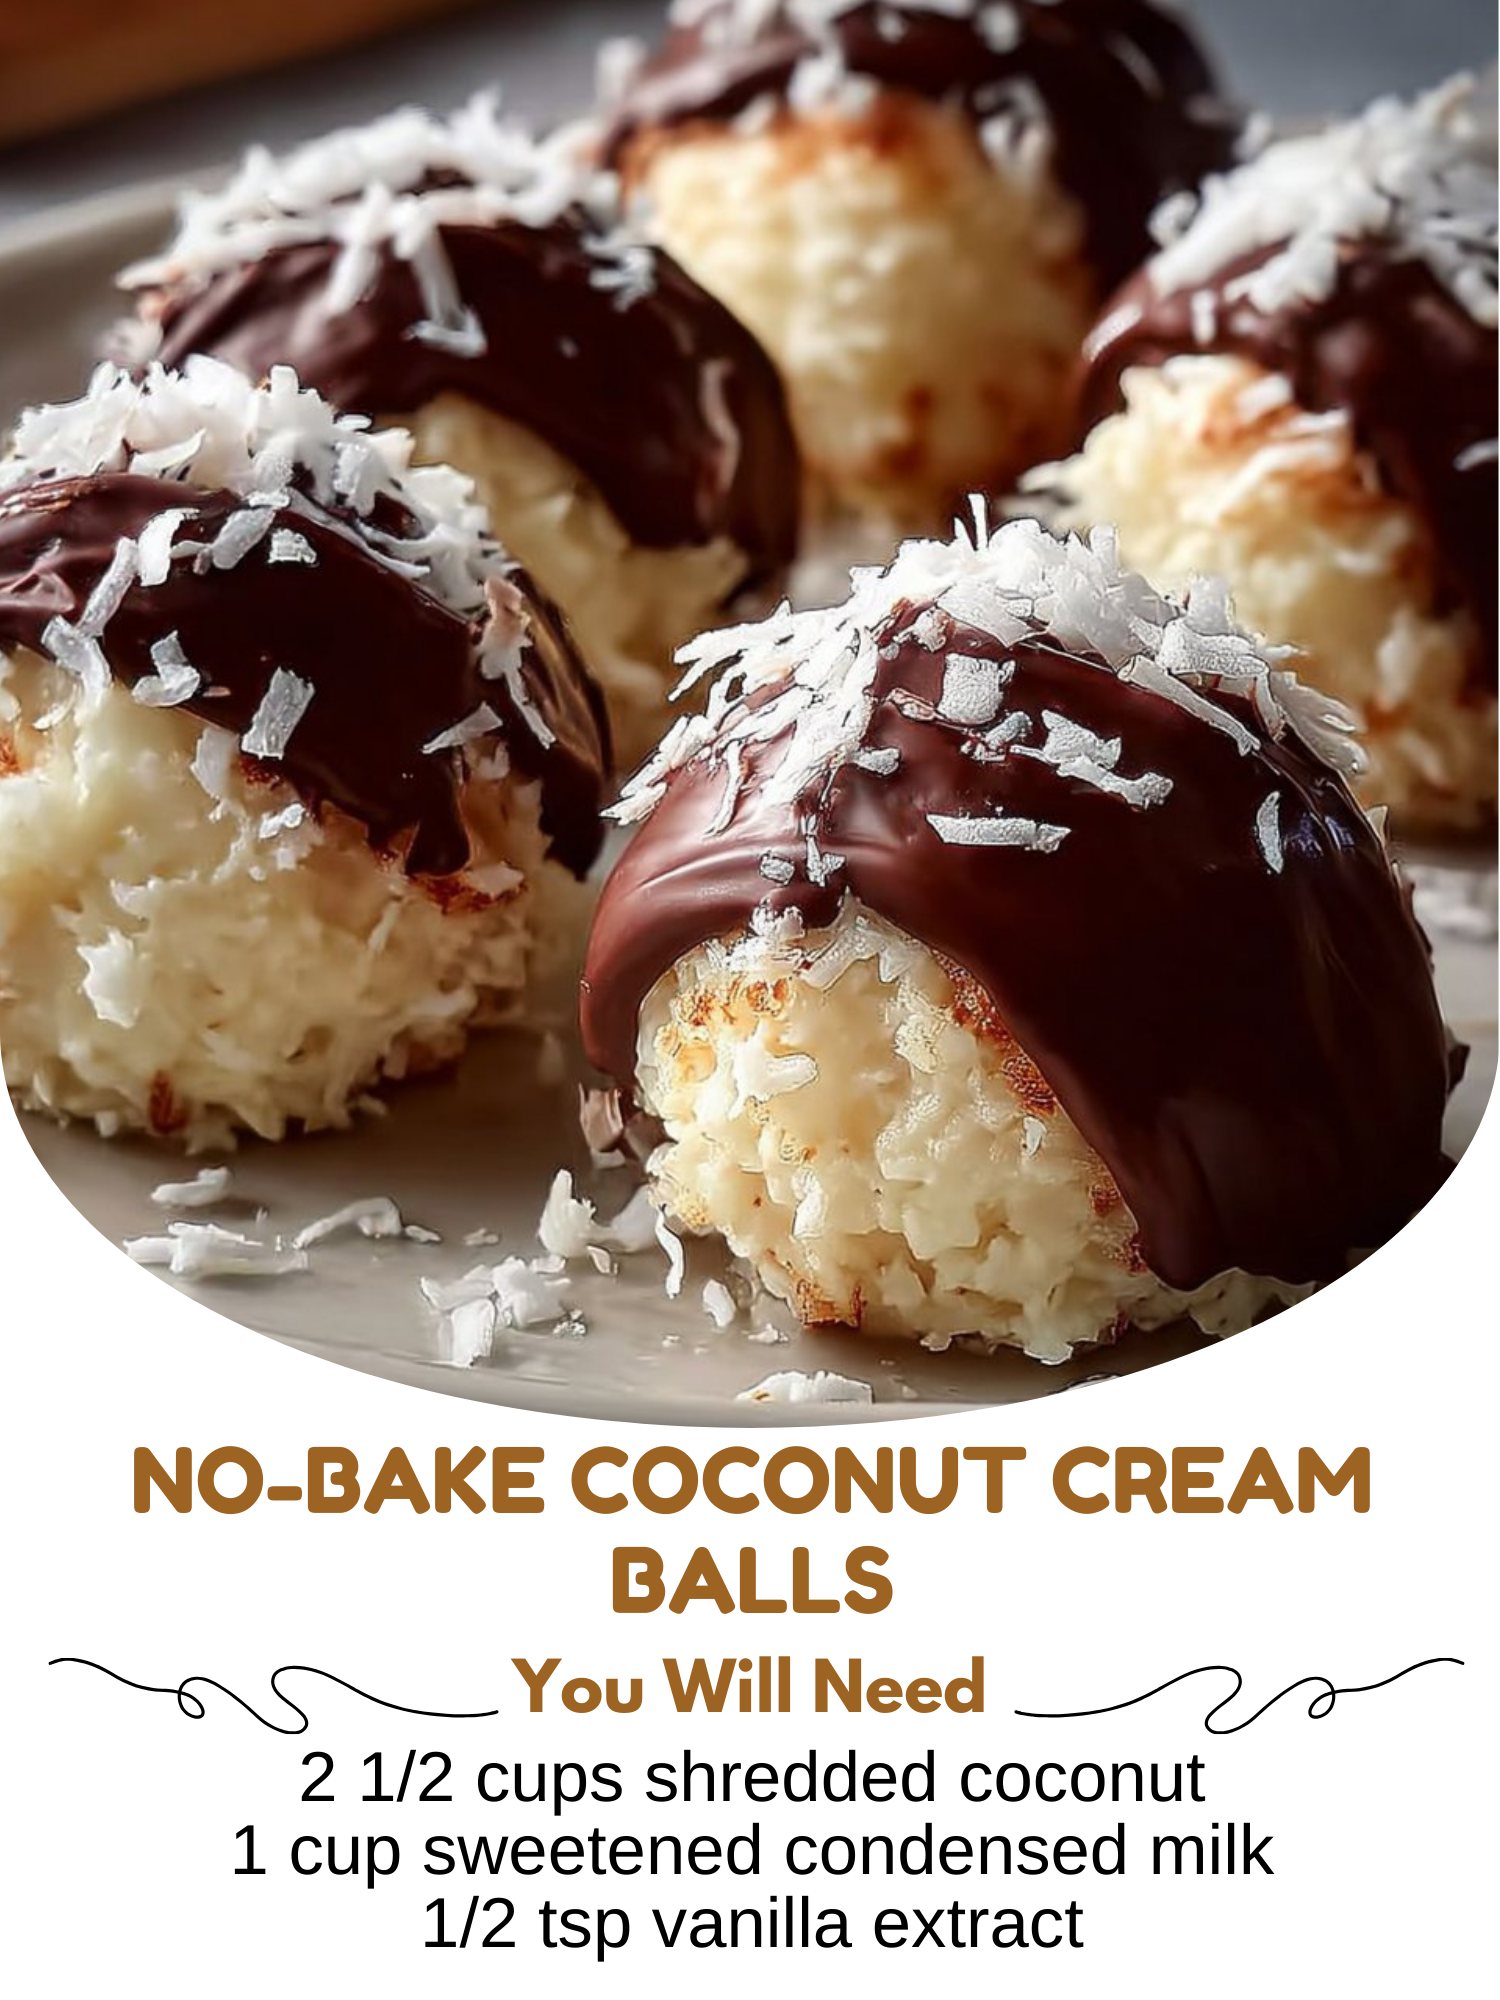
We start by setting up our workstation. I line a baking sheet or a large plate with a piece of parchment paper—this isn’t strictly necessary, but it makes cleanup a breeze and gives the balls a place to set without sticking. Then, I pour 2 cups of the shredded coconut into my large mixing bowl, reserving the remaining 1/2 cup in a small, shallow bowl for the final rolling step. The smell of all that coconut is already heavenly and promises good things to come.
Now, for the magic mixture. I pour the entire cup of sweetened condensed milk right into the bowl with the 2 cups of coconut. Then, I add that half teaspoon of vanilla extract. Here’s where you need to roll up your sleeves. I start mixing with a sturdy spatula or my hands (clean hands are the best tool here!) until every single strand of coconut is thoroughly coated and glistening. The mixture will be very thick, sticky, and hold together when pressed. I’ve learned the hard way that a light hand won’t cut it—you really need to press and fold to get it fully combined.
Once the mixture is uniform, it’s time to roll. I scoop up about a tablespoon of the mixture and press it firmly into my palm, then roll it gently between my hands to form a ball. The key word is firmly. If you don’t compact it well, the balls can be crumbly. I then immediately roll the ball in the reserved bowl of coconut, pressing lightly so the extra flakes adhere on all sides. I place each finished ball on the prepared sheet. There’s something incredibly soothing and satisfying about this rhythmic process.(See the next page below to continue…)