
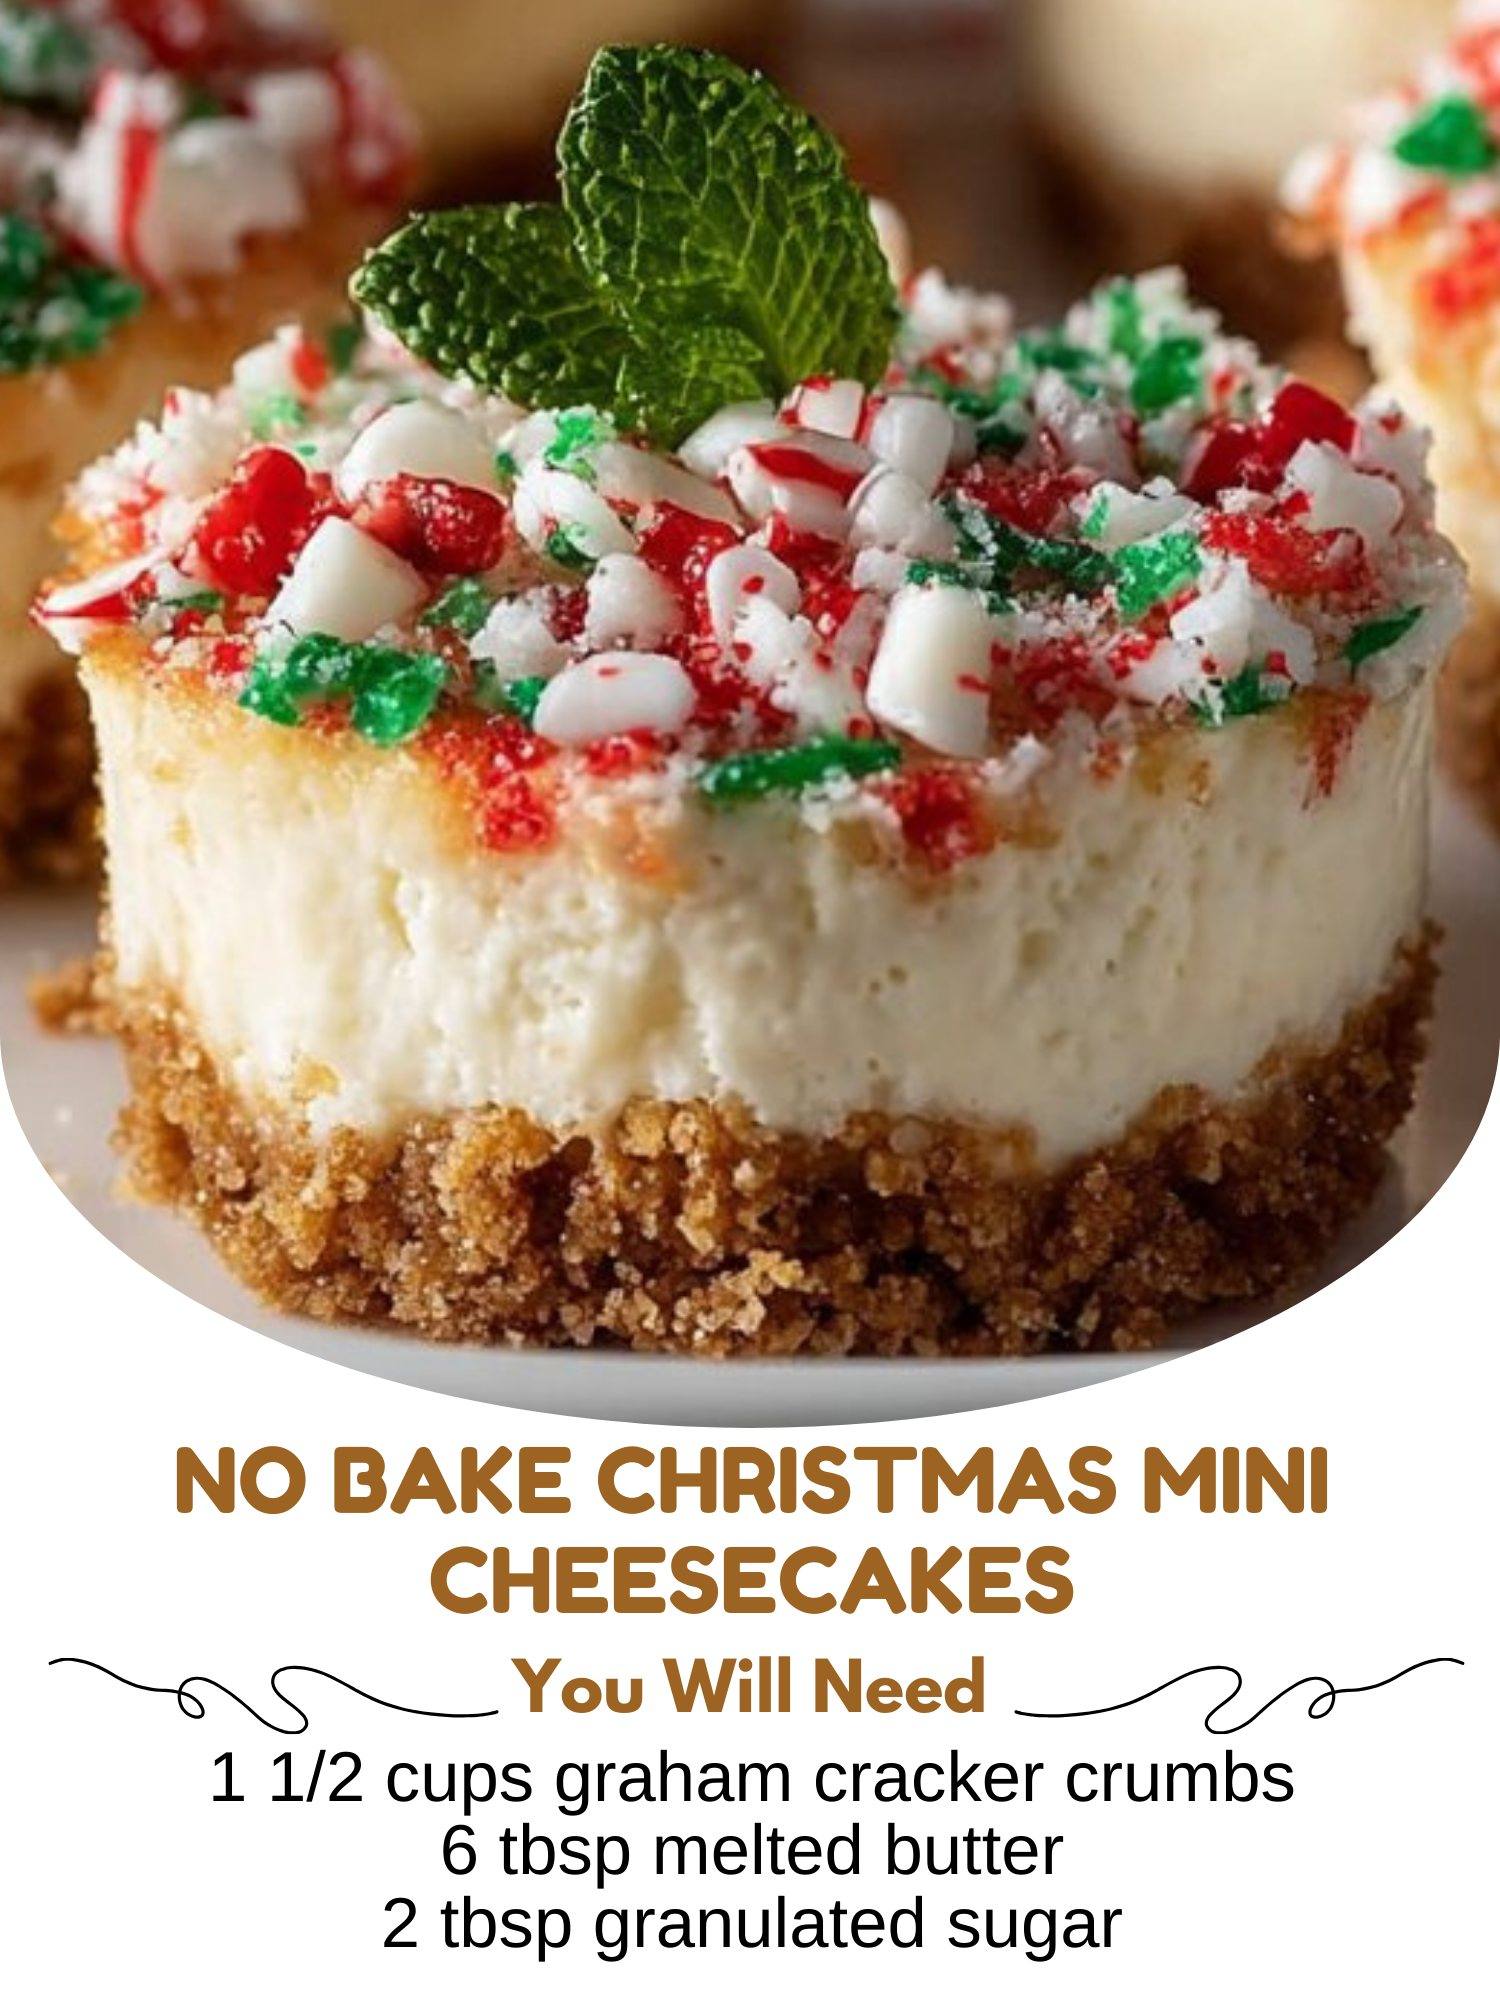
The hardest part is the waiting. I carefully transfer the tin to the refrigerator to set for at least 4 hours, though I strongly recommend the full overnight chill. This patience is non-negotiable for the perfect sliceable-yet-creamy texture. Right before serving, I crown each little cheesecake with a spoonful of vibrant cranberry sauce and a tiny sprig of fresh mint. The red and green against the white filling is instantly, joyfully Christmassy.
Pro Tips for Best Results
The temperature of your ingredients is everything. I tested the cream cheese three different ways: cold (lumpy disaster), microwaved (too soft and runny), and properly left out for 2 hours (perfect). Trust me, planning ahead for that room-temp cream cheese works better. Similarly, your heavy cream and mixing bowl should be very cold to achieve those firm peaks that hold up the filling.
When pressing the crust, don’t be timid. A firm, compacted layer is what keeps your crust from crumbling when you peel off the liner. I use the bottom of a small shot glass to really press it down. A loose crust will turn into a pile of crumbs at first bite, which I learned the hard way during a very crumbly first attempt.
For the cleanest, most professional look when serving, use a piping bag fitted with a large star or round tip to add the filling to the cups. I’ve tried both spooning and piping, and piping not only looks beautiful but also helps avoid air pockets and creates a more even, domed top that’s perfect for holding the topping.
Common Mistakes to Avoid
My biggest first-time mistake was not whipping the cream to stiff enough peaks. I stopped when it was just soft and billowy, and my filling never fully set; it was more of a creamy dip than a cheesecake. Don’t do what I did! Your whipped cream should hold a sharp peak when you lift the beaters, and you should be able to turn the bowl upside down without it moving.(See the next page below to continue…)