
No-Bake Christmas Cake is dense, fruity, and beautifully festive, giving you all the rich flavour and nostalgia of an old-fashioned Christmas fruit cake without a moment spent near the oven. It’s the easiest Christmas dessert you’ll ever make: just melt, mix, chill, and slice.
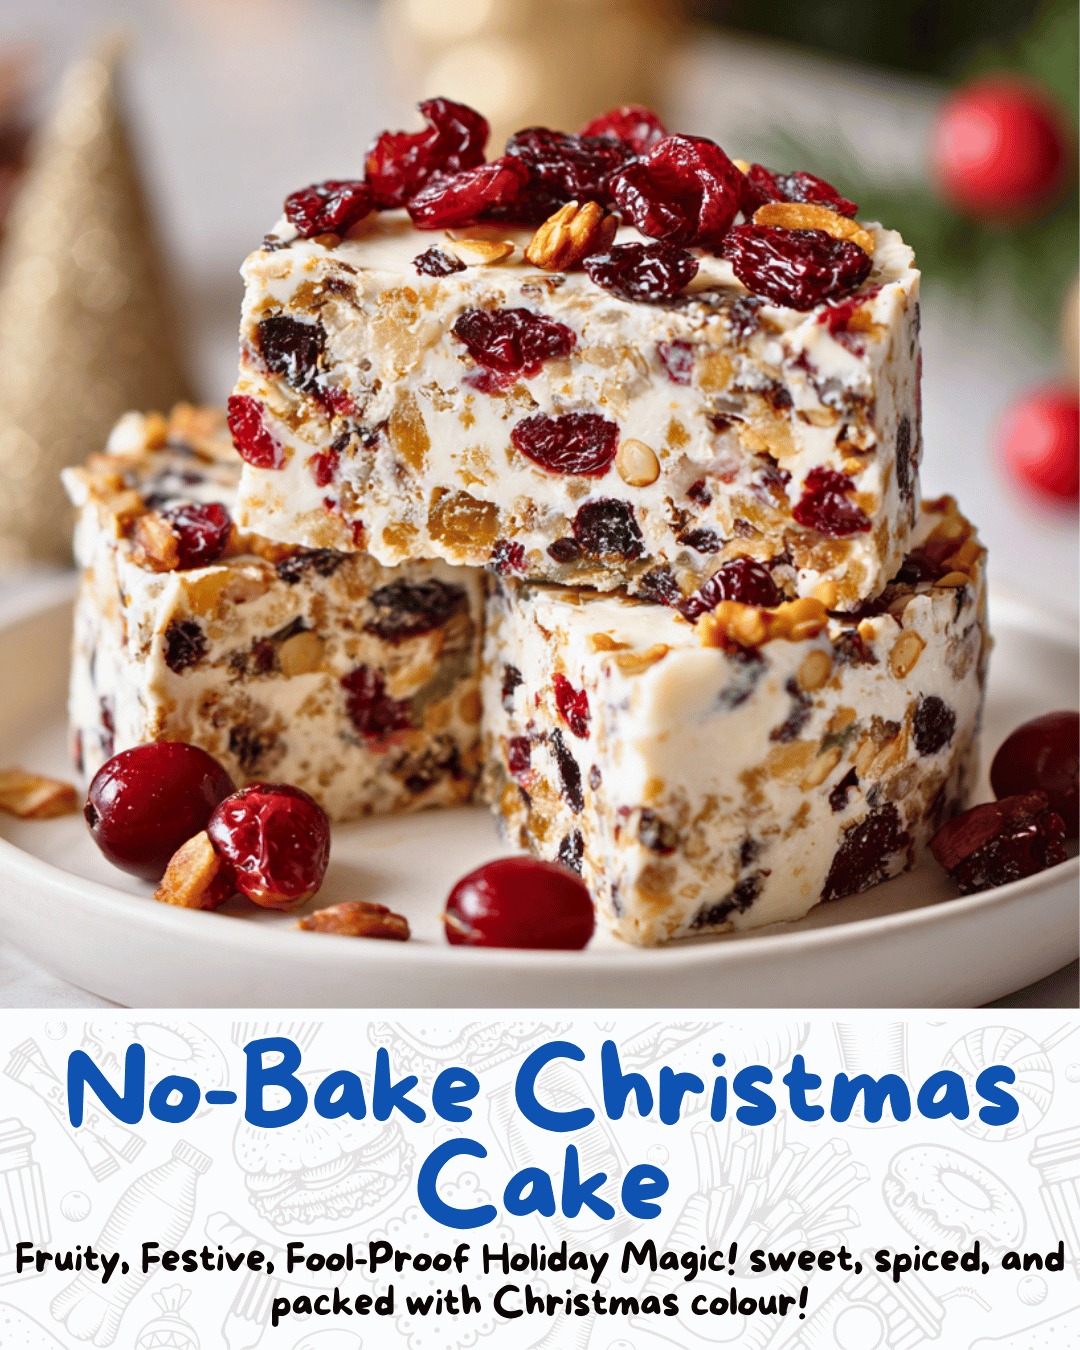
This fridge-style cake is loaded with dried fruit, crunchy biscuit pieces, coconut, and nuts, all held together in a creamy white chocolate base that sets firm in the refrigerator. It slices cleanly, looks stunning on holiday platters, and tastes like you laboured over it for days when it actually comes together in minutes.
This recipe is especially perfect for warm-climate Christmases or busy cooks who still want a centrepiece dessert with zero stress. It’s make-ahead friendly, endlessly adaptable, and just as welcome at a casual barbecue as it is on a formal festive dessert table.
Why You’ll Love This No-Bake Christmas Cake
There are a lot of reasons this cake earns a permanent place in your holiday rotation. First, ease: everything happens in one bowl and one pan. There’s no creaming, no beating egg whites, no long bake times, and no worries about cakes sinking in the middle. If you can chop, stir, and melt, you can make this cake.
Second, the flavour and texture are fantastic. The base is creamy yet firm enough to slice, a mix of white chocolate and coconut fat that melts in the mouth rather than crumbling. Biscuit crumbs add body and a gentle crunch, while dried fruits and glacé cherries bring that classic Christmas feel: sweet, chewy, and a bit tangy. Nuts add another layer of crunch and richness, and a little vanilla or spice makes it smell like the holidays the moment you slice it.
Third, it’s highly customisable. You can tweak the fruit blend, change the nuts, add a splash of rum or brandy for a traditional boozy note, or keep it alcohol-free and kid-friendly. It’s easy to adjust for gluten-free diets by changing the biscuits, and you can play with citrus zest, spices, or even colourful toppings to match your own holiday style.
Finally, it keeps well and transports beautifully. Because there’s no fresh dairy in the base beyond the chocolate and milk powder, and everything is well set, the cake holds nicely for days in the fridge. That makes it ideal for gifting, potlucks, or simply having a festive treat on hand throughout the season.
Ingredients
- 250 g plain sweet biscuits (like Marie, Nice, Rich Tea, or digestives), roughly crushed
- 2 cups mixed dried fruit (such as raisins, sultanas, currants, dried cranberries, chopped dried apricots, or mixed peel)
- 1 cup glacé cherries, halved or chopped (use red and green for colour)
- 1 cup desiccated coconut
- 1 cup full-cream milk powder
- 3/4 cup icing sugar (confectioners’ sugar), sifted
- 1/2–3/4 cup chopped nuts (such as almonds, pistachios, walnuts, or pecans), optional but delicious
- 250 g Copha or solid refined coconut oil/baking coconut fat, chopped
- 250 g white chocolate, finely chopped or in chips
- 1–2 teaspoons vanilla extract
- Optional: 2–4 tablespoons rum, brandy, orange juice, or apple juice to soak the fruit
- Optional for topping: extra cherries, chopped nuts, or festive sprinkles
Preparing the Tin and Fruit
Start by preparing your pan so you’re ready to go as soon as the mixture is combined. A standard slice or lamington tin, roughly 20 x 30 cm (8 x 12 inches), works very well, but you can also use a square 20 cm (8 inch) pan for a taller cake. Line the base and sides with baking paper, leaving an overhang so you can lift the cake out easily later.
If you’re using any soaking liquid—like rum, brandy, or juice—place your mixed dried fruit and glacé cherries in a bowl and drizzle the liquid over the top. Stir to coat, then let them sit for 15–30 minutes to plump up, stirring once or twice. If there is any excess liquid after soaking, lightly drain it so the mixture doesn’t become too wet. This step adds moisture and depth; for a booze-free cake you can simply skip the soak or use juice.
While the fruit soaks, place your biscuits in a large plastic bag and crush them using a rolling pin. You’re aiming for a mixture of fine crumbs and small chunks; these different sizes give structure and texture. Alternatively, pulse briefly in a food processor, being careful not to turn them into powder.
Combining the Dry Ingredients
In a very large mixing bowl, combine the crushed biscuits, soaked and drained dried fruit, glacé cherries, desiccated coconut, milk powder, and sifted icing sugar. Stir everything together until the fruit and biscuits are evenly coated in the coconut, milk powder, and sugar. If you’re using nuts, add the chopped nuts now and fold them through. You should see a colourful mix with fruit and nuts dotted throughout, supported by the crumbs and coconut.
Taking a moment here to mix thoroughly makes sure that when you add the melted chocolate mixture later, everything is ready to bind evenly and you don’t end up with pockets of plain fruit or dry crumbs.
Melting the White Chocolate and Copha
In a medium heatproof bowl, add the chopped Copha (or coconut fat) and the chopped white chocolate. You can melt this mixture either in the microwave or on the stovetop over a double boiler.
For the microwave method, heat in 20–30 second bursts, stirring well after each interval, until everything is completely melted and smooth. Be patient and avoid overheating white chocolate, as it scorches easily. For a stovetop method, place the bowl over a pot of gently simmering water, ensuring the water doesn’t touch the bottom of the bowl, and stir until melted and combined.
Once melted, remove from heat and stir in the vanilla extract. If you are adding any ground spices—like a pinch of cinnamon, nutmeg, or mixed spice—you can whisk them into the warm chocolate mixture so they distribute evenly. Let this mixture sit for a minute or two to cool slightly; it should still be pourable but not piping hot, so it doesn’t soften the biscuits too much or dull the fruit’s colour.
Bringing Everything Together
Pour the warm white chocolate and Copha mixture over the bowl of dry ingredients. Use a large spatula or wooden spoon to fold everything together thoroughly. At first it may seem like there’s not enough liquid to coat all the crumbs and fruit, but keep stirring from the bottom up, pressing the mixture together as you go. The milk powder, coconut, crumbs, and fruit will gradually absorb the melted base, forming a thick, cohesive mixture.
You’ll know it’s ready when there are no dry, powdery patches and the mixture holds together when pressed with the back of a spoon. If for some reason it looks a little dry, you can add a splash more melted white chocolate or a tablespoon of extra Copha, but usually the quantities above are just right.
Pressing into the Tin and Chilling
Transfer the combined mixture into your prepared tin. Use your spatula to spread it out evenly, then press down firmly to compact it—this is important for getting neat, solid slices later. You can use the back of a spoon, a measuring cup, or even your fingers (lightly oiled or covered with baking paper) to press and smooth the top. Aim for an even thickness across the whole pan.
If you want a decorative finish, scatter extra cherries, chopped nuts, or festive sprinkles over the top. Press them in very gently so they adhere to the surface.
Place the tin in the refrigerator and chill for at least 3–4 hours, or overnight if you have time. Chilling allows the Copha and chocolate to fully set, the biscuits to hydrate a little, and all the flavours to meld into that classic, dense Christmas cake texture.
Slicing and Serving
When the cake is firm and completely chilled, use the baking paper overhang to lift it out of the tin and onto a cutting board. Peel the paper back and use a long, sharp knife to cut the cake into slices. For a traditional look, you can cut it into smaller bars or squares; for a more “cake-like” experience, cut into larger rectangles or wedges.
Wiping the knife between cuts will give you cleaner edges, especially if your fruit is particularly sticky. You’ll see beautiful speckles of fruit and nuts in each slice, all suspended in a creamy, pale base.
Serve pieces chilled or just slightly cool from the fridge. This cake pairs wonderfully with coffee, tea, or a glass of dessert wine. For a plated dessert, you can accompany it with a dollop of whipped cream, vanilla custard, or brandy cream to echo the flavours of traditional Christmas pudding.
Variations and Customisations
This no-bake Christmas cake invites creativity. For a more citrus-forward version, add finely grated zest of an orange or lemon to the dry ingredients and increase the mixed peel. If you love spice, fold in ground cinnamon, mixed spice, or nutmeg to warm up the flavour. For a chocolate twist, swap some of the white chocolate for milk or dark chocolate, or stir a handful of mini chocolate chips into the mix.
To make the cake gluten-free, simply use gluten-free biscuits in place of standard ones and ensure your chocolate and other add-ins are certified gluten-free. For a nut-free version, omit the nuts and replace them with extra fruit or biscuit crumbs.
You can also adapt the shape and presentation. Form the mixture into mini loaves using smaller tins, mould it into a wreath shape on a lined tray, or press into silicone moulds for individual cakes. Decorating the top with whole cherries, nuts, and a dusting of icing sugar makes it look like it came straight from a fancy bakery.
Storage, Freezing, and Gifting
This cake keeps very well. Store slices in an airtight container in the refrigerator, where they’ll stay fresh for at least a week and often longer. For longer-term storage, wrap portions tightly and freeze in an airtight container or freezer bag for up to two months. Thaw in the refrigerator before serving.
Because it transports and stores so nicely, this no-bake Christmas cake is excellent for gifting. Cut into bars or small squares, nestle them in paper cases, and box them up with tissue and ribbon. Include a little note explaining that they’re best kept chilled, and you’ve got a thoughtful, homemade holiday gift with very little stress.
Troubleshooting and FAQ
If the cake seems crumbly when you slice it, it may not have been pressed firmly enough into the tin, or it might need a bit more chilling time. Next time, pack the mixture down more firmly and ensure it chills fully. If it feels too soft at room temperature, remember this is designed as a fridge slice; keep it chilled until you’re ready to serve.
If your mixture looked too wet when mixing, you may have had too much soaking liquid left on the fruit, or added extra chocolate or Copha. Balancing the ingredients as listed should give you a firm but creamy set. If your white chocolate seized while melting, it likely overheated or got a bit of water in it—be sure to melt gently and keep bowls and utensils dry.
Who This Recipe Is Perfect For
This No-Bake Christmas Cake is ideal for anyone who loves the idea of a festive fruit cake but doesn’t want to commit to a traditional baking project. It’s fantastic for busy families, new bakers, people hosting in hot climates, and anyone who needs a reliable, make-ahead dessert for Christmas events. It’s kid-friendly if made without alcohol, and easily adapted for various dietary needs.
Conclusion
No-Bake Christmas Cake gives you all the dense, fruity, festive charm of a classic holiday cake with a fraction of the work. Creamy, crunchy, colourful, and full of Christmas flavour, it’s a “melt, mix, chill, and slice” miracle that’s guaranteed to become a beloved part of your seasonal traditions.