
Next, I melt the chocolate chips with the additional peanut butter in the microwave. I do this in 20–30 second bursts, stirring well each time, because melted chocolate prefers gentle heating. As soon as the mixture smooths into a glossy chocolate ribbon, I know it’s ready. I pour the chocolate over the peanut butter layer, tilting the pan slightly so the chocolate spreads evenly. Sometimes I swirl the chocolate with the back of the spoon to create soft wave patterns—it doesn’t change the flavor, but it looks beautiful once the bars are set.
Finally, I chill the entire pan until the chocolate topping is firm. The waiting is the hardest part, but it’s worth it. When I pull the pan from the refrigerator and lift the chilled block out by the parchment paper, it feels firm yet surprisingly soft at the edges. Cutting into it always reveals that perfect two-layer structure—the smooth chocolate top and the thick peanut butter base. Every time I slice through the bars, I appreciate how something so simple can feel so rewarding.
Pro Tips for Best Results
I tested this recipe three different ways before realizing just how forgiving and adaptable it is, but there are still a few tricks that consistently give me the best outcome. One tip I learned early on is to use freshly crushed graham crackers instead of pre-bagged crumbs when I want a slightly more textured base. The difference is subtle but noticeable, especially if you like a heartier bite.
Another trick is to never overheat the chocolate. The first time I made these bars, I melted the chocolate in one long microwave session, and it seized into a grainy mess. Now, I heat it in short intervals, stirring patiently between each one, and the chocolate always melts into a smooth, shiny finish that spreads beautifully. That small bit of attention saves so much frustration.
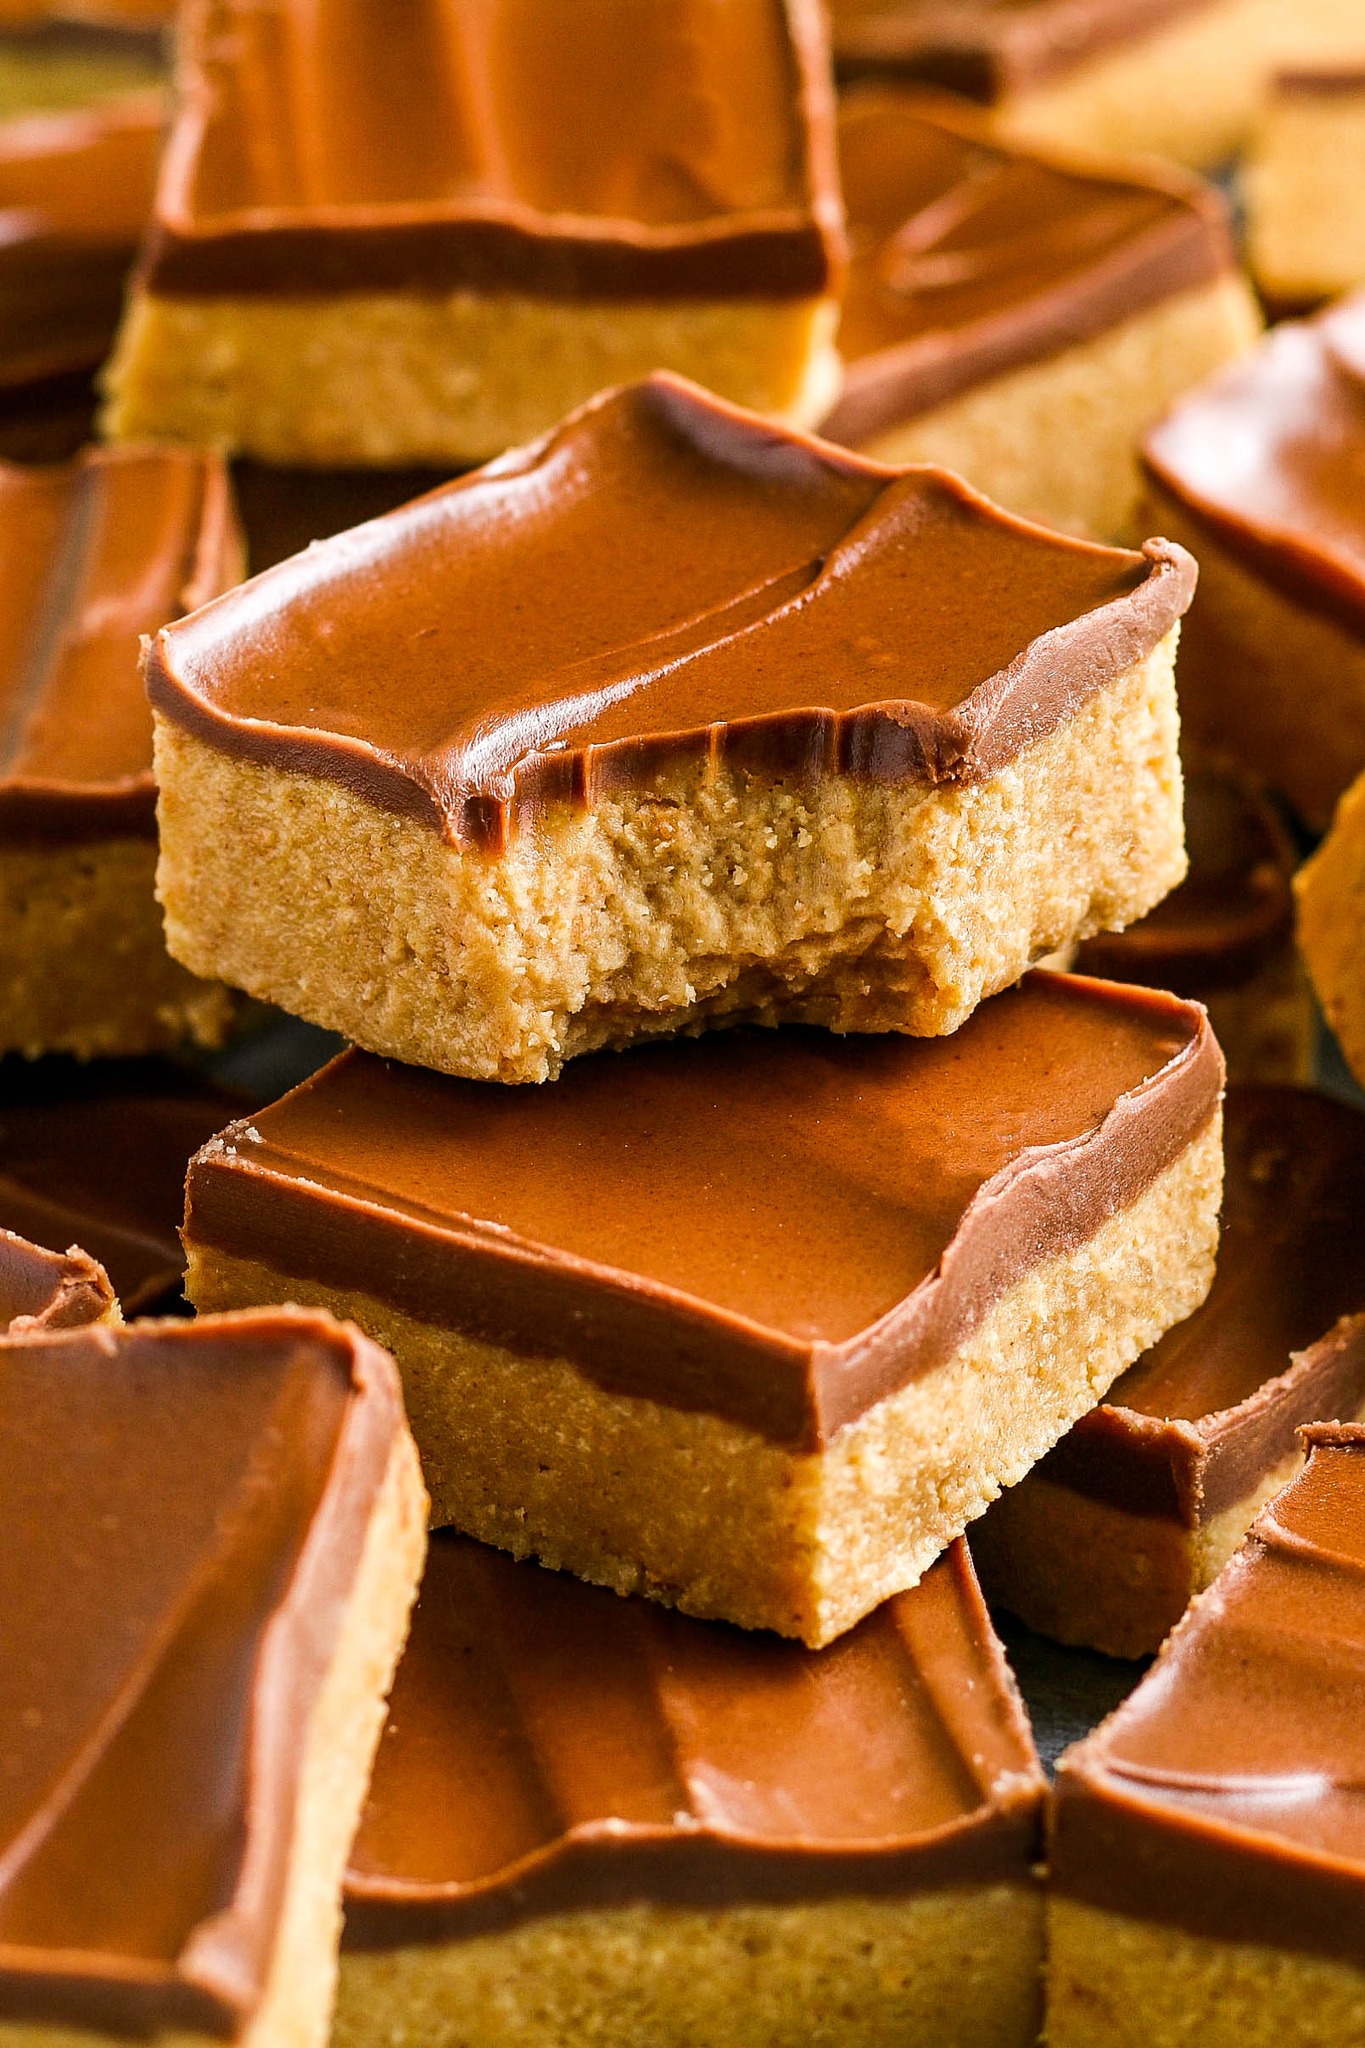
I also learned that adding just a couple tablespoons of peanut butter to the chocolate topping helps it stay softer once chilled. Without it, the chocolate can harden too firmly, causing it to crack when you slice the bars. With the peanut butter mixed in, the chocolate cuts smoothly and stays irresistibly creamy on top of the peanut butter base.
And finally, if you want perfectly clean slices, warm your knife under hot water, wipe it dry, and cut while the bars are still cold. The warm knife glides through the layers like butter, giving you bakery-style edges with minimal effort.
Common Mistakes to Avoid
One of the biggest mistakes I made early on was misjudging the consistency of the base layer. If the mixture feels too dry or crumbly, it won’t press smoothly into the pan and may fall apart when sliced. This usually happens if the graham crumbs are unusually coarse or the peanut butter is toward the bottom of the jar and less creamy. When that happens, I simply add another tablespoon or two of melted butter or peanut butter until it presses together easily.
Another mistake is rushing the chilling process. I once sliced the bars before the chocolate topping was fully set because I was impatient, and the chocolate smeared everywhere. Waiting the full 1–2 hours ensures clean slices and keeps the layers defined. It’s worth the patience, I promise.(See the next page below to continue…)