
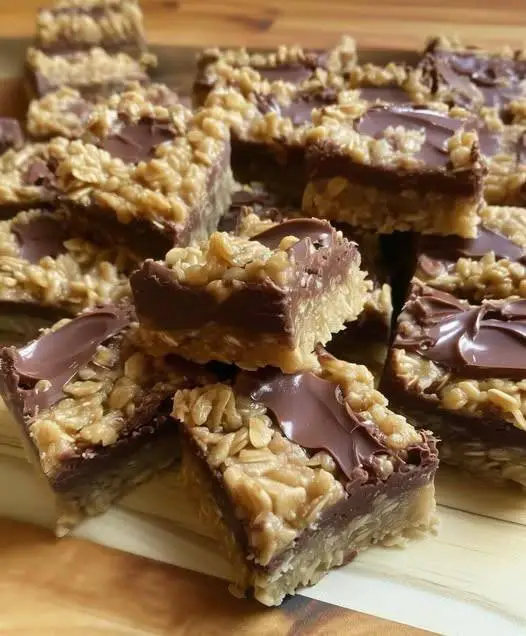
Now, I stir in the three cups of old-fashioned oats. I make sure every single oat is coated in that glossy, buttery sugar syrup. The mixture will be thick and shaggy. I press half of this oat mixture firmly and evenly into the bottom of my prepared pan. I use the bottom of a measuring cup, lightly greased, to press it down into a compact, solid layer. This forms the base of our bars.
In a small, heatproof bowl, I combine the chocolate chips and peanut butter. I microwave this in 30-second bursts, stirring in between, until it’s completely smooth and pourable. Alternatively, I can set this bowl over the still-warm saucepan to melt it gently. I then pour this luxurious chocolate-peanut butter blend over the pressed oat layer, spreading it to the edges. I crumble the remaining oat mixture evenly over the top and press down gently once more.
Pro Tips for Best Results
For the absolute best texture, I let the butter and brown sugar mixture simmer gently for a full 3-4 minutes after the sugar dissolves. I tested this three different ways, and that extra minute of cooking helps evaporate a bit of the butter’s moisture, resulting in a firmer, less greasy bar that holds together beautifully. Just keep the heat low and stir constantly to prevent burning.
When pressing the layers, use firm, even pressure. The first time, I was too gentle, and my bars crumbled when I tried to cut them. Now, I really pack that bottom layer down. For the top, I sprinkle the oat crumbles evenly and then use my hand or the back of a spoon to just lightly press them into the chocolate so they adhere, but not so hard that they sink in.
If your kitchen is warm, these bars benefit greatly from a stint in the fridge to set completely. I let them cool at room temperature for an hour, then I pop the pan into the refrigerator for at least another hour, or even overnight. This makes the chocolate layer firm up perfectly and allows you to get razor-sharp, clean cuts when you slice them.
For professional-looking squares, I use a sharp chef’s knife and wipe it clean with a hot, damp cloth between each cut. I also like to score the surface lightly with the tip of the knife after about 30 minutes of cooling, which guides my final cuts later. This little trick gives me perfectly uniform bars that look like they came from a bakery.
Common Mistakes to Avoid
Using quick-cooking or instant oats is the number one mistake. They absorb too much liquid and turn the bars into a soft, mushy block without any satisfying chew. I made this error once, and the texture was all wrong. Trust me, the old-fashioned rolled oats are essential for that perfect, hearty bite. Don’t even think about substituting.
Not cooking the butter and sugar mixture long enough will result in bars that are too soft and greasy. If you just melt them together and move on, the final product can be crumbly and fall apart. Take that extra minute or two to let them simmer and combine properly. This step is what creates the “glue” that holds the oats together.(See the next page below to continue…)