
Equipment Needed
- 9×13 inch baking dish (glass works great)
- Large mixing bowl
- Medium saucepan
- Whisk and spatula
- Measuring cups and spoons
- Fine-mesh sieve (for sifting powdered sugar)
Step-by-Step Instructions
First, I grab my 9×13 inch dish. There’s no need to grease it. I make the creamy filling by whisking the two boxes of instant pudding mix with the 3 cups of cold milk in my large bowl. I whisk for a full two minutes until it’s very thick and smooth. Then, I gently fold in the entire tub of thawed Cool Whip with a spatula. I fold until no white streaks remain, and I have a huge bowl of light, fluffy, cloud-like vanilla cream. This filling is the heart of the cake.
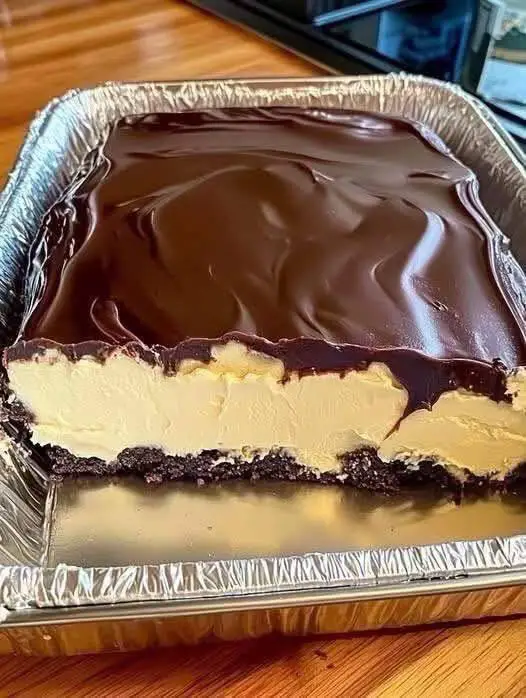
Now, for the fun, assembly-line part. I lay a single layer of whole graham crackers in the bottom of my baking dish, breaking some to fit and cover the bottom completely. It’s like putting together a puzzle. I spread half of the pudding and Cool Whip mixture evenly over this cracker layer. I take my time to smooth it right to the edges—this ensures every bite has perfect layers. Then, I add another complete layer of graham crackers, pressing them down gently into the cream.
I repeat the process with the remaining pudding mixture, spreading it evenly, and then I top it with one final, perfect layer of graham crackers. This top layer of crackers is important—it will become the “pastry” base for our chocolate glaze. I press down gently again to make sure everything is snug and level. I cover the dish tightly with plastic wrap and place it in the refrigerator. Here comes the hardest part: the wait. I let it chill for at least 6 hours, but ideally overnight. This time is magical—the graham crackers soften from the moisture, transforming into a tender, cake-like layer that tastes just like eclair pastry.(See the next page below to continue…)
Just before I’m ready to serve, I make the simple chocolate glaze. In my medium saucepan over low heat, I melt the butter, milk, and chocolate chips together, stirring constantly until smooth. I remove it from the heat and whisk in the sifted powdered sugar, vanilla, and that all-important pinch of salt. I whisk until it’s completely smooth and glossy. I let it cool for about 5 minutes—just until it’s still pourable but not hot enough to melt the Cool Whip layer. Then, I pour it evenly over the final layer of graham crackers, spreading it to the edges with my spatula. I return the whole dish to the fridge for about 30 minutes to let the glaze set before slicing.
Pro Tips for Best Results
I tested the chilling time three different ways: 2 hours, 6 hours, and overnight. Overnight is the undisputed champion. At 2 hours, the graham crackers are still crunchy. At 6 hours, they’re soft but not yet cake-like. The full overnight chill is what transforms the crackers into that magical, soft, pastry-like texture that makes this dessert so unique and delicious. Plan ahead for the best results.
Here’s what I learned the hard way about the glaze: let it cool slightly before pouring. The first time, I poured piping hot glaze right onto the cake. It melted the top layer of Cool Whip filling, causing it to bleed up into the chocolate and creating a marbled, messy look instead of a clean, glossy top. Letting the glaze cool for 5-7 minutes ensures a beautiful, distinct layer.
For the cleanest cuts, use a sharp, thin knife. I run the knife under very hot water, wipe it dry, and slice. The heat helps it glide through the firm chocolate glaze and creamy layers without dragging or cracking. I clean and reheat the knife between cuts for picture-perfect squares.(See the next page below to continue…)