
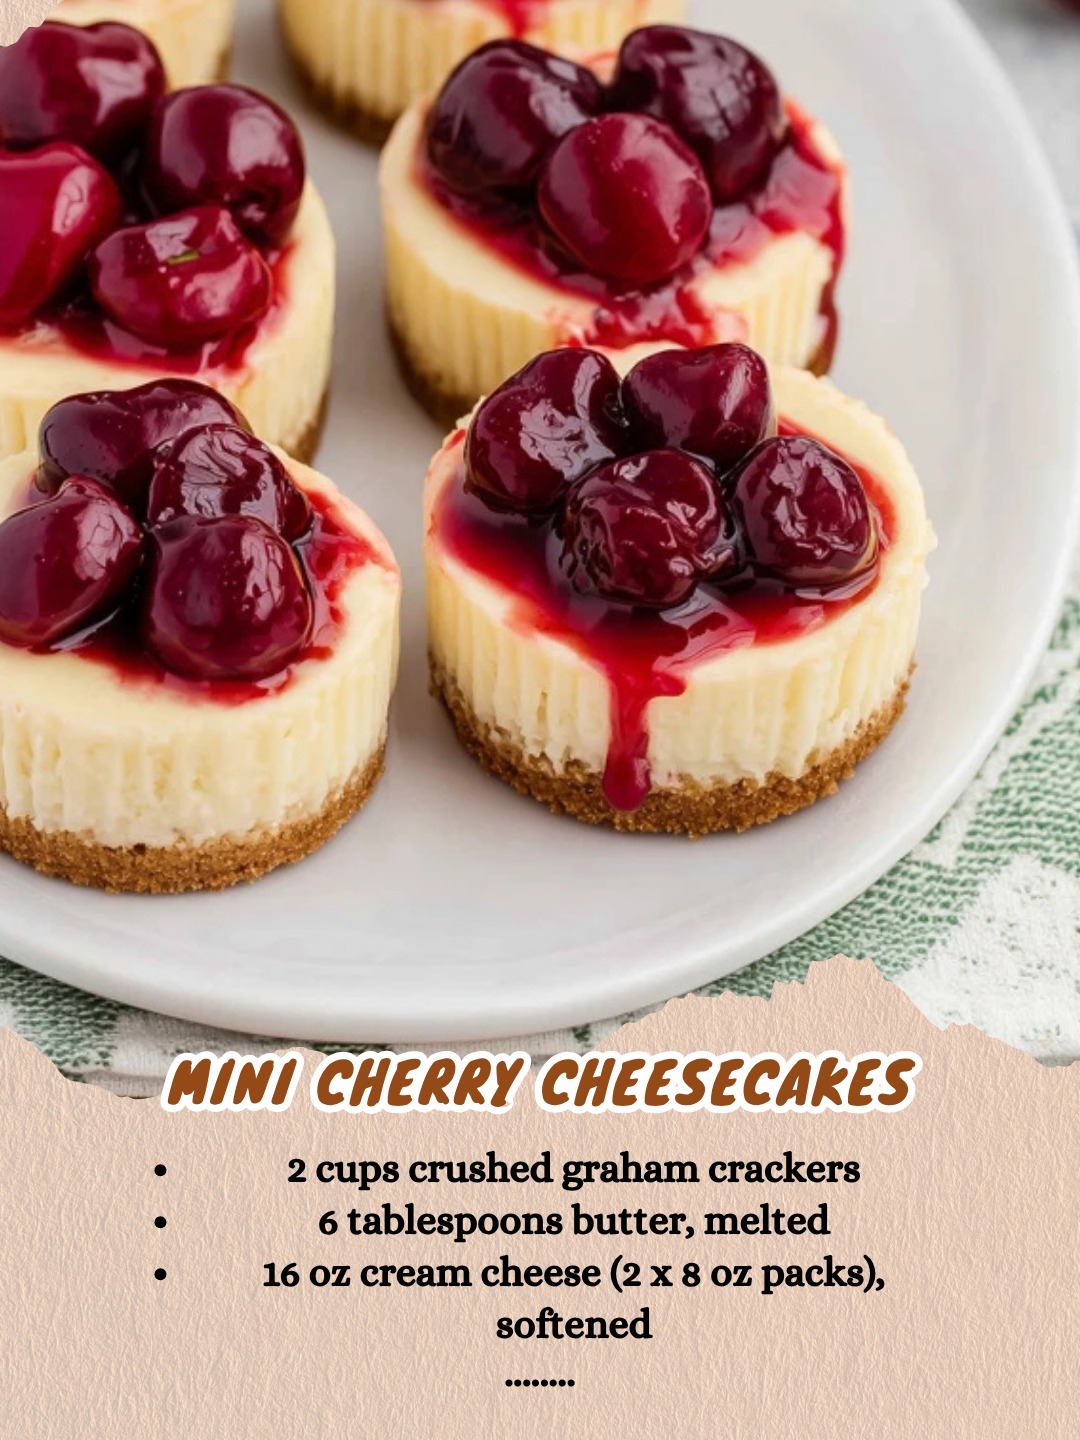
Mini Cherry Cheesecakes are everything you love about classic cheesecake, shrink-wrapped into perfect little portions and crowned with glossy, bright cherries. Each one starts with a buttery graham cracker crust, followed by a smooth, tangy cheesecake filling and a generous spoonful of cherry topping.
They look elegant on dessert trays, feel special enough for holidays or parties, and are easy enough for a casual weeknight treat. Because they’re baked in a standard muffin pan, there’s no springform tin, water bath, or complicated steps—just mix, bake, chill, and top.
Why You’ll Love This Recipe
These mini cheesecakes are ideal when you want all the richness of cheesecake without committing to a full-sized cake. They bake quickly and cool faster than a large cheesecake, so you can have them ready in hours instead of days. The muffin liners keep everything neat, make unmoulding foolproof, and give you that fun “cupcake but fancier” feel.
Cherry pie filling makes topping them almost effortless, but swapping in homemade cherry compote or another flavour is easy. They’re also naturally portion-controlled, which is helpful for gatherings and buffets where guests can grab and go.
Ingredients
- 1 ¼ cups graham cracker crumbs
- ¼ cup granulated sugar (for the crust)
- 5 tablespoons unsalted butter, melted
- 16 ounces cream cheese, softened (two 8-ounce blocks)
- 1 cup granulated sugar (for the filling)
- 2 large eggs, at room temperature
- ¼ cup sour cream or plain Greek yogurt
- 1 teaspoon vanilla extract
- Pinch of salt
- 1 can (about 21 ounces) cherry pie filling, chilled
Preparing the Pan and Making the Crust
Start by preheating your oven to 325°C (160°C). Line a 12-cup standard muffin tin with paper cupcake liners. You can use plain white liners for a clean, bakery-style look or choose patterned liners to match your occasion.
In a medium bowl, combine the graham cracker crumbs, ¼ cup of sugar, and melted butter. Stir until the crumbs are evenly coated and the mixture looks like damp sand. Divide this crumb mixture evenly among the muffin cups, adding about a tablespoon to each.
Press the crumbs firmly into the bottom of each liner; the back of a spoon or a small flat-bottomed glass works wonderfully. A well-packed crust will hold together when you peel off the paper after chilling.
Bake the crusts for 5–7 minutes, just until fragrant and slightly set. Remove the pan from the oven and let the crusts cool slightly while you prepare the filling.
Mixing the Cheesecake Filling
Place the softened cream cheese in a large bowl. Beat it on medium speed until it is completely smooth and creamy, scraping down the sides and bottom of the bowl as needed. This step is key—any lumps left in the cream cheese will be difficult to smooth out later.
Add the 1 cup of sugar and the pinch of salt, and continue beating until the mixture is light and well combined. Beat in the sour cream and vanilla extract until fully incorporated. The sour cream adds a little tang and makes the filling silkier and more luxurious.
Add the eggs one at a time, mixing on low speed just until each egg is blended in. Avoid overbeating at this stage; too much air can cause the cheesecakes to puff up excessively and then sink as they cool. When the batter is finished, it should be thick, smooth, and free from lumps.
Filling, Baking, and Cooling
Spoon or pour the cheesecake batter into the prepared muffin cups over the cooled crusts, filling each about two-thirds to three-quarters full. A small measuring cup or batter scoop makes this process neat and ensures even portions. Tap the pan gently on the countertop to help pop any large air bubbles.
Bake the mini cheesecakes at 325°F (160°C) for about 15–20 minutes. They’re done when the edges are set and the centers still have a slight wobble when you gently jiggle the pan.
=The tops should look matte and may be just barely starting to puff, but they shouldn’t brown significantly.
Turn off the oven and crack the oven door open. Let the cheesecakes sit inside for about 10 minutes to begin cooling gradually. Then transfer the pan to a wire rack and allow the cheesecakes to come to room temperature. Slow cooling like this helps reduce the risk of cracks.
Once they’ve cooled to room temperature, move the pan to the refrigerator and chill for at least 3–4 hours, or ideally overnight. During this time, the filling will fully set and develop that dense, creamy cheesecake texture.
Adding the Cherry Topping
When you’re ready to serve, gently remove each mini cheesecake from the muffin tin. Peel away the paper liners if you’d like to plate them without wrappers, or keep them on for easy serving at buffets and parties.
Open the can of cherry pie filling, giving it a little stir to evenly distribute the cherries. Spoon a generous amount over the center of each cheesecake, making sure to include both cherries and some of the glossy sauce. The chilled cheesecakes combined with the cool cherry topping create the perfect contrast of textures and flavours: rich, tangy, sweet, and fruity all at once.
If you’d like to use homemade cherry topping instead, simply ensure it is completely cool before spooning onto the cheesecakes so it doesn’t melt the filling.
Tips for Success
Use full-fat cream cheese and make sure it is properly softened before you begin. Cold cream cheese can lead to a lumpy batter that won’t smooth out easily. The same goes for eggs and sour cream—bringing them up to room temperature helps them blend better into the mixture and yields a more even bake.
Be mindful not to overbake. Mini cheesecakes continue to cook slightly from residual heat after they’re removed from the oven, so pulling them while the centers still jiggle a bit ensures they remain creamy rather than dry. If a few small cracks appear, don’t worry; the cherry topping is very forgiving and covers imperfections nicely.
For very clean edges and tops, always chill thoroughly before adding the topping and before removing liners. A quick wipe of the knife between cuts, if you decide to halve them for tasting trays, also helps.
Variations and Flavour Twists
Once you have this base recipe down, it becomes a canvas for lots of different flavours. You can brighten the filling with lemon zest and a teaspoon of lemon juice for a lemon-cherry variation, or swap the graham crackers for chocolate sandwich cookie crumbs to add a chocolate element beneath the cherries.
Change the topping to create an assorted tray: use blueberry or strawberry pie filling, lemon curd, salted caramel, or fresh mixed berries.
You can swirl a bit of cherry pie filling into the batter before baking for a marbled cherry cheesecake effect. For a more decadent version, drizzle melted chocolate over the cherry topping just before serving.
Make-Ahead, Storage, and Freezing
Mini cherry cheesecakes are tailor-made for planning ahead. You can bake and chill them a day or two before your event and add the cherry topping on the day of serving. Store them, covered, in the refrigerator, where they’ll keep well for up to four days.
If you want to freeze them, do so without the cherry topping. Arrange the fully cooled, baked cheesecakes on a tray, freeze until solid, then transfer to an airtight container with baking paper between layers. They can be frozen for up to a month. Thaw in the refrigerator overnight, then add the cherry topping before serving.
Serving Ideas
Serve the cheesecakes simply topped with cherries for a classic look, or add a small swirl of whipped cream beside the cherry topping for extra flair. They work beautifully on dessert buffets, at birthday parties, bridal showers, holiday dinners, and even as a plated dessert for more formal meals.
Because they’re individually portioned, they’re also excellent options for lunchbox treats or as a sweet finish to a picnic.
Conclusion
Mini Cherry Cheesecakes deliver everything people love about cheesecake—creamy tang, buttery crust, and a vibrant fruit finish—in a format that is easy to bake, easy to serve, and impossible to resist. With simple ingredients, straightforward steps, and endless room for customization, this recipe quickly becomes a reliable go-to for both special occasions and everyday indulgence.