
The very first time I made these Mini Banana Pudding Cheesecakes, my entire kitchen filled with that soft, sweet banana aroma that immediately transported me back to childhood desserts. I remember pulling the warm graham crusts from the oven and feeling that familiar mix of excitement and comfort that only a nostalgic dessert can bring. As the cheesecakes cooled and set, the scent of vanilla and fresh banana layered together in the air, and I knew I had stumbled upon a dessert I’d want to keep making again and again.
Why You’ll Love This Recipe
You’ll love this recipe because it gives you all the flavors of classic banana pudding—creamy filling, soft banana sweetness, crunchy cookie goodness—but with the elegance and richness of cheesecake. It’s a dessert that feels impressive without requiring complicated steps. When you serve these little cheesecakes, you get that perfect mix of nostalgia and indulgence, which makes them irresistible whether you’re baking for family or entertaining friends.
Ingredients
For the Crust
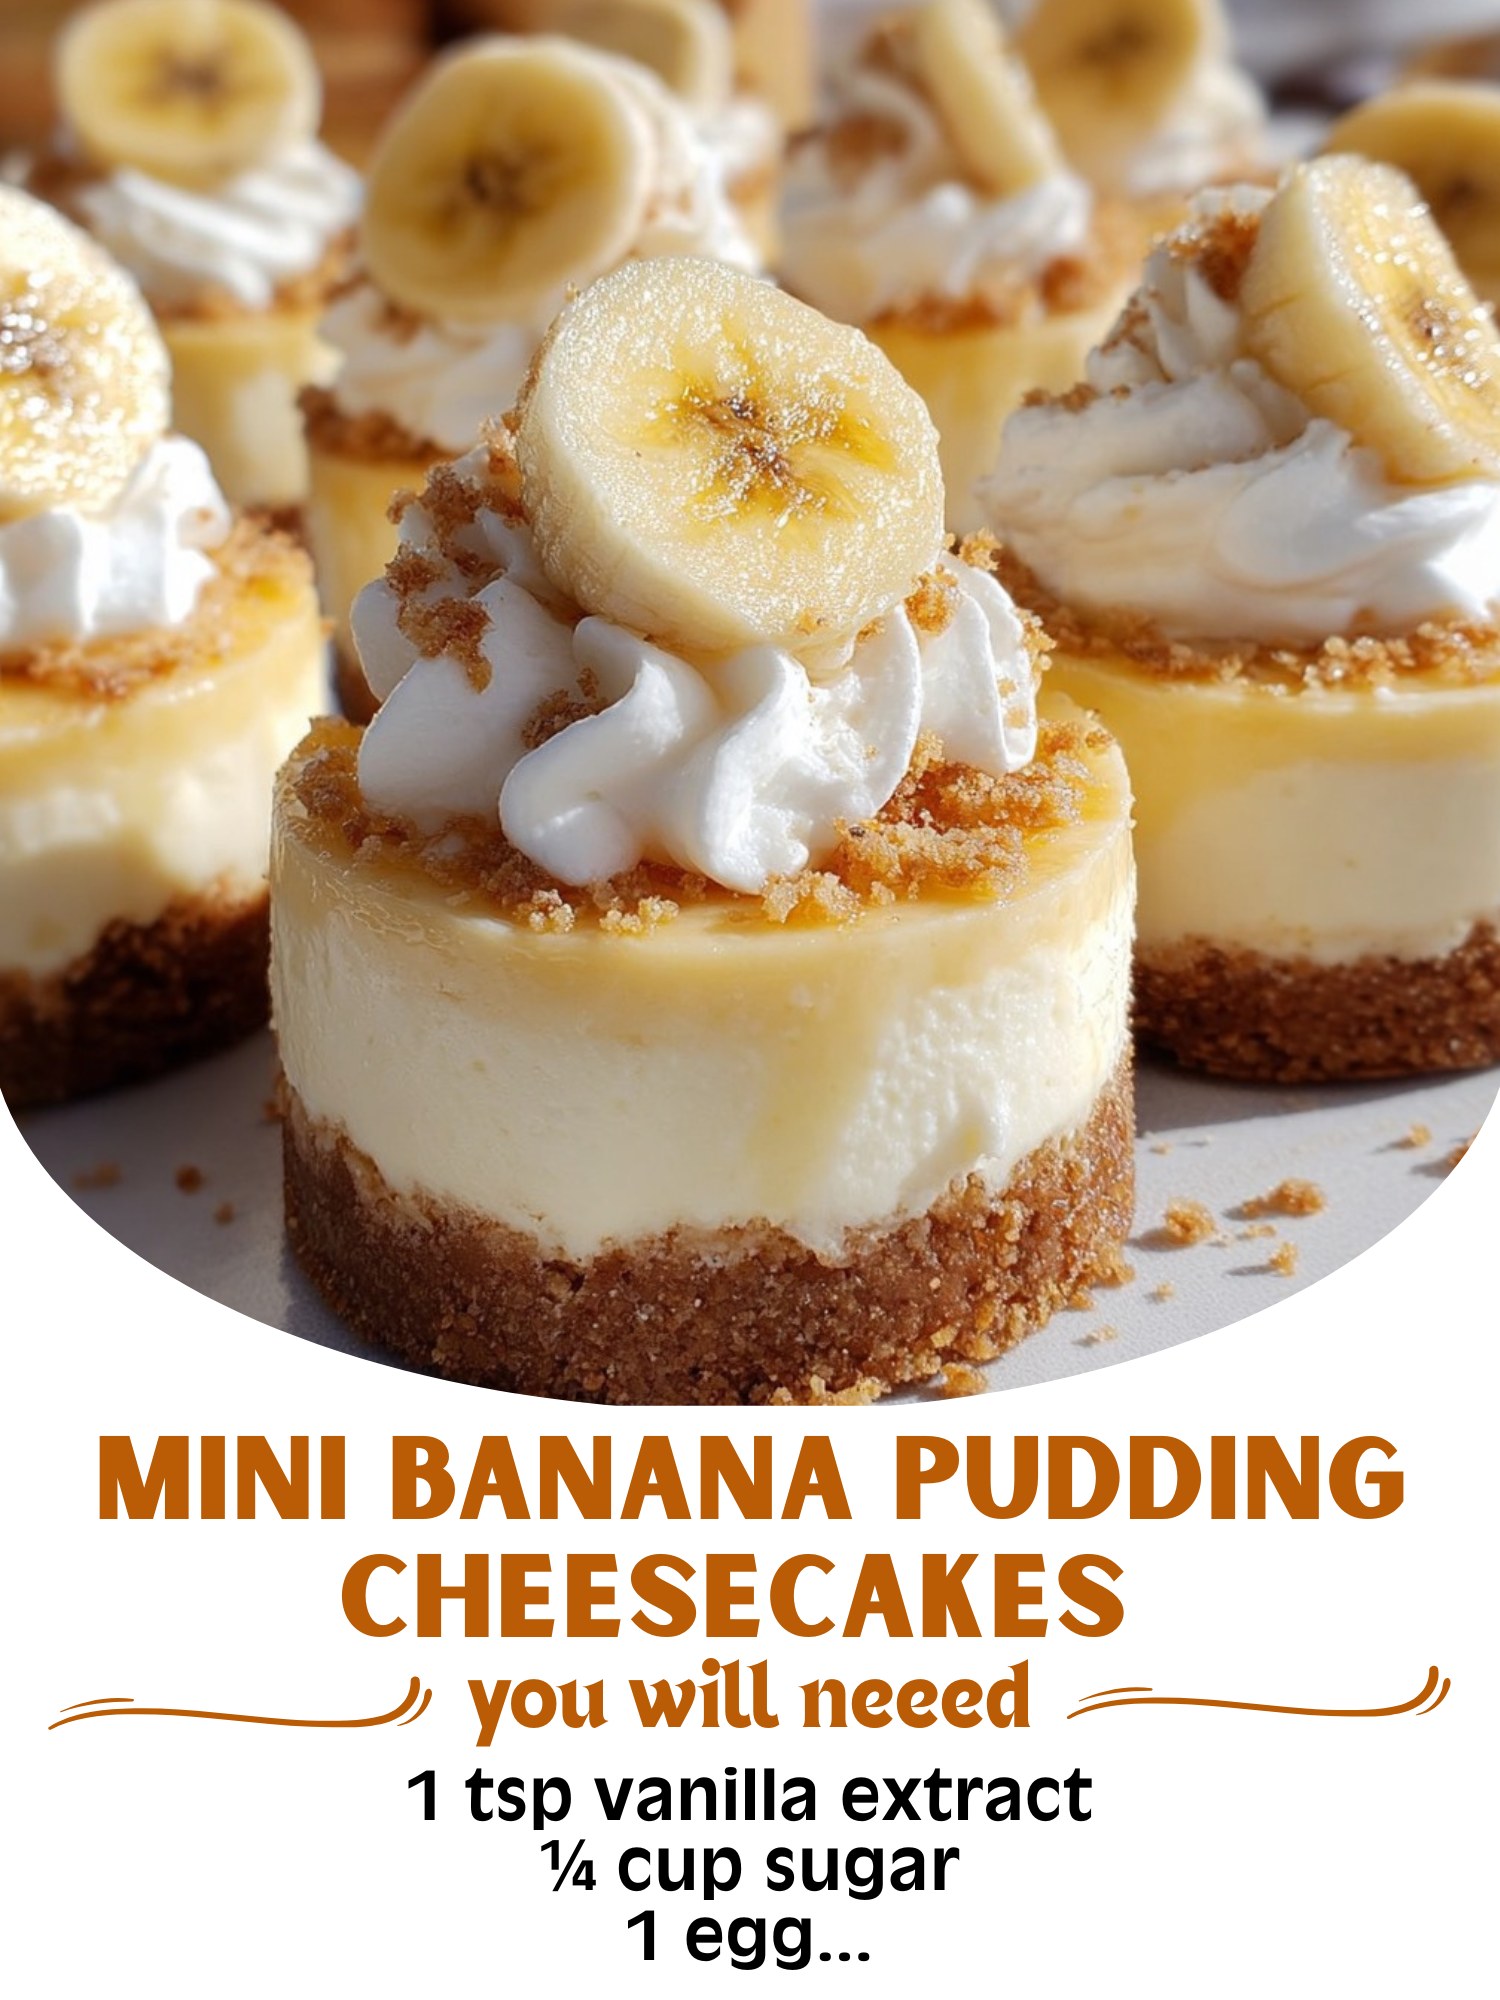
• 1 ½ cups crushed vanilla wafers
• 4 tbsp melted butter
• 2 tbsp granulated sugar
For the Cheesecake Filling
• 16 oz cream cheese, softened
• ½ cup granulated sugar
• 1 large egg
• 1 tsp vanilla extract
• ¼ cup sour cream
For the Banana Pudding Layer
• 1 cup cold milk
• 1 small box instant banana pudding mix
• 1 medium ripe banana, diced
For Topping
• Whipped cream
• Sliced bananas
• Crushed vanilla wafers
Using vanilla wafers for the crust keeps things in the spirit of banana pudding, but graham crackers work beautifully if that’s what you have on hand. I’ve also learned that using ripe—but not mushy—bananas makes the flavor pop without turning the filling watery. And while I love homemade whipped cream, store-bought works perfectly when I’m in a hurry.
Equipment Needed
• Standard muffin pan
• Cupcake liners
• Mixing bowls
• Electric mixer
• Rubber spatula
• Spoon or small scoop
I like using parchment cupcake liners because they peel cleanly from the chilled cheesecakes, but regular liners work fine too. A hand mixer gives me the best control over the cheesecake texture, especially when incorporating the egg gently. If you don’t have a muffin pan, you can use silicone molds, which release the cheesecakes easily and don’t require liners.
Step-by-Step Instructions
When I start making these cheesecakes, I always begin by preparing the crust. I mix the crushed vanilla wafers, melted butter, and sugar until the texture feels like damp sand. Then I press about a tablespoon of the mixture into each cupcake liner. I’ve learned not to over-press the crust—just enough pressure to hold it together—because a too-firm crust can be difficult to bite through once chilled. A few minutes in the oven helps the crust set while I prepare the filling.(See the next page below to continue…)