
Working quickly, I pour the thick, nut-studded fudge mixture into your prepared pan and smooth the top with the spatula. I then evenly sprinkle the remaining ¼ cup of chopped walnuts over the surface and gently press them in so they adhere as the fudge sets. I let the pan cool completely on the counter—this allows the walnuts on top to set in place—before covering it and transferring it to the refrigerator to chill and firm up completely for at least 4 hours, or ideally overnight.
Pro Tips for Best Results
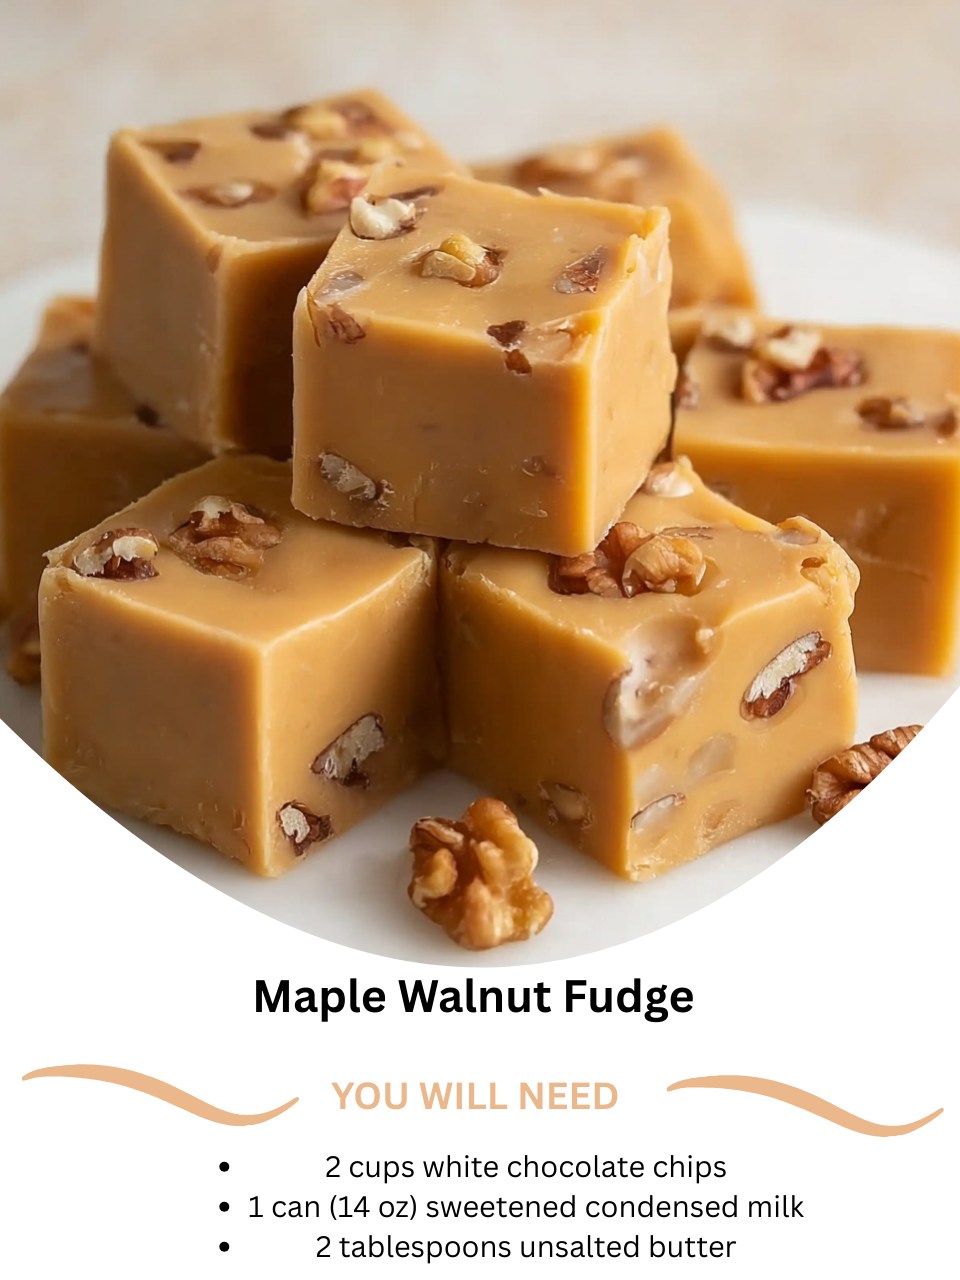
I tested the maple component three different ways: with pancake syrup, with pure maple syrup, and with a combination of syrup and extract. Here’s the golden rule: you must use 100% pure maple syrup. Pancake syrup is just corn syrup with flavoring and will give you an artificial, one-note sweetness. The deep, caramelized, almost woody notes of real maple are what make this fudge special. For an even more intense maple punch, adding that ¼ teaspoon of maple extract is a game-changer.
Here’s what I learned the hard way about the walnuts: toasting is non-negotiable, and they must be completely cool. I once got impatient and stirred warm, freshly toasted walnuts into the fudge. The heat slightly melted the fudge base around them, creating oily pockets and affecting the setting texture. Let them cool on the cutting board until they’re at room temperature. This ensures they stay crunchy and integrate perfectly without compromising the creamy foundation.
For the absolute smoothest texture, the quality of your white chocolate is paramount. A higher-quality chip or chopped bar with real cocoa butter will melt more smoothly and have a cleaner finish than bargain brands. Also, when you add the maple syrup off the heat, stir vigorously. This not only incorporates it fully but also helps cool the mixture down slightly, which is perfect for folding in the nuts without them sinking straight to the bottom.
Common Mistakes to Avoid
The biggest mistake is using high heat to melt the base. Impatience leads to scorched milk and seized, grainy chocolate. I did this on my first attempt, and there was no saving it. Don’t do what I did! The lowest possible heat is your mantra. If you’re nervous, use a double boiler. It takes a few minutes longer, but it’s a foolproof method for that perfect, silky-smooth base every single time.(See the next page below to continue…)