
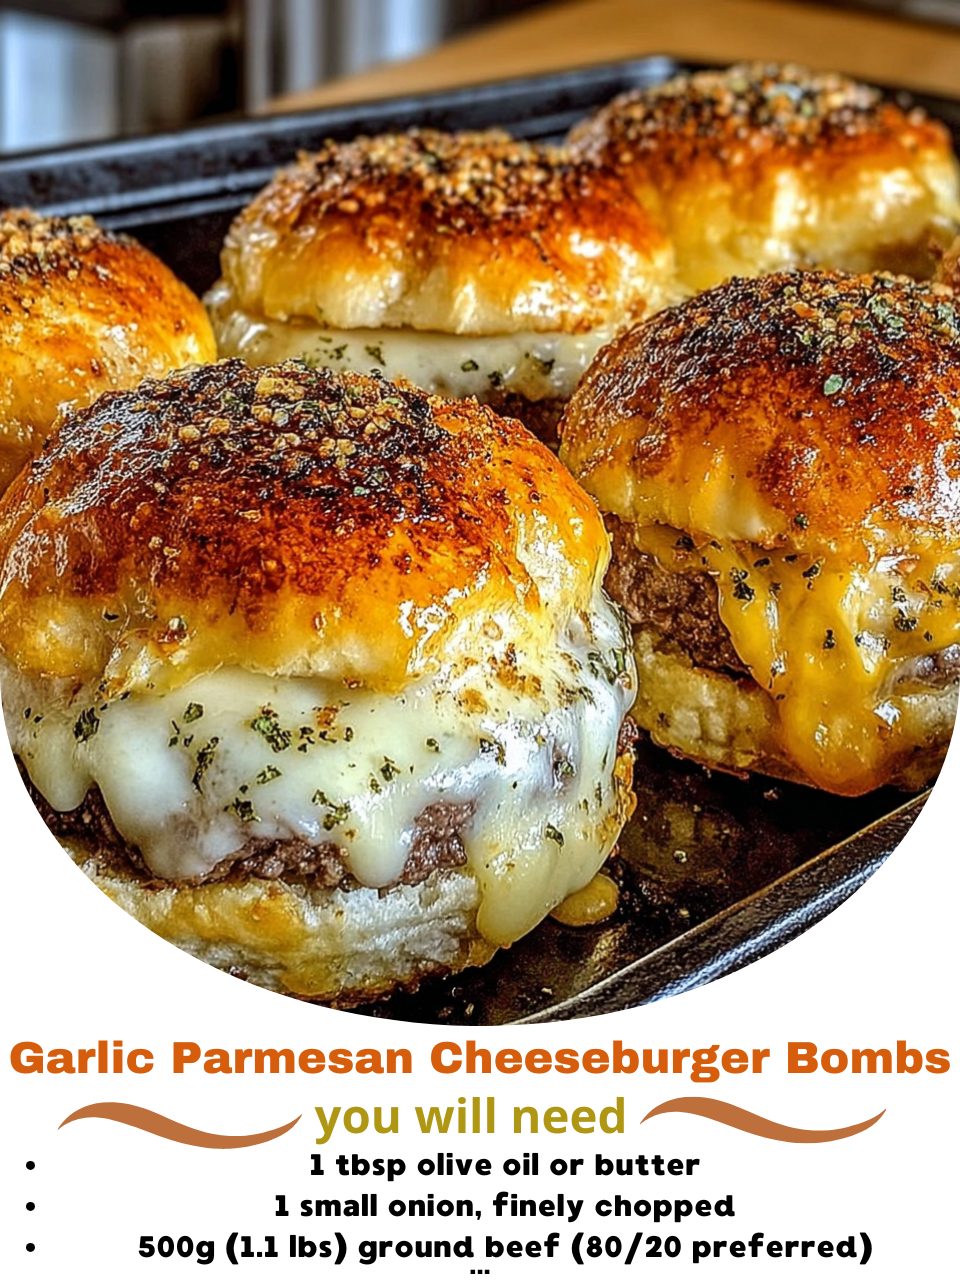
Garlic Parmesan Cheeseburger Bombs take everything you adore about a classic cheeseburger and transform it into a molten, bite-sized, garlic-butter-brushed masterpiece. Imagine a fluffy, golden dough pocket stuffed with juicy seasoned beef, gooey melted cheese, smoky hints of burger goodness, and wrapped in a crust bursting with garlic and Parmesan. Each bite delivers the full cheeseburger experience—savory beef, stretchy cheese, rich buttery notes, and an irresistible garlic aroma that fills your kitchen with excitement.
They’re perfect for parties, weeknight dinners, game-day spreads, or anytime you’re craving something comforting, fun, and impressively delicious. These little bombs are easy to prepare, incredibly satisfying, and guaranteed to disappear the moment they hit the table.
Equipment You Will Need
- Large skillet
- Mixing bowls
- Wooden spoon or spatula
- Baking sheet
- Parchment paper
- Rolling pin
- Cheese grater
- Basting brush
- Measuring cups and spoons
- Small bowls for toppings or dipping sauces
Ingredients List
- Cheeseburger Filling
- 1 lb ground beef
- 1 small onion, finely diced
- 2 cloves garlic, minced
- 1 tbsp Worcestershire sauce
- 1 tsp salt
- ½ tsp pepper
- 1 tsp smoked paprika
- 1 tsp onion powder
- 1 cup cheddar or mozzarella cubes
- ¼ cup diced pickles (optional)
- ¼ cup bacon bits (optional)
- For Wrapping
- 1 can refrigerated biscuit dough or pizza dough
- Extra flour for rolling
- Garlic Parmesan Butter
- 4 tbsp melted butter
- 3 cloves garlic, minced
- ½ cup grated Parmesan
- 1 tsp dried parsley
- ½ tsp garlic powder
- Dipping Sauces
- Ranch
- Ketchup
- Burger sauce
- Garlic aioli
- Spicy mayo
Step-by-Step Instructions
Begin by heating your large skillet over medium heat. Add the ground beef and diced onion, breaking the meat apart with your spatula as it browns. Cook until the onions turn soft and fragrant. Stir in the minced garlic, Worcestershire sauce, salt, pepper, smoked paprika, and onion powder.
Continue cooking until the mixture is fully browned and well-seasoned, then remove from the heat. Drain any excess grease to keep your cheeseburger bombs from becoming soggy. Allow the filling to cool for several minutes so the cheese cubes won’t melt prematurely.
Once slightly cooled, fold in the cheese cubes, bacon bits, and diced pickles if using. Make sure each spoonful of filling contains a good balance of everything. Preheat your oven to 375°F (190°C) and line a baking sheet with parchment paper.
Open your biscuit or pizza dough and cut into portions sized to wrap each bomb. Lightly flour your surface and gently roll each dough piece into a circle, making room for a generous scoop of filling.
Place a mound of the beef mixture in the center of each dough round. Carefully pull the dough around the filling, pinching every seam tightly to seal. A well-sealed bomb ensures the cheese stays inside for maximum gooeyness.
Arrange each seam-side-down on the baking sheet, allowing space for them to puff and expand. Melt the butter and stir in garlic, garlic powder, parsley, and Parmesan. Brush the garlic Parmesan butter generously over the tops of the bombs.
Bake for 15–18 minutes or until golden brown, puffed, and irresistibly aromatic. As they bake, the garlic butter infuses the dough and the cheese melts inside, creating that perfect molten cheeseburger center. Once finished, let them rest for a few minutes before serving—this helps the filling set just enough to be safe but still ooey-gooey. Brush with more garlic Parmesan butter if desired. Serve warm with dipping sauces.
Expert Tips for Success
A cool filling is essential for preventing melted cheese from leaking before the bombs bake. Allow the beef mixture to cool slightly before adding cheese. Use biscuit dough for fluffy, softer bombs or pizza dough for chewier, breadier texture.
When rolling the dough, keep the edges slightly thicker than the center, so wrapping around the filling is easier and less likely to tear. Always pinch seams thoroughly; even the tiniest gap will let cheese escape.
Brush the bombs with garlic Parmesan butter before and after baking for the richest flavor. Freshly grated Parmesan melts and crisps slightly on top, giving a beautiful texture and umami kick. If your bombs brown too quickly, loosely cover with foil during the last few minutes of baking.
Pressing lightly with a spatula during baking helps create a more compact, evenly cooked bomb. For extra golden crust, sprinkle additional Parmesan on top right before baking.
Using cubed cheese instead of shredded gives bigger melty pockets inside each bomb. Keep the bombs spaced apart so they bake evenly and do not steam each other. If making a large batch, rotate pans halfway for consistent browning. A preheated baking sheet will give crispier bottoms. Try chilling assembled bombs for 10 minutes before baking to help seals set firmly.
Variations and Substitutions
Create a spicy version by adding jalapeños, pepper jack cheese, or red pepper flakes to the filling. For a smoky BBQ twist, mix in barbecue sauce and use smoked cheddar.
You can make bacon cheeseburger bombs by adding more bacon and using American cheese for classic diner-style flavor. Swap ground beef for ground turkey or chicken for a lighter take, adjusting seasoning slightly.
Try a pizza-inspired bomb by adding marinara, pepperoni, and mozzarella. A mushroom Swiss version works beautifully by folding sautéed mushrooms and Swiss cheese into the filling. To make a breakfast-style bomb, use scrambled eggs, sausage, and cheddar. For a low-carb version, wrap the filling in cheese-based dough substitutes.
Dairy-free versions can be made with plant-based cheese and dairy-free butter. Gluten-free dough options work well too—just handle them gently. Add fresh herbs such as basil or oregano for Italian-style bombs. You can even fill them with caramelized onions to create French onion–inspired cheeseburger bombs filled with rich onion flavor and gooey Gruyère.
Serving Suggestions and Pairings
Serve Garlic Parmesan Cheeseburger Bombs with a trio of dipping sauces like ranch, spicy mayo, and burger sauce. Add dill pickles or sliced tomatoes on the side for freshness and crunch.
For game-day spreads, pile the bombs onto a platter with fries, tots, or onion rings. A crisp salad with ranch or Caesar dressing pairs well to balance the richness.
Offer them as a fun appetizer at parties, slicing some bombs in half to show off the gooey, cheesy center. For a full meal, pair with mac and cheese, roasted vegetables, or garlic Parmesan smashed potatoes. When serving kids, offer simple sides like fruit cups, carrot sticks, or buttery corn. The garlic Parmesan topping makes them flavorful enough to stand alone with minimal extras.
Make a burger-inspired board with lettuce, tomatoes, pickles, dipping sauces, and a pile of bombs in the center. Add chips or pretzels for extra crunch. These bombs shine at potlucks, tailgates, family dinners, and casual gatherings. Their soft, buttery exterior and juicy, cheesy filling make them unbeatable crowd-pleasers.
Storage, Freezing, and Reheating
Store leftovers in an airtight container in the refrigerator for up to four days. Reheat in the oven or air fryer at 350°F (175°C) until warmed through—this restores crispness. Avoid microwaving if possible, as it softens the dough. If you must microwave, heat in short bursts to avoid overcooking the filling.
To freeze, place uncooked bombs on a baking sheet and freeze until solid. Transfer to freezer bags and store for up to two months. Bake from frozen at 375°F, adding 3–5 minutes to the cook time. You can also freeze fully baked bombs; thaw overnight and reheat in the oven. For best results, brush with fresh garlic Parmesan butter after reheating to revive the flavor.
Leftovers make excellent quick snacks, lunchbox items, or meal-prep options. They maintain flavor and texture beautifully when reheated correctly. Use parchment paper between layers to prevent sticking when freezing.
Frequently Asked Questions
Can I use shredded cheese instead of cubes?
Yes, but cubes create gooier cheese pockets inside.
Why is my cheese leaking out?
The dough may not be sealed completely or was stretched too thin.
Can I air fry them?
Absolutely—air fry at 350°F for 8–10 minutes.
Can I add vegetables inside?
Yes—onions, peppers, mushrooms, or pickles work great.
Can I make them ahead?
Yes, assemble and refrigerate up to 24 hours before baking.