
The very first time I made Little Debbie Christmas Tree Cake Balls, my entire kitchen filled with the nostalgic scent of those iconic vanilla snack cakes—the same ones I grew up looking forward to every December. As I mixed the crumbled cakes with cream cheese and watched the festive sprinkles swirl through the soft batter, I felt like I was creating something equal parts playful and magical. When I dipped the chilled cake balls into silky white chocolate, the peppermint-sweet aroma combined with buttery vanilla made my home smell like a holiday bakery. I loved every moment of making them.
Why You’ll Love This Recipe
You’ll love this recipe because it transforms your favorite nostalgic Christmas treat into an irresistibly soft, creamy, festive dessert with almost no effort—seriously, if you want a holiday treat that tastes like hours of work but only takes minutes to assemble, these cake balls are going to be your new tradition.
Ingredients
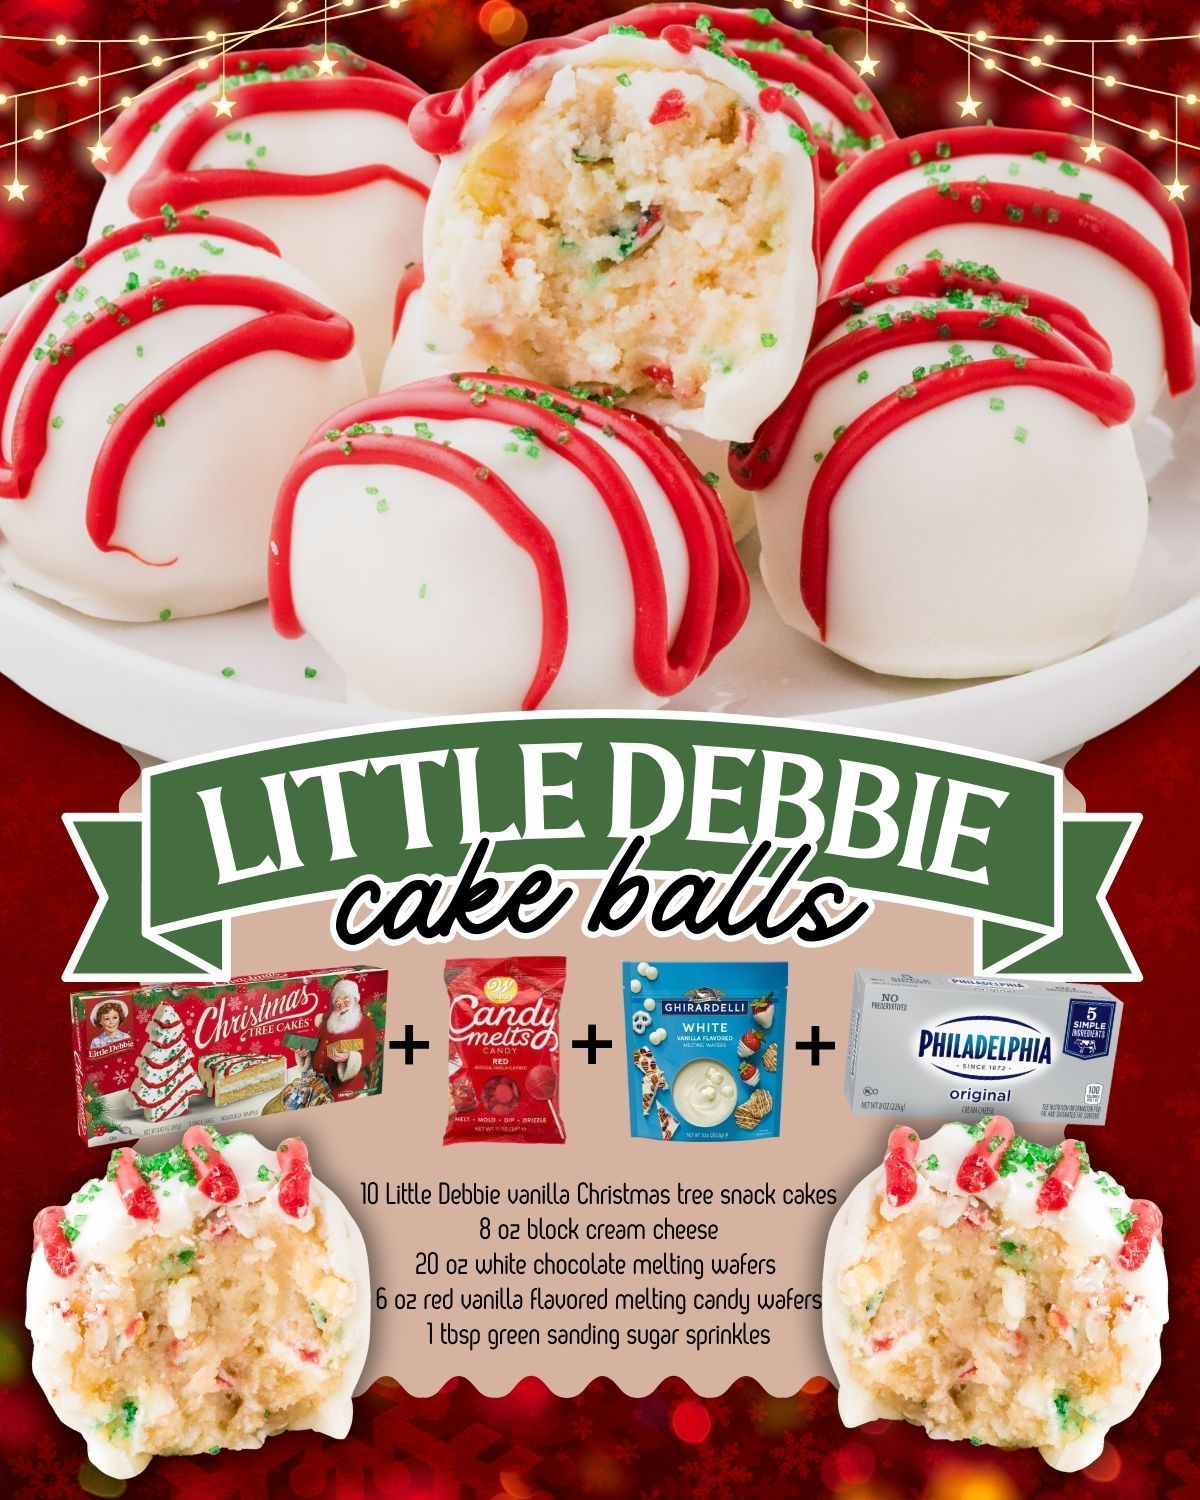
- 10 Little Debbie Vanilla Christmas Tree Snack Cakes
- 8 oz cream cheese, softened
- 20 oz white chocolate melting wafers
- 6 oz red vanilla-flavored melting candy wafers
- 1 tbsp green sanding sugar sprinkles
I’ve made these using both the vanilla and chocolate versions of the Christmas tree cakes, and while both are delicious, the vanilla ones create that perfect soft cake-batter texture inside. The cream cheese MUST be softened or it won’t mix properly—cold cream cheese forms lumps. I highly recommend high-quality melting wafers (Ghirardelli being my favorite) because they melt smoother and coat more cleanly. And don’t skip the sanding sugar—it gives the cake balls that playful tree-cake sparkle.
Equipment Needed
- Large mixing bowl
- Hand mixer or stand mixer
- Rubber spatula
- Baking sheet
- Parchment paper
- Microwave-safe bowls
- Fork or dipping tool
A hand mixer makes the blending process so much easier, especially when incorporating the cream cheese into the crumbled cakes. A rubber spatula helps scrape the sides of the bowl—this mixture gets sticky quickly. Parchment paper keeps the cake balls from sticking while they chill. I’ve used both a fork and an actual candy-dipping tool, and honestly? A regular fork works surprisingly well once you get the hang of tapping off the excess chocolate.
Step-by-Step Instructions
When I make these Christmas tree cake balls, I begin by unwrapping all the cakes and crumbling them into a big mixing bowl. This part always makes my kitchen smell like childhood Christmas mornings—the vanilla frosting and sprinkles practically perfume the air. Once the cakes are fully crumbled, I add the softened cream cheese. I’ve learned to break the cream cheese into smaller pieces first, because it helps it incorporate more evenly and prevents over-mixing.
Next, I use my hand mixer to blend everything together until the mixture forms a soft dough-like consistency. This step takes only a minute or two, but I stop occasionally to scrape down the sides of the bowl to make sure no dry cake bits are hiding. The mixture should feel sticky yet workable. Once it reaches that perfect consistency, I scoop out tablespoon-size portions and roll them between my palms into smooth balls. It’s a little messy, but so satisfying.
After rolling all the balls, I place them on a parchment-lined baking sheet and pop them into the freezer for about 20–25 minutes. I tested this step several times—once I chilled them only 10 minutes, and they fell apart during dipping; once I froze them for almost an hour, and the chocolate cracked because the centers were too cold. Twenty minutes is perfect—they firm up just enough to dip cleanly while staying creamy on the inside.(See the next page below to continue…)