
The first time I made LITTLE DEBBIE CHRISTMAS TREE CAKE BALLS, my entire kitchen smelled like a holiday bakery—sweet vanilla cake, cream filling, and that nostalgic hint of Christmas-tree icing. As I crumbled those iconic snack cakes into a bowl, it felt like I was breaking down a piece of childhood and turning it into something new and magical. The mixture became soft, creamy, and sticky in the most wonderful way, and when I rolled the first cake ball between my palms, I knew instantly that this was going to be one of my new yearly traditions. I dipped the balls in melted white chocolate, sprinkled them with red and green sugar, and the moment I tasted one—sweet, creamy, silky, and impossibly festive—I felt that warm holiday joy settle right in.
Why You’ll Love This Recipe
You’ll love this recipe because it is unbelievably easy, incredibly nostalgic, and tastes like pure Christmas magic in a bite-sized treat—and trust me, once you experience how simple and delicious these cake balls are, you’ll want to make them every single holiday season.
Ingredients
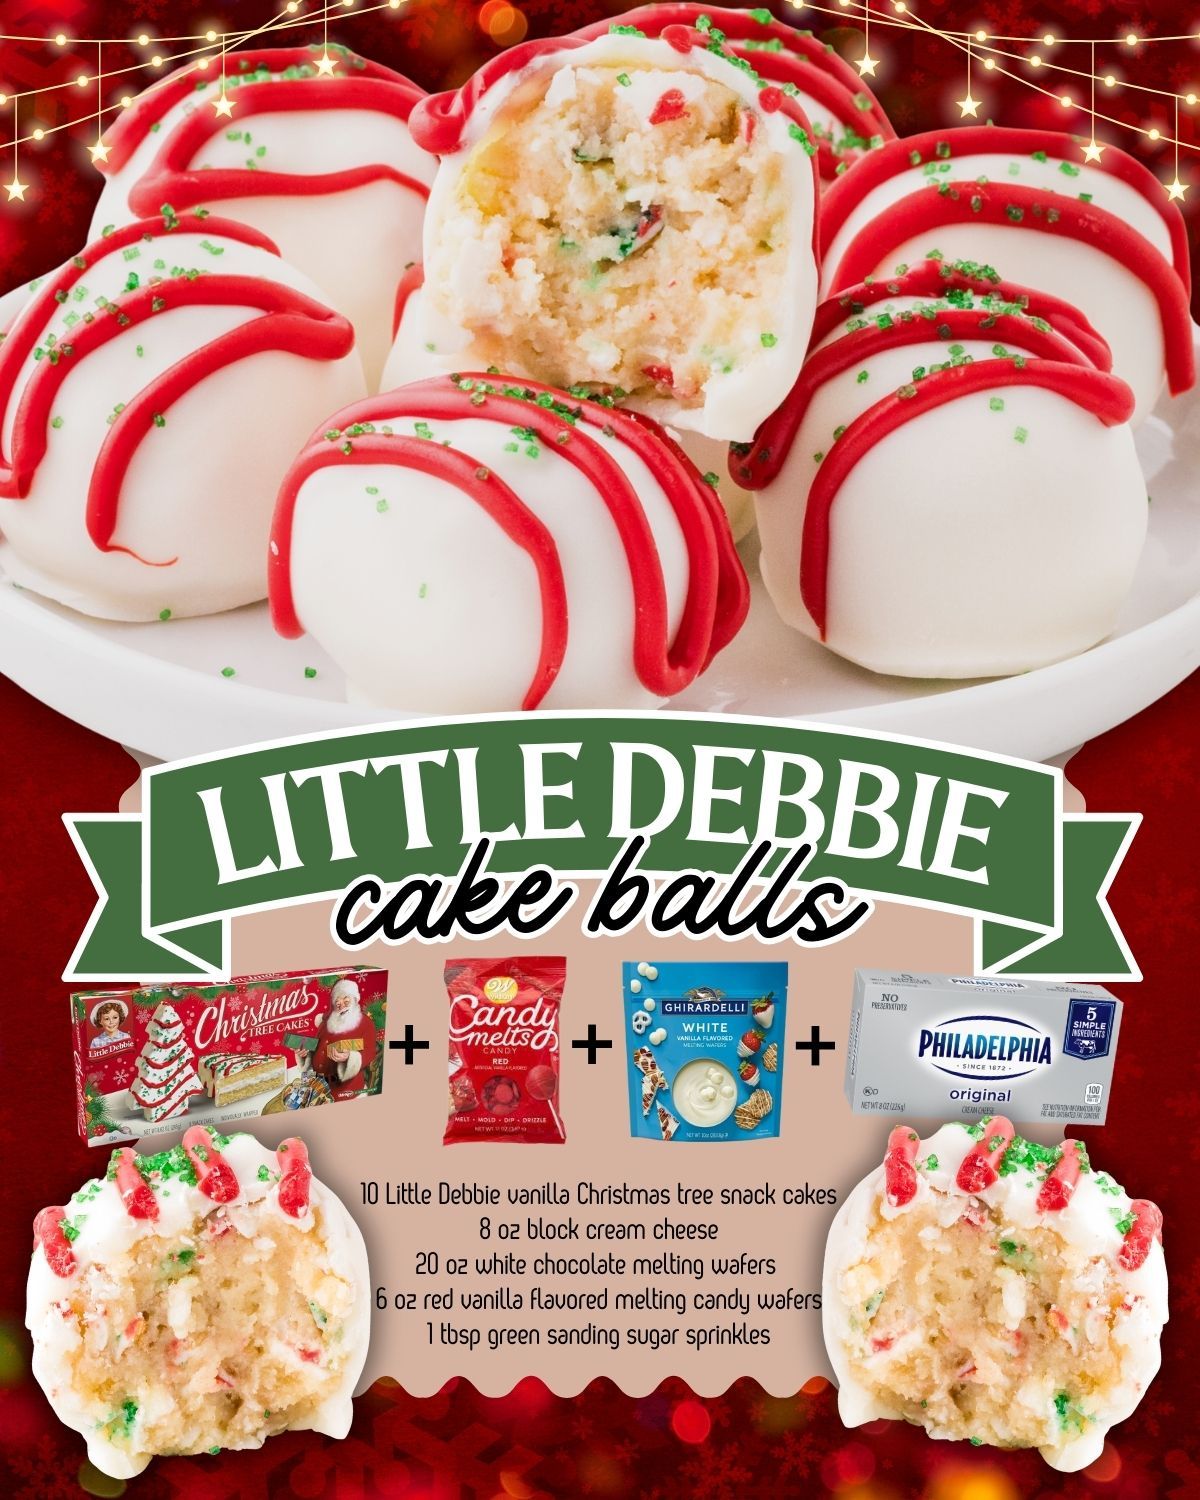
- 5 Little Debbie Christmas Tree Cakes (vanilla)
- 4 ounces cream cheese, softened
- 1 teaspoon vanilla extract
- 12 ounces white chocolate melting wafers
- Red and green sprinkles
- Optional: 1 tablespoon vegetable oil (to thin chocolate if needed)
When choosing your ingredients, make sure the cream cheese is fully softened—cold cream cheese will make the mixture lumpy instead of smooth. I’ve tried these with chocolate Christmas tree cakes too, and while delicious, the vanilla ones give the most classic flavor and bright white color. Using melting wafers instead of chocolate chips also makes a huge difference; chocolate chips seize more easily and don’t coat as smoothly. And don’t skip the sprinkles—they’re what give these cake balls that signature Christmas-tree whimsy.
Equipment Needed
- Large mixing bowl
- Rubber spatula
- Baking sheet
- Parchment paper
- Cookie scoop
- Microwave-safe bowl
- Forks or dipping tools
- Measuring spoons
A cookie scoop is especially helpful because it keeps the cake balls uniform in size, which means they chill evenly and look prettier when dipped. A rubber spatula makes mixing easier because the cake mixture becomes thick and sticky. And parchment paper is absolutely necessary—you do not want these sticking to a pan. If you have dipping tools, they create cleaner finishes, but honestly, two forks work just as well when I’m in a hurry.
Step-by-Step Instructions
Whenever I make LITTLE DEBBIE CHRISTMAS TREE CAKE BALLS, I start by unwrapping each cake and crumbling them into a large bowl. This part always takes me right back to childhood because the smell of those cakes is pure nostalgia.
The mixture looks crumbly at first, but once I add the softened cream cheese and vanilla, everything transforms into a smooth, sticky dough. I mix with a spatula at first, then switch to my hands when the mixture gets too thick—there’s something so satisfying about feeling it come together.
Next, I use a cookie scoop to portion out each ball. Using a scoop keeps my hands clean and ensures the cake balls stay consistent in size, but sometimes I’ll go back and smooth each one by hand. When shaping them, I try not to press too hard—light pressure keeps the texture soft instead of dense. I place them onto a parchment-lined baking sheet and pop the tray into the freezer for 15 minutes. Chilling the balls helps them firm up so they don’t fall apart when dipped in warm chocolate.
While the cake balls chill, I melt the white chocolate wafers in a microwave-safe bowl in 20–30 second intervals, stirring between each burst. White chocolate burns easily, so gentle heating is important. If the chocolate seems too thick, I add a little vegetable oil to thin it. Once the balls are firm, I dip each one using a fork, letting excess chocolate drip off before placing them back on the parchment. Working quickly is key because the chocolate sets faster than you expect.
Finally, I sprinkle each ball with red and green sugar before the chocolate hardens. This step always makes me smile because the decorations transform them instantly into something festive and adorable. I let them set for about 20 minutes at room temperature—or 5 minutes in the fridge if I’m impatient. Once they’re firm, the cake balls become beautifully smooth, sweet, and totally irresistible.
Pro Tips for Best Results
One of the biggest tips I can offer is to freeze the cake balls before dipping. I’ve tested this three different ways—room temperature, chilled, and frozen—and the frozen ones dip the best by far. They maintain their shape, don’t crumble, and create a smooth, polished finish when coated in chocolate.
Another tip is to always use melting wafers instead of chocolate chips. I tried chocolate chips once thinking it wouldn’t make much difference, and the chocolate ended up thick, gloopy, and difficult to work with. Melting wafers create a silky, professional-looking coating that sets perfectly. Trust me—this one ingredient choice makes all the difference.
I also learned that the cream cheese amount can be adjusted slightly based on how moist the cakes are. Sometimes the cakes come extra soft (especially if the box is fresh), and I’ll need slightly less cream cheese. If the mixture seems too sticky to roll, adding a little extra cake or even a handful of cookie crumbs helps balance the texture.
Lastly, don’t skip decorating the tops while the coating is still wet. I once waited too long and tried to sprinkle afterward; the decorations bounced right off the hardened chocolate. Sprinkles must go on immediately to adhere properly and give the balls their festive charm.(See the next page below to continue…)