
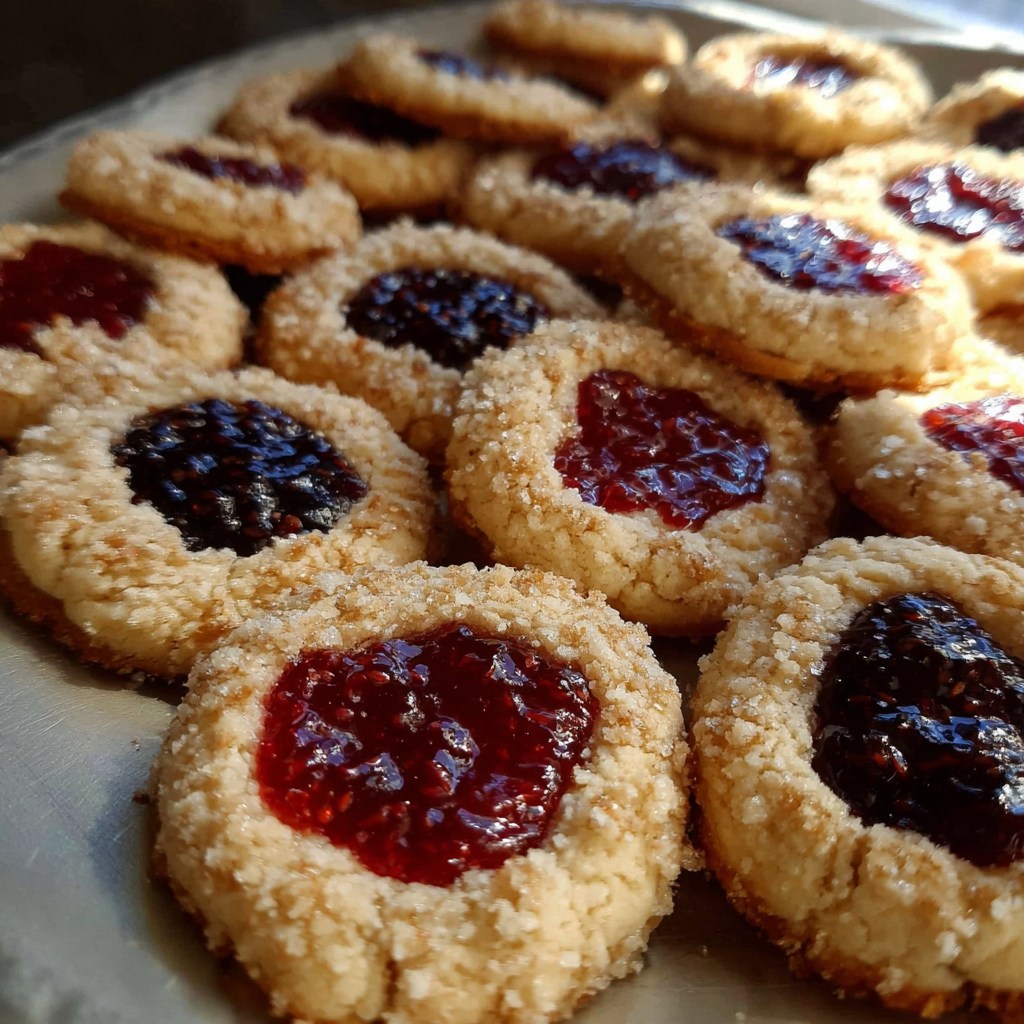
I bake the cookies for 12-14 minutes. They are done when the edges are just starting to turn a very light golden brown, but the tops are still pale. As they bake, the indentations will puff up slightly. The moment I pull them from the oven, I use the same spoon end to gently redefine the thumbprint wells—this is a crucial step to ensure the jam has a perfect place to settle. I let the cookies cool on the baking sheet for 5 minutes before transferring them to a wire rack. Once completely cool, I spoon or pipe about 1/2 teaspoon of jam into the center of each cookie. The residual heat from a warm cookie can make jam runny, so patience here is key.
Pro Tips for Best Results
Chilling the dough is not optional. It firms up the butter, which ensures your cookies keep their shape and don’t spread into flat puddles in the oven. If your kitchen is warm, I even chill the rolled dough balls on the baking sheet for 15 minutes before baking. I’ve tested this three different ways, and the chill time is the secret to perfect, plump cookies.
Re-press the indentations immediately after baking. The cookies relax and puff in the oven, partially filling in the thumbprint. Taking a second to gently press the warm, soft dough back down creates a perfect, clean well for the jam. If you wait until they cool, they’ll crack.
Use a small spoon, a piping bag with a small tip, or even a small zip-top bag with the corner snipped off to fill the cookies. This gives you much more control than trying to pour from a jar, preventing messy drips down the sides and ensuring each cookie gets just the right amount of fruity goodness.
Common Mistakes to Avoid
My first batch turned out flat and greasy because my butter was too soft. I took “softened” to mean “almost melted.” Your butter should be cool—you should be able to make an indent with your finger, but the stick should still hold its shape. If it’s oily or shiny, it’s too warm. Pop it back in the fridge for 10 minutes if you’re unsure.(See the next page below to continue…)