
Next, I fold in my crushed Oreo cookies, which adds that delightful crunch and flavor. Once everything is well mixed, I pour the batter into my prepared cake pan. I can already smell the rich chocolate aroma as it goes into the oven! I bake my cake for about 30-35 minutes or until a toothpick comes out with a few moist crumbs—not completely clean, as I want that gooey fudge texture. When it’s done baking, I take it out and let it cool in the pan for about 10 minutes before flipping it onto a wire rack.
As the cake cools, the fudge sets up slightly, but the warm Oreos are still soft and delicious. You can serve it warm, which I highly recommend, as it’s a delightful way to enjoy the textures. As I slice into the cake, the fudge oozes slightly, and the mix of textures makes my mouth water!
Pro Tips for Best Results
I’ve tested this recipe a few times to ensure perfection. One thing I learned is that using room temperature ingredients—like milk and eggs—can make a noticeable difference in the texture of the cake. Trust me, running to the fridge to grab cold milk will change how your batter combines!
Another tip is to watch your baking time closely. Ovens can vary, and I’ve found that my cake is best when it’s slightly underbaked for that fudgy center. So don’t be afraid to check it a few minutes early.
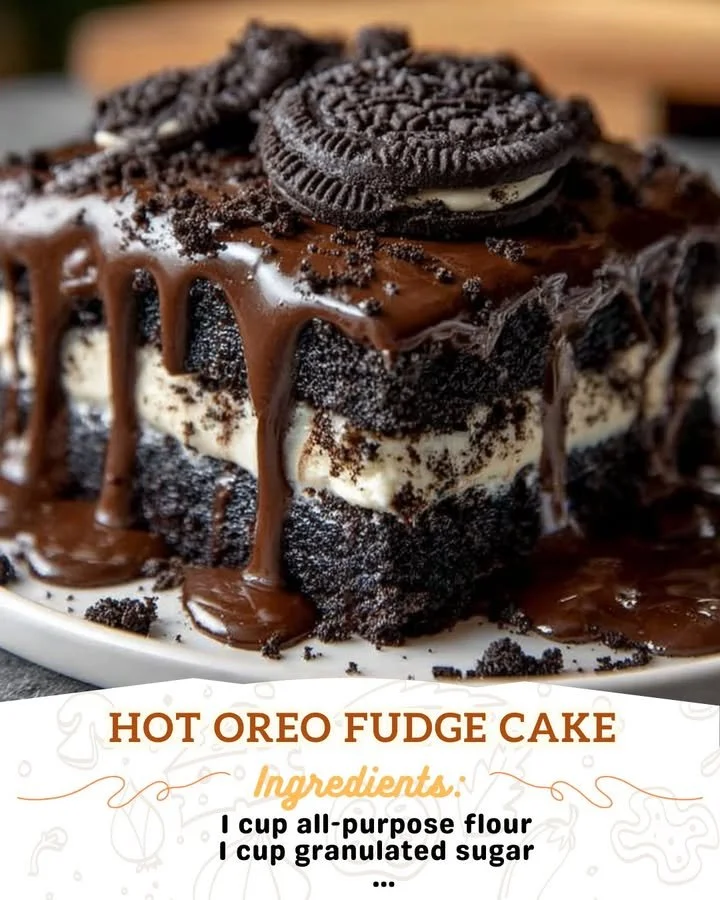
Finally, if you want to enhance the Oreo flavor even more, sprinkle some crushed Oreos on top of the cake right before serving. It adds a wonderful visual touch and a delightful extra crunch!
Common Mistakes to Avoid
One common mistake I made during my earlier attempts was not greasing the pan adequately. Let me tell you, the first time I tried to remove the cake from the pan, it crumbled instead of coming out in one piece. A well-greased pan is key to keeping your cake intact and looking fabulous! (See the next page below to continue…)