
The very first time I made these Hot Chocolate Cookie Cups, my entire kitchen smelled like a cozy December night wrapped in vanilla, sugar cookie warmth, and that unmistakable aroma of chocolate pudding that reminds me of childhood snow days. I stumbled on this idea when I needed a cute holiday dessert that wasn’t complicated, and I instantly fell in love with how fun they were to assemble. As I filled each cookie cup, I couldn’t stop smiling—they’re tiny, adorable, and everyone reaches for one immediately.
Why You’ll Love This Recipe
You’ll adore this recipe because it brings that hot cocoa magic into bite-sized cookie form without requiring any complicated baking skills. You get that perfect balance of soft, buttery cookie paired with rich chocolate pudding, and it’s honestly one of those treats that looks like you spent hours crafting when it actually takes very little effort. If you’ve ever needed a dessert that delights kids and adults equally, these little edible cocoa mugs will become your new holiday go-to.
Ingredients
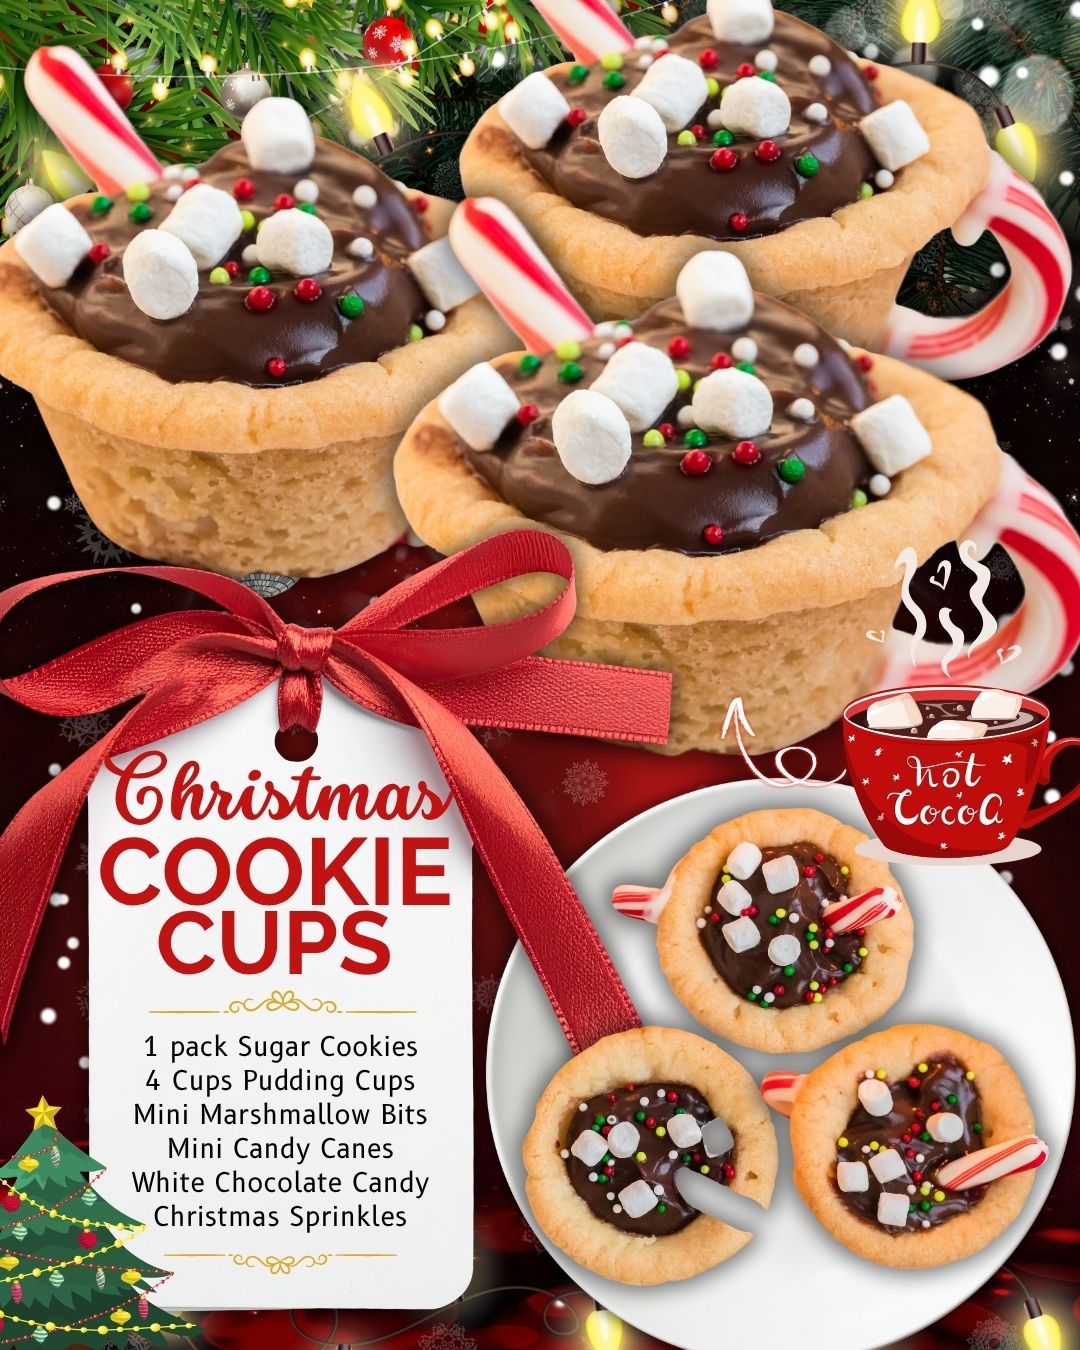
- 1 pack sugar cookie dough (ready-made dough or mix)
- 4 chocolate pudding cups
- Mini marshmallow bits
- Mini candy canes
- White chocolate candy (melted)
- Christmas sprinkles
After testing this recipe a few times, I learned that ready-made sugar cookie dough works beautifully because the dough stays soft inside but still forms a sturdy cup. You can substitute vanilla pudding or chocolate mousse if you want something richer, but pudding cups make the process incredibly easy. The mini marshmallow bits are important—they won’t melt into a gooey mess the way full-size marshmallows do. Mini candy canes work best for “handles” because they’re light and don’t weigh down the cookie cup. And the white chocolate candy acts like edible glue, so don’t skip it.
Equipment Needed
- Mini muffin pan
- Mixing bowl (if using cookie mix)
- Cooling rack
- Small piping bag or spoon
- Microwave-safe bowl
I love using a mini muffin pan for this because it creates perfectly shaped, sturdy cookie cups without fuss. A cooling rack helps the cookies firm up evenly so they don’t become soggy on the bottom. And while you can spoon the pudding in, a piping bag makes it much cleaner and quicker—especially if you’re making a large batch. A microwave-safe bowl is essential for melting the white chocolate smoothly; I’ve tried stovetop melting, but microwaving gives me more control and fewer burnt edges.
Step-by-Step Instructions
When I start making these cookie cups, the first thing I do is press small portions of sugar cookie dough into each mini muffin cup, making sure to push the dough up along the sides. I learned early on that if you press too much dough into each well, the cookies expand too much and lose that perfect “cup” shape. Using less dough than you think you need is the secret here. I also lightly spray the pan with baking spray, which helps the cookie cups release cleanly later.
Then I bake the dough just until the edges are lightly golden. Here’s where I made a mistake the first time—I overbaked them thinking they needed more color, but they firm up a lot as they cool. What I do now is remove them early and immediately use the back of a teaspoon to press the center down again to reinforce that cup shape. I know it sounds strange, but doing this while they’re warm makes all the difference. The soft cookie reshapes easily and holds its form once cooled.
Once the cookies are completely cooled, I fill a piping bag with the pudding cup contents. You can also spoon it in, but piping keeps the tops smooth and helps control the amount. This is when my kitchen starts smelling like the combination of sugar cookies and chocolate pudding—honestly, I wish there were a candle with that scent. I fill each cookie cup until the pudding sits slightly above the rim, giving them that “mug full of cocoa” look.(See the next page below to continue…)