
Finally, I scrape down the sides of the bowl with a rubber spatula, ensuring everything is blended uniformly. This is the moment I get really excited! The frosting is now ready to be dolloped on cakes, cookies, or whatever treats I have in mind. I can hardly wait to taste it!
Pro Tips for Best Results
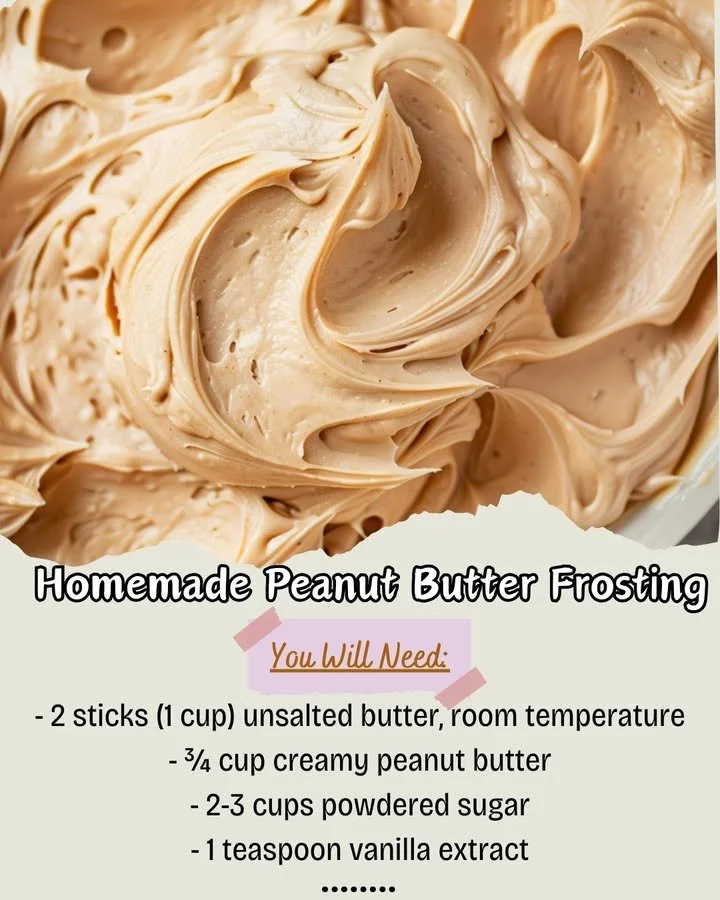
I tested this Homemade Peanut Butter Frosting three different ways, and I discovered that the type of peanut butter really matters. I prefer using a creamy, natural peanut butter that doesn’t contain added sugars or oils, as it yields a fresher flavor. Believe me; the difference is noticeable. If you’re feeling adventurous, try using crunchy peanut butter!
Another tip I wish someone had told me sooner is to serve this frosting right after you make it. It’s simply at its best when it’s fresh and fluffy. If you do have leftovers, be sure to store them in an airtight container to maintain that airy texture. I made the mistake of not covering mine once, and it became hard and difficult to spread.
Lastly, always taste your frosting as you go. This is the best way to ensure it’s exactly to your liking. I often adjust the sweetness by playing with the amount of powdered sugar. Sometimes, I even sneak in a splash of maple syrup for an extra layer of flavor—it takes this frosting to a whole new level!
Common Mistakes to Avoid
I made this mistake the first time I made the frosting—don’t use cold butter! The butter needs to be softened at room temperature for at least 30 minutes before you start mixing. Cold butter will clump, and it won’t blend smoothly with the peanut butter. Trust me; nobody wants a chunky frosting! (See the next page below to continue…)