
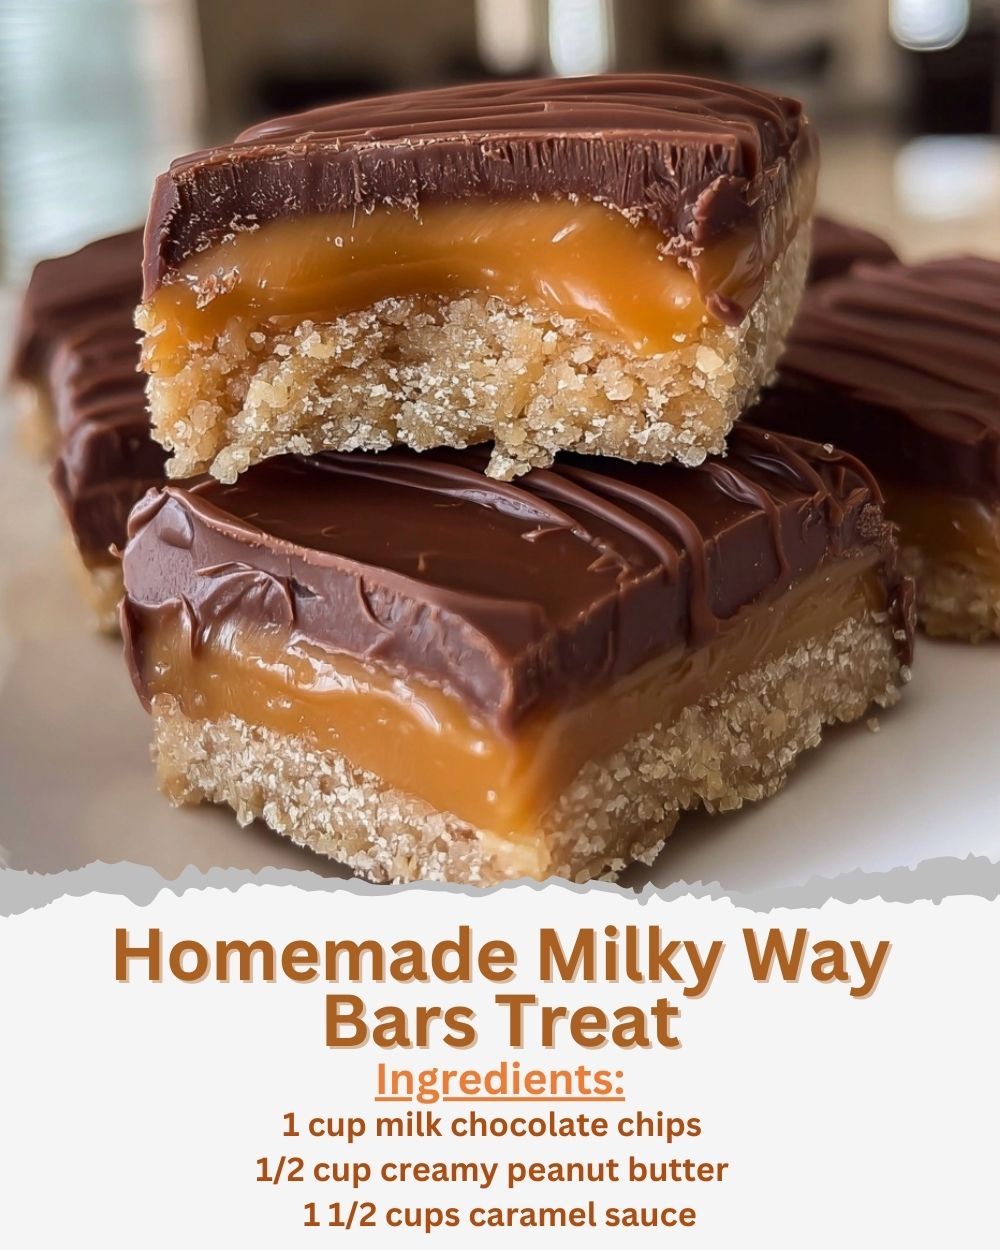
Homemade Milky Way Bars Treat is the kind of irresistible, melt-in-your-mouth candy experience that takes everything you love about the iconic chocolate bar and transforms it into a richer, creamier, unbelievably decadent homemade version. Imagine soft, fluffy nougat layered with silky caramel and wrapped in a smooth chocolate shell—that perfect combination of chewy, creamy, and chocolaty that makes each bite feel like pure indulgence.
But unlike store-bought bars, these homemade treats taste fresher, smoother, and far more luxurious. They’re surprisingly easy, require no baking, and look beautifully polished once sliced. Whether you’re prepping holiday treats, gifting friends, filling dessert boxes, or craving a nostalgic sweet, these bars check every box. One bite, and they instantly become your new go-to candy fix.
Equipment You Will Need
- 9×13-inch baking dish
- Parchment paper
- Microwave-safe bowls
- Rubber spatula
- Small saucepan
- Measuring cups and spoons
- Sharp knife
- Cooling rack (optional)
- Offset spatula (optional)
Ingredients List
- Nougat Layer
- 1 bag (11–12 oz) milk chocolate chips
- ½ cup creamy peanut butter
- 1 jar (7 oz) marshmallow crème
- 1 cup powdered sugar
- 1 tsp vanilla extract
- Caramel Layer
- 1 package (11 oz) caramel bits or soft caramels
- ¼ cup heavy cream
- 1 tbsp butter
- Chocolate Coating
- 2 bags (22–24 oz total) milk chocolate chips
- 2 tbsp coconut oil or vegetable shortening
- Optional Add-Ins
- Sea salt flakes
- Crushed nuts
- Mini marshmallows
- Espresso powder (for deeper chocolate flavor)
Step-by-Step Instructions
Start by lining your 9×13 baking dish with parchment paper, leaving overhang on the sides to lift the bars out later. In a microwave-safe bowl, melt the milk chocolate chips and peanut butter together in 30-second intervals, stirring between each until smooth and glossy.
Pour this mixture into the bottom of the prepared pan and spread evenly using a spatula. Place the pan in the freezer for 10–15 minutes to allow the base to firm up before adding the next layer.
While the base chills, prepare the nougat. In a clean bowl, gently heat the marshmallow crème for a few seconds until softened. Add powdered sugar and vanilla, stirring slowly until a fluffy, thick nougat forms. If it becomes too thick, warm it slightly to loosen.
Spread the nougat gently over the chilled chocolate layer, pressing lightly to avoid mixing the two. Return the pan to the freezer for another 10 minutes to set.
Next, prepare the caramel layer. Place caramels, heavy cream, and butter into a saucepan over medium-low heat, stirring continuously until smooth and fully melted. This mixture should be creamy and pourable. Remove from heat and allow to cool for 1–2 minutes so it doesn’t melt the nougat.
Pour the caramel evenly over the nougat layer, tilting the pan slightly to help it spread. Return the pan to the freezer for 20 minutes to firm and stabilize the layers.
Finally, create the outer chocolate coating. Melt the remaining milk chocolate chips with coconut oil in 30-second bursts, stirring until silky and smooth. Once the caramel layer is fully set, lift the entire slab out of the pan using the parchment overhang.
Place it on a cutting board and use a sharp knife to slice into bars—rectangles, squares, or bite-size pieces depending on preference. Dip each bar or drizzle chocolate over the top to coat. For a full coating, use a fork to hold bars over the melted chocolate and tap gently to remove excess.
Set each coated bar onto parchment or a cooling rack. Chill in the refrigerator for 15–20 minutes until firm. For cleaner edges, trim sides after the final chill. Serve at room temperature or slightly chilled for the perfect Milky Way–like texture.
Expert Tips for Success
Chill each layer thoroughly before adding the next to prevent mixing or collapsing. Use parchment overhang—this small detail makes lifting and slicing much easier. When spreading nougat, use short strokes and avoid pressing too hard; the warm chocolate layer underneath can shift.
If the nougat sticks to your spatula, lightly spray it with nonstick spray to smooth effortlessly. Caramel should be warm and pourable, not hot—hot caramel melts nougat.
Add coconut oil to melted chocolate for a smoother, candy-bar–quality finish. For ultra-clean slices, chill the full slab, slice with a heated knife, and wipe between cuts.
If chocolate thickens while dipping, rewarm in short bursts to maintain fluidity. Don’t rush the chilling process—patience ensures perfectly layered homemade bars.
Keep nougat fluffy by mixing slowly and avoiding over-stirring. If yours becomes stiff, microwave a few seconds to soften. If your caramel layer is too thick to pour, add a teaspoon of cream until silky. While dipping, hold bars over the bowl and tap gently to remove excess chocolate. This creates a professional-looking finish and prevents chocolate pooling.
Variations and Substitutions
For dark chocolate fans, swap milk chocolate for semi-sweet or dark chocolate for richer flavor. Make a salted caramel version by sprinkling flaky sea salt on top before the final chill.
Create a crunchy variation by mixing chopped peanuts, pretzels, or toffee bits into the nougat layer. Peanut butter lovers can increase peanut butter or use Reese’s pieces as mix-ins.
For a cookies-and-cream twist, add crushed chocolate sandwich cookies to the nougat. A mocha version can be made by whisking a pinch of espresso powder into the melted chocolate layers for deeper notes. Drizzle with white chocolate after coating for a marbled effect. For a holiday version, top bars with crushed peppermint candies.
For dairy-free bars, use dairy-free chocolate chips and coconut cream in the caramel. Almond butter or cashew butter can replace peanut butter for milder flavors. Make mini bites by shaping nougat and caramel into small balls, then dipping into melted chocolate. This creates irresistibly poppable candy bites.
Serving Suggestions and Pairings
Serve these bars chilled for firm texture or room temperature for soft, gooey centers. Add them to dessert trays, holiday cookie boxes, or themed candy platters. Pair with hot cocoa, coffee, or a glass of cold milk for nostalgic comfort. Serve alongside brownies, no-bake treats, truffles, or chocolate-covered fruit for a stunning chocolate-lover’s spread.
Cut bars into mini squares for party snacks. Create an indulgent sundae topping by chopping bars into chunks and sprinkling over ice cream.
Pair with fresh berries to balance sweetness. Add them to lunchboxes, game-night snack boards, or family movie night trays for easy nibbling. Their rich chocolate and soft caramel make them perfect after-dinner treats.
For gifting, wrap bars individually in wax paper or place in decorative tins. Use festive ribbons for holidays or celebrations. They hold up well at room temperature for hours, making them perfect for gatherings, bake sales, or potlucks.
Storage, Freezing, and Reheating
Store Homemade Milky Way Bars in an airtight container in the refrigerator for up to one week. Keep parchment between layers to prevent sticking. For softer bars, store at room temperature for up to three days. For firmer texture, refrigerate and remove 10 minutes before serving.
To freeze, wrap each bar tightly in plastic wrap, then in foil. Store in freezer-safe containers for up to three months. Thaw in the refrigerator overnight or at room temperature for one hour. Freezing does not affect texture due to the high-fat content of the chocolate and nougat layers.
Avoid reheating—these bars are meant to stay cool. If chocolate develops condensation while thawing, let bars sit uncovered until dry. Proper storage ensures you enjoy perfect, silky-smooth, chewy bars every time.
Frequently Asked Questions
Can I use marshmallows instead of marshmallow crème?
Yes—melt marshmallows with a little butter, but texture will be slightly thicker.
Why is my nougat too sticky?
Add a bit more powdered sugar or chill briefly before spreading.
Can I make these fully no-dip?
Yes—simply spread a chocolate top layer instead of dipping each bar.
Can I use caramel sauce instead of melted caramels?
Not recommended—sauce doesn’t set properly.
Can I halve the recipe?
Yes—use an 8×8-inch dish for a smaller batch.