
Most homemade Milky Way bar recipes lean on a quick nougat shortcut instead of classic whipped egg white nougat. Semi‑sweet chocolate chips are melted with a bit of milk (evaporated or sweetened condensed), then blended with marshmallow creme or mini marshmallows to make a fluffy, fudge‑like chocolate nougat layer.
That nougat is spread in a parchment‑lined pan and chilled briefly to set. A caramel layer, made by melting soft caramel candies with a splash of milk or cream, is poured over the nougat and chilled until firm enough to cut into rectangles. Finally, each piece is dipped in melted chocolate coating (usually melting wafers or chocolate plus oil) to create a glossy shell that snaps when you bite it. The result is a candy bar with recognizable layers and textures: fluffy chocolate center, stretchy caramel, and smooth chocolate outside.
Equipment
- 8×8‑inch or 9×9‑inch baking pan for setting the nougat and caramel layers (some recipes use a 9×13 pan for thinner bars).
- Parchment paper to line the pan with overhang, making it easy to lift out the set slab.
- Medium saucepan or microwave‑safe bowl for melting chocolate and marshmallows for the nougat.
- Second saucepan or microwave‑safe bowl for melting caramels with milk or cream.
- Heatproof spatula for stirring and spreading nougat and caramel layers evenly.
- Large microwave‑safe bowl for melting chocolate coating with oil.
- Sharp knife for cutting the nougat‑caramel slab into bar‑size rectangles or bite‑size squares.
- Forks or candy‑dipping tools for coating bars in melted chocolate.
- Wire rack or parchment‑lined baking sheet for setting the dipped bars.
- Refrigerator and/or freezer space for quick‑chilling layers and setting the coating.
Ingredients (with measurements)
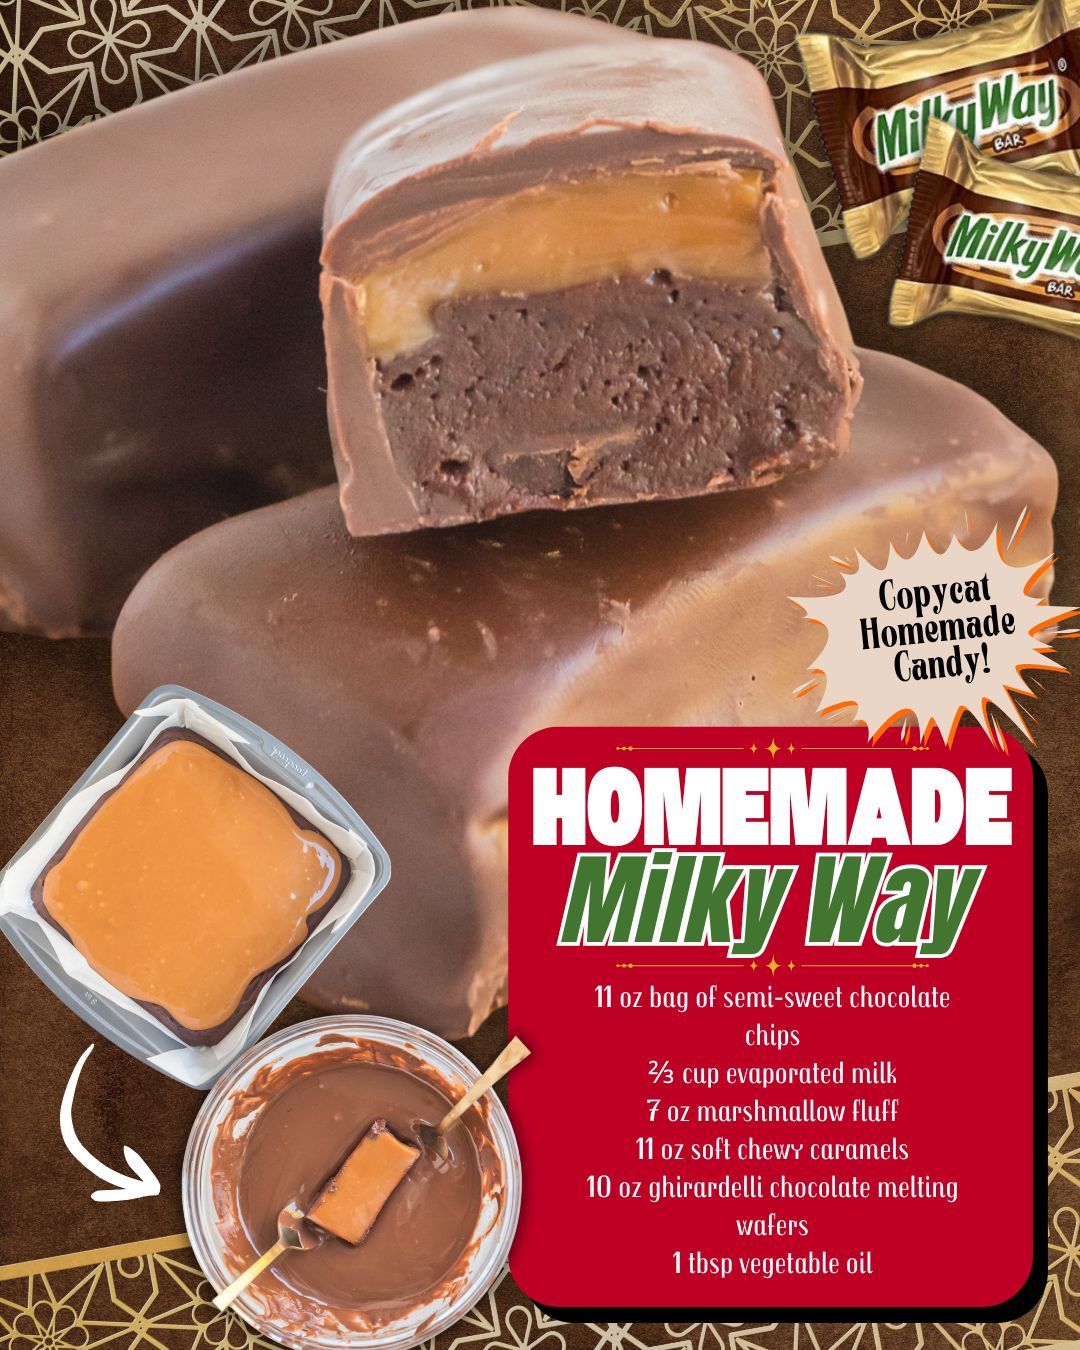
A popular no‑bake, 5‑ingredient homemade Milky Way bar formula looks like this.
For the nougat layer:
- 11 oz (about 2 cups) semi‑sweet chocolate chips.
- ⅔ cup evaporated milk, divided (½ cup for the nougat plus 2–3 tablespoons held back for caramel in some recipes, or all ⅔ cup used with the chocolate depending on the formula).
- 7 oz jar marshmallow fluff (marshmallow creme).
For the caramel layer:
- 11 oz bag soft chewy caramels, unwrapped (such as Kraft or similar).
- 2–4 tablespoons evaporated milk, cream, or milk to help melt and thin the caramel.
For the coating:
- 10 oz bag chocolate melting wafers (often Ghirardelli) or 2–3 cups of chopped milk or semi‑sweet chocolate.
- 1 tablespoon vegetable oil or coconut oil to thin and add shine.
This yields about 16 full‑size candy bars if cut into standard rectangles from an 8×8 or 9×9‑inch pan. Some recipes double the chocolate coating if you want thicker shells or if you’re making bite‑size squares instead of bars.
Other versions use slightly different nougat bases:
- Butter + mini marshmallows + chocolate + vanilla + salt cooked together.
- Sweetened condensed milk + chocolate + marshmallow creme for an extra rich, fudge‑like nougat.
All aim for a soft but sliceable chocolate filling layer.
Instructions and steps
The process for classic homemade Milky Way bars follows three main stages: nougat, caramel, and chocolate coating.
Make and set the nougat layer
The pan is prepared first. An 8×8‑inch or 9×9‑inch baking pan is lined with parchment paper, leaving a couple of inches of overhang on two sides to form “handles” for lifting out the set candy. The parchment helps prevent sticking and keeps the layers neat.
For the nougat, semi‑sweet chocolate chips are placed in a saucepan or microwave‑safe bowl with evaporated milk. The mixture is heated gently over medium‑low heat or microwaved in short bursts, stirring between intervals, until the chocolate is fully melted and the mixture is smooth and glossy.
The pan is then removed from heat, and marshmallow fluff (or marshmallow creme) is folded in until completely combined. The marshmallow thickens the chocolate into a gooey, whipped nougat texture that should be spreadable but not runny.
This chocolate‑marshmallow mixture is poured into the prepared pan and spread evenly from corner to corner with a spatula, smoothing the top. The pan is placed in the refrigerator for about 30–60 minutes, or until the nougat layer has firmed up enough to support the caramel layer on top without blending together.
Prepare and add the caramel layer
While the nougat chills, the caramel layer is prepared. Soft chewy caramels are unwrapped and placed in a saucepan along with a few tablespoons of evaporated milk, cream, or regular milk. The pan is set over low to medium‑low heat, and the mixture is stirred frequently until the caramels are fully melted and smooth.
The goal is a thick but pourable caramel that will set to a chewy layer. If the caramel seems too thick, a bit more milk is added; if too thin, it can be cooked a bit longer to reduce slightly.
After the caramel has melted, it is allowed to cool for a few minutes off the heat to avoid melting the nougat layer; many recipes mention 5–10 minutes of cooling so the caramel thickens slightly but remains pourable.
The chilled nougat pan is removed from the refrigerator, and the warm caramel is poured over the top, then spread into an even layer with a spatula. The assembled pan is returned to the refrigerator for at least 1 hour (sometimes longer) until the caramel is fully set and firm to the touch.
Cut and coat the bars in chocolate
Once the nougat and caramel are set, the entire slab is lifted out of the pan using the parchment overhang and placed on a cutting board. A sharp knife is used to cut the slab into bars: one cut down the center, then cross‑cuts yielding about 16 rectangles, or smaller cuts for bite‑size pieces.
If the caramel is still soft or oozing as you cut, the bars can be placed briefly in the freezer (about 10–20 minutes) to firm up further before dipping.
For the chocolate coating, chocolate melting wafers or chopped chocolate plus a bit of oil are placed in a large microwave‑safe bowl and microwaved at 50% power in 30‑second intervals, stirring between each session, until melted and smooth. Using confectionery coating (melting wafers) avoids the need for tempering and helps the shell set shiny and firm.
To dip, a bar is placed on a fork or dipping tool and lowered into the melted chocolate, then turned to coat all sides. The fork is lifted out, and the excess chocolate is allowed to drip off with gentle tapping on the bowl’s edge. The coated bar is then slid off onto a parchment‑lined baking sheet. This process is repeated with all the bars. If the nougat‑caramel centers begin to soften during dipping, they can be refrozen briefly to firm up before continuing.
Once all bars are coated, the tray is placed in the refrigerator to chill for about 30 minutes or until the chocolate shell is completely set. At that point, the bars can be transferred to an airtight container with parchment between layers. These homemade Milky Way bars keep well in the refrigerator for about a week; many home cooks note they also freeze nicely, making them a great make‑ahead treat.
Variations
Homemade Milky Way bar recipes offer many ways to customize the classic nougat‑caramel‑chocolate combination. Ingredient tweaks can adjust sweetness, texture, and dietary profile. For example, some allergy‑friendly or vegan versions use dairy‑free butter and vegan mini marshmallows in the nougat, plus coconut cream and dairy‑free chocolate chips for both nougat and coating.
Others rely on dates and coconut ingredients to make no‑cook nougat and caramel layers that are naturally sweetened and gluten‑ and dairy‑free.
Nougat styles vary widely. The simplest uses marshmallow fluff stirred into melted chocolate and evaporated milk. More involved recipes cook butter, sugar, and evaporated milk before adding marshmallow cream, vanilla, and chocolate chips to create a traditional marshmallow nougat that sets firm.
Some include malted milk powder in the nougat for a flavor twist reminiscent of malted chocolate bars. Peanut butter can be added to the nougat for a “Milky Way meets Snickers” vibe.
Caramel layers can be as simple as melted caramel candies with milk or as complex as from‑scratch caramel made by cooking sugar, butter, and cream to a precise color and consistency. Using store‑bought caramels keeps the recipe easy and consistent, while homemade caramel allows control over salt, firmness, and flavor intensity.
Some home cooks stir a pinch of sea salt into the caramel or sprinkle flaky salt over the bars before the chocolate sets to create salted Milky Way bars.
The chocolate coating is another area for customization. Classic Milky Way bars use milk chocolate, and many copycat recipes choose milk chocolate wafers to match that flavor. However, semi‑sweet or dark chocolate coatings can make the bars less sweet and more intense, which is often preferred by adults. A thin drizzle of contrasting white chocolate or dark chocolate over the top of milk‑chocolate‑coated bars also adds a professional finish.
Shape and size can easily be adjusted. Instead of full bars, you can cut the nougat‑caramel slab into small squares (“Milky Way bites”) and dip them, making bite‑size candies suitable for trays or gifting.
The entire slab can also be left uncoated and sliced like layered fudge, especially if you prefer to skip the dipping step and simply pour a top layer of melted chocolate over the caramel before chilling and cutting.
There are even “healthier” or more rustic takes, like date‑based nougat and coconut‑sugar caramel, or bars coated in a thinner layer of dark chocolate and cut very small, intended for moderated indulgence. But all these versions keep the same core structure that defines a Milky Way: a soft, chocolate‑tinged nougat base, a chewy caramel layer, and a smooth chocolate exterior.