
When the filling mixture is ready, I scoop small balls onto a parchment-lined baking sheet. The size is totally up to you—I usually aim for chocolate-covered-marshmallow size—but you can make them tiny like store-bought Junior Mints if you want. Once they’re all portioned, I gently flatten each one with my fingertip. They don’t need to be perfect because the chocolate coating hides everything. Then I pop the tray into the freezer for at least 20–25 minutes to set the centers.
While the mint centers are freezing, I melt the chocolate chips with the shortening. I use a double boiler because it gives me smoother control, but the microwave works too. Just heat the mixture in short 20-second intervals and stir between each round. You’re aiming for glossy, pourable chocolate. When the mint centers are fully chilled, I take them out and dip them one by one into the melted chocolate using a fork or dipping tool. I tap the fork lightly on the edge of the bowl to remove excess chocolate before placing each candy back onto the parchment.
After dipping all the mints, I return the tray to the fridge to let the chocolate set completely. This step is essential because it gives the candies that signature clean bite. Once they’re firm, I taste-test a couple (obviously!) before storing the rest. The finished Homemade Junior Mints look adorable, taste luxurious, and always disappear faster than I expect.
Pro Tips for Best Results
One trick I swear by is making sure the mint filling mixture is chilled thoroughly before dipping. The first time I made these, I rushed the chilling step because I couldn’t wait to dip them, and the filling started to melt in the warm chocolate. Now I always give the centers at least 25 minutes in the freezer.
Another tip I learned the hard way is to avoid over-mixing the chocolate. If chocolate gets too hot, it thickens instead of staying smooth, making dipping messy. Slow melting keeps it silky and easy to work with. Adding the teaspoon of shortening gives the coating that perfect glossy finish and helps prevent cracking.
I also discovered that making the mints slightly flatter—almost like little discs instead of balls—helps them coat more evenly in chocolate. When they’re too round, the chocolate tends to pool at the bottom, creating thick edges. A gentle press with my fingertip solves this.
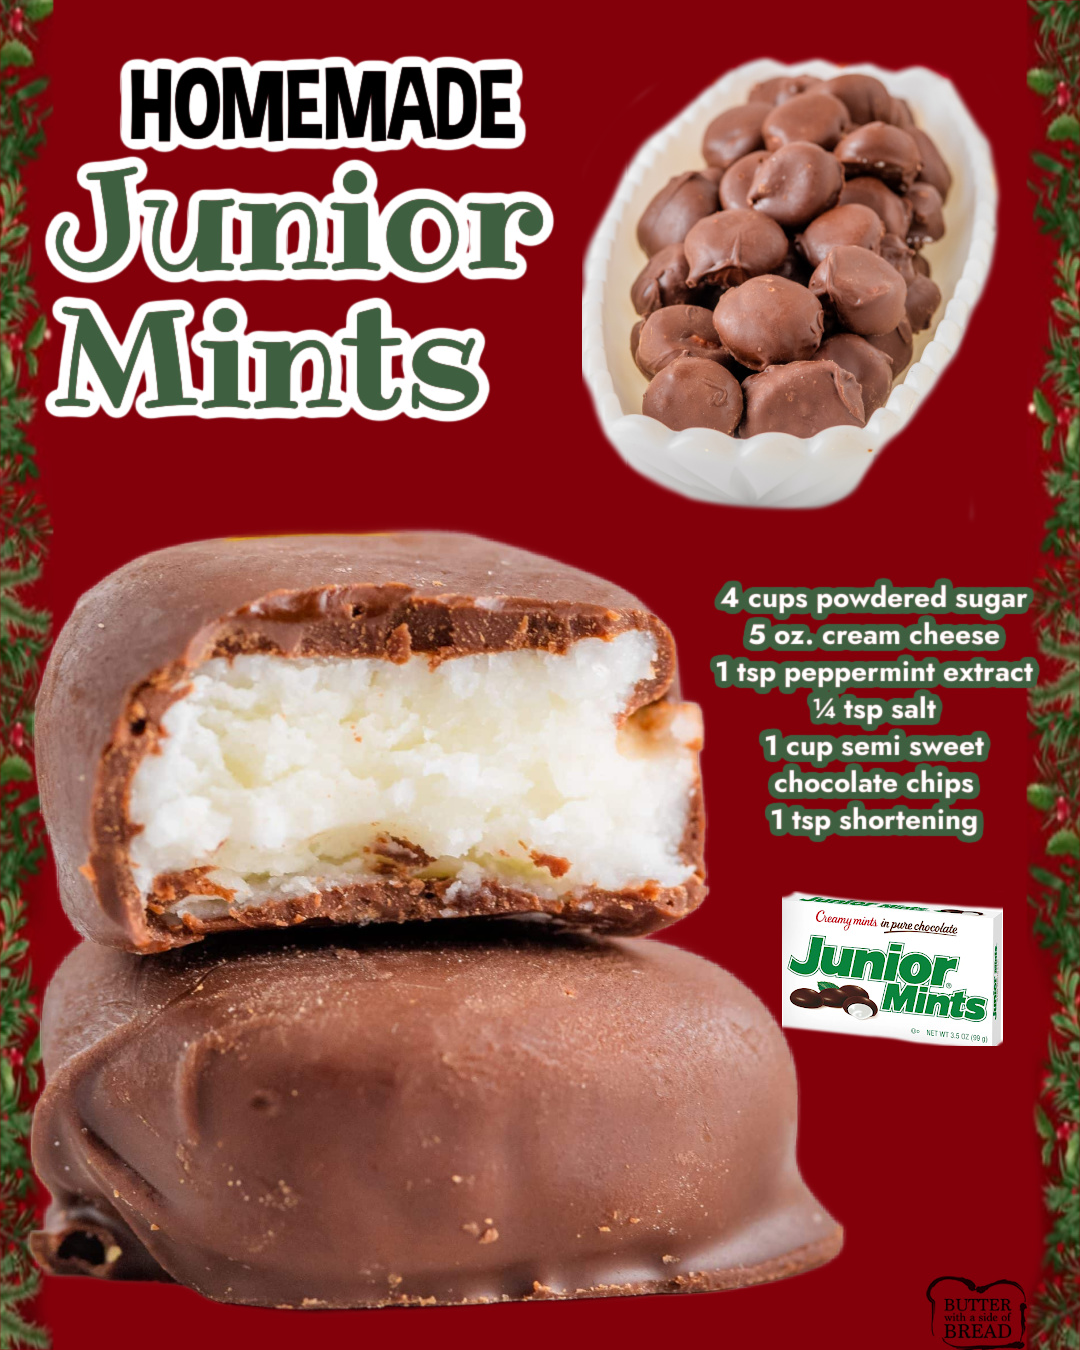
Last, if you want the filling to be super smooth, sift your powdered sugar before mixing it in. It may seem unnecessary, but it eliminates tiny lumps and helps the mint centers melt on your tongue just like the real thing.
Common Mistakes to Avoid
One mistake I made the first time was adding too much peppermint extract. Peppermint extract is strong—much stronger than you expect—so resist the urge to add extra until after tasting the filling. Too much mint can overwhelm the chocolate completely.(See the next page below to continue…)