
Another mistake is adding the powdered sugar too quickly. I once dumped the full amount in at once and ended up with a mound of dry, crumbly dough I had to knead like bread. Cream cheese mints should never require elbow grease. Slowly incorporating the sugar keeps the dough light and soft.
I also learned not to over-flavor the mints. Peppermint extract is potent, and adding “just one more drop” can push the flavor from refreshing to harsh. When in doubt, start with less. You can always add another tiny drop, but you can’t take it out.
Lastly, avoid drying the mints in humid or warm environments. I once left them near the stove while cooking dinner, and they absorbed moisture and refused to firm up properly. A cool, dry counter works best for perfect results.
Serving Suggestions
I love serving these cream cheese mints at holiday gatherings because their soft pastel colors brighten any dessert table. I place them in small decorative bowls or candy dishes, and people always gravitate toward them because they look so elegant and nostalgic. They pair beautifully with coffee or hot cocoa, offering a refreshing contrast to warm drinks.
For baby showers, I often color the mints pink, blue, or neutral pastel shades. Arranging them on small tiered trays gives the table a sweet, charming touch. They’re also perfect for gifting—pack them in small tins or clear treat bags tied with ribbon, and they instantly become adorable party favors.
During wedding season, I love shaping the mints using small silicone molds. Hearts, flowers, and initials make them extra special. A few trays of beautifully molded mints always make guests smile, and they’re the kind of treat people remember long after the event is over.
When I’m hosting a casual get-together, I simply serve them alongside cookies or brownies. Guests always comment on their soft texture and cooling peppermint flavor, and they balance heavier desserts wonderfully. Sometimes I even scatter them around dessert platters like edible confetti.
Variations & Customizations
One of my favorite variations is adding a hint of vanilla extract along with the peppermint. It softens the sharpness of the mint and gives the mints a creamier, rounder flavor. I’ve made this version for people who don’t love strong mint, and they always appreciate the milder taste.
Another option is to experiment with colors. I’ve done rainbow batches for kids’ parties, ombré shades for birthdays, and even red-white-and-blue for patriotic celebrations. Gel coloring works beautifully because you only need a tiny bit to achieve rich shades.
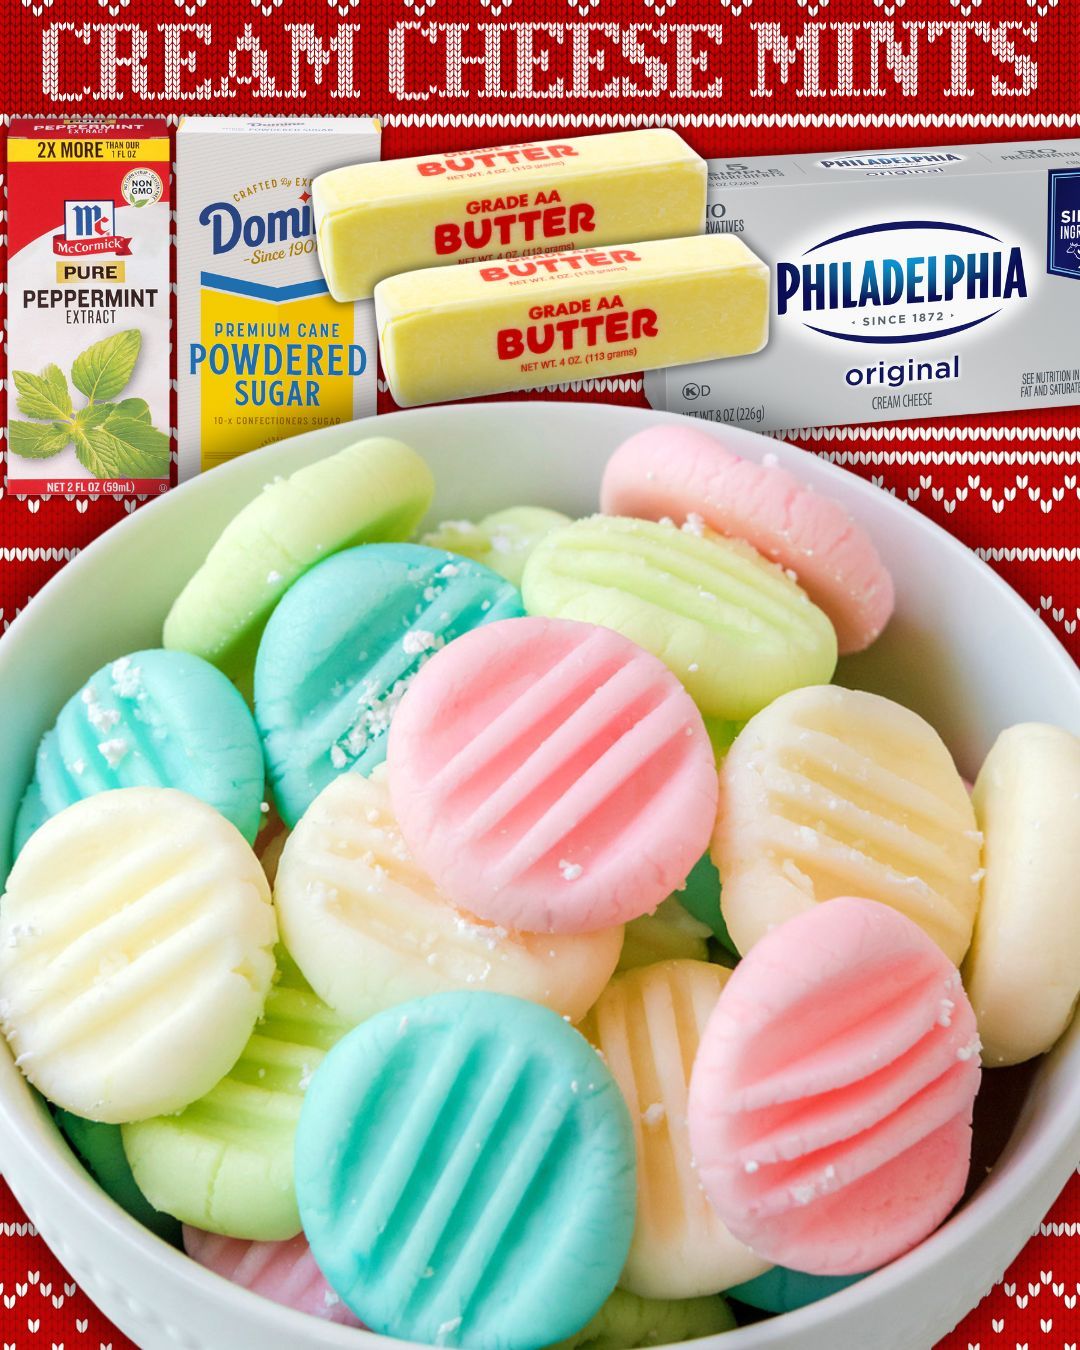
You can also roll the mints in granulated sugar before placing them on the sheet. This gives them a subtle crunch and a sparkly finish that looks beautiful under party lights. I’ve served sugar-rolled mints at Christmas, and they almost looked like little frosty snowballs.
For a gourmet twist, try adding a drop of lemon or orange extract to some of the dough. Citrus pairs surprisingly well with cream cheese, creating bright, refreshing mints that feel sophisticated and unique. When I served lemon-tinged mints at a summertime brunch, they disappeared first.
How to Store, Freeze & Reheat
I’ve tested multiple storage methods, and the best way to keep these mints fresh is storing them in an airtight container at room temperature for 1 week. Place a piece of parchment between layers to prevent sticking. They firm up slightly but still maintain that creamy center.
For longer storage, freezing works beautifully. I freeze them in a single layer on a baking sheet, then transfer them to a freezer-safe container. They last up to 3 months, and the texture stays nearly identical after thawing. Whenever I need last-minute treats for an event, I always thaw a frozen batch—they’re a lifesaver.
To thaw, just let the mints sit at room temperature for about 15 minutes. They soften perfectly without becoming sticky. Avoid thawing them in the fridge; I once tried that, and they got too moist and lost some of their firmness.
Since these are no-bake treats, reheating doesn’t apply, but I will say this: if your mints ever feel too firm after storing, leave them on the counter for a few minutes. They’ll regain their creamy texture in no time.
Nutrition Information
Homemade Cream Cheese Mints are definitely on the indulgent side, thanks to the cream cheese and powdered sugar. But because they’re small and melt-in-your-mouth light, they make a satisfying treat without feeling overly heavy. When I want to enjoy something sweet without overdoing it, one or two mints perfectly hit the spot.
The cream cheese provides a bit of richness and contributes that velvety texture, while the powdered sugar gives the mints structure and sweetness. There aren’t a lot of complicated ingredients here, which is part of their charm—they’re simple, sweet, and nostalgic.
These mints are naturally gluten-free, which makes them a great option for gatherings where guests may have dietary restrictions. I love making them for mixed groups because they’re universally enjoyed and safe for most people to eat.
While they’re not low-calorie by any means, they are portion-controlled and satisfying. I always remind myself that treats are meant to be enjoyed—and these little mints offer joy in every bite.
Conclusion
Homemade Cream Cheese Mints have become one of my favorite nostalgic treats to make because they’re simple, charming, melt-in-your-mouth delicious, and incredibly customizable—and every time I shape a batch, I’m reminded of how much joy a tiny sweet bite can bring. I hope these mints bring just as much delight to your kitchen as they always bring to mine.