
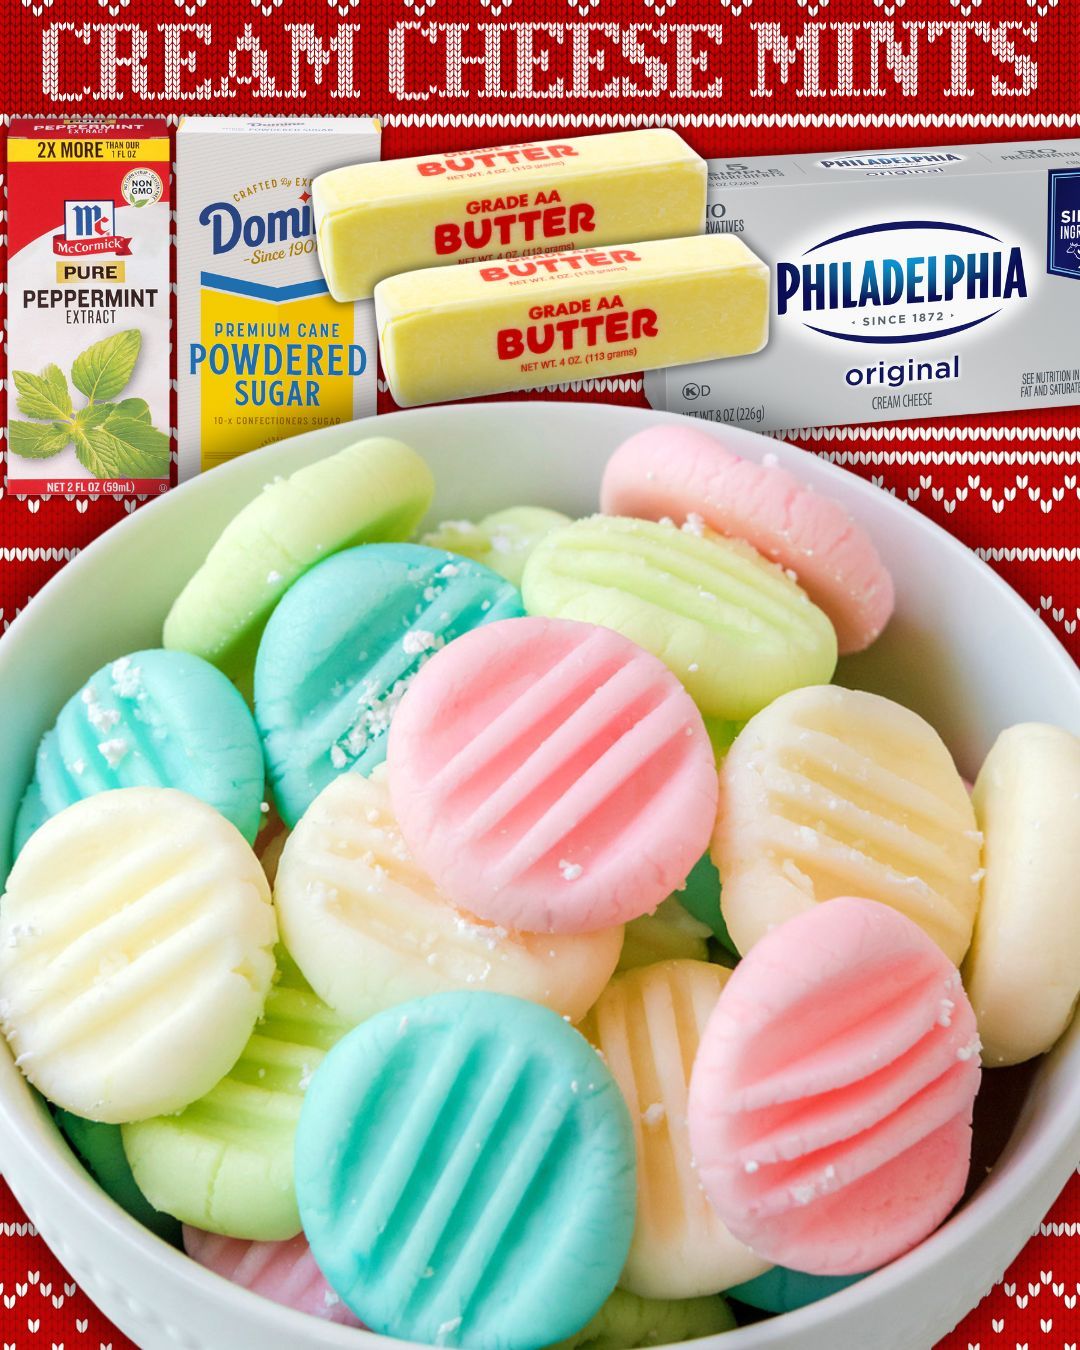
Equipment Needed
- Mixing bowl
- Hand mixer or stand mixer
- Rubber spatula
- Measuring spoons
- Food-safe gloves (optional but helpful)
- Baking sheets
- Parchment paper
- Fork (optional for imprinting designs)
I love using a mixer because cream cheese can be stubborn to blend by hand, especially when the powdered sugar thickens the mixture. Food-safe gloves help keep your hands clean when kneading or coloring the dough—trust me, food coloring stains fingertips fast. A fork creates that classic mint imprint, though you can use molds if you want fancier shapes. Baking sheets lined with parchment give the mints a place to dry without sticking.
Step-by-Step Instructions
The first thing I always do is beat the softened cream cheese until it’s completely smooth. I learned early on that even tiny lumps will show up in the dough later, so it’s worth taking a minute or two to really whip it well.
Once the cream cheese is velvety, I add the peppermint extract and mix again. The moment the mixer hits the extract, the entire kitchen fills with that refreshing minty scent—and it always makes me smile.
Next, I gradually add the powdered sugar, one cup at a time. I used to dump it all in at once, and let me tell you, powdered sugar clouds are not fun to clean up. Adding it slowly helps the dough develop the right texture: soft, thick, and slightly tacky but still workable.
When the dough starts pulling away from the bowl and forms a soft ball, I know it’s ready. If it’s still sticky, I add a little more powdered sugar until it feels like play-dough between my fingers.
Then comes the fun part: coloring and shaping. I divide the dough into sections, wearing gloves to avoid stained hands, and knead in a few drops of food coloring. I’ve made these in pastel shades for Easter, bright reds and greens for Christmas, and even baby blues and pinks for showers.(See the next page below to continue…)