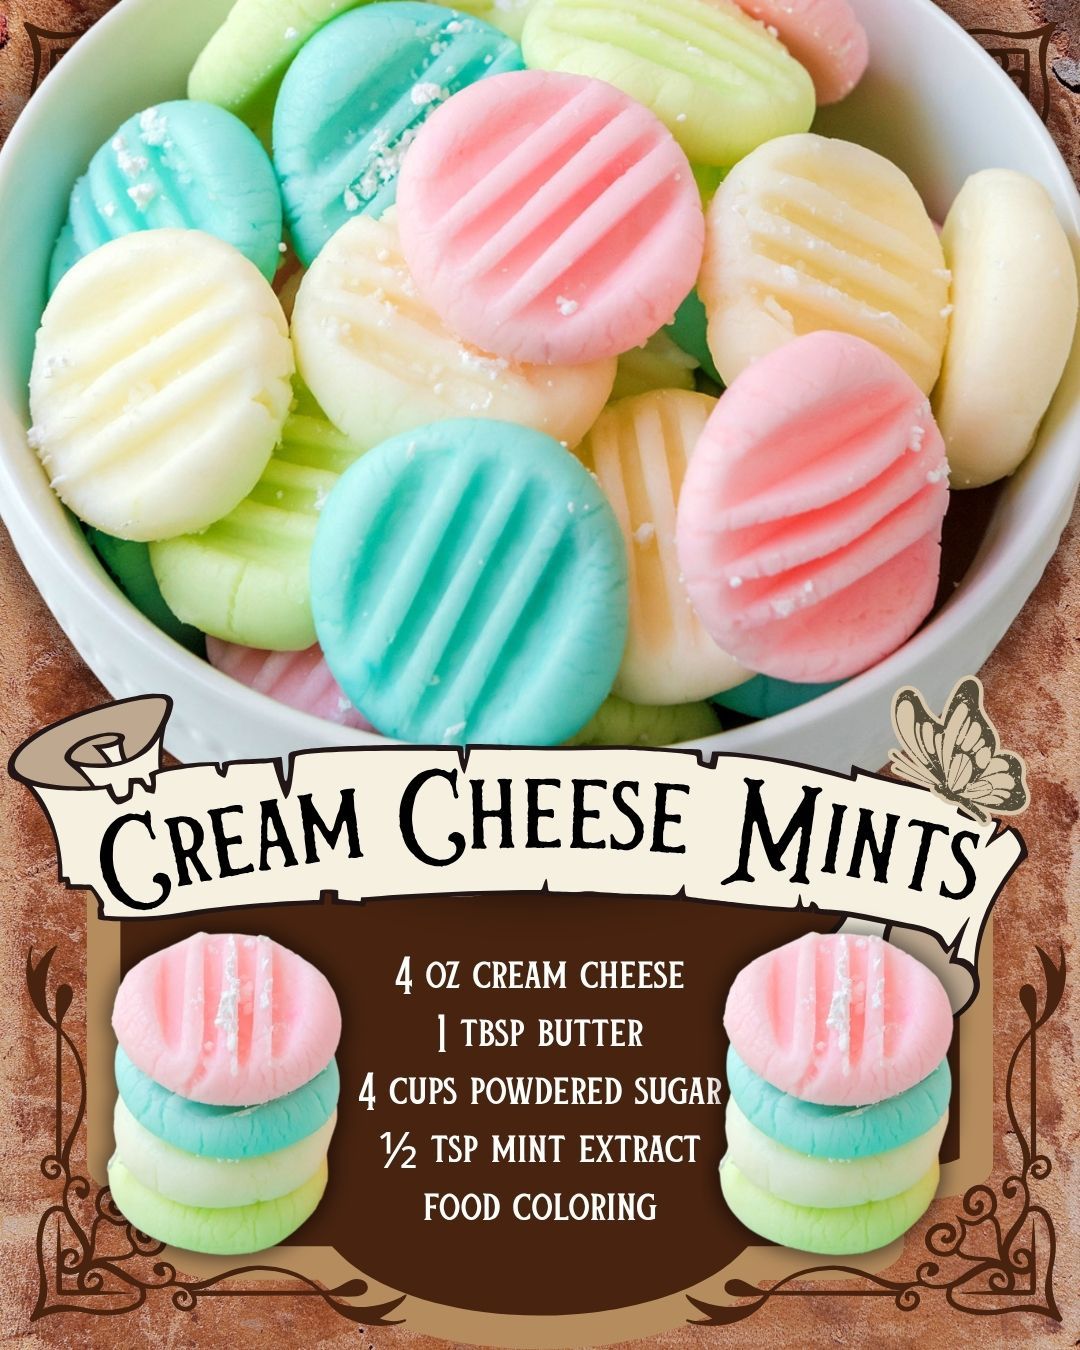
With the dough ready, I pinch off small pieces and roll them into smooth balls. I place them onto parchment paper, spacing them out enough so they can dry. Then I press each one gently with the back of a fork to create the signature ridges. The moment the fork imprint appears, the mints suddenly look like the classic treats I’ve known all my life. After shaping them all, I let them rest at room temperature for several hours or overnight to firm up.
Pro Tips for Best Results
I tested this recipe three different ways—once with cold cream cheese, once melting the cream cheese, and once letting it soften properly—and only room-temperature cream cheese produced that smooth, creamy dough. If you forget to soften it, pop it in the microwave on 10% power in 10-second intervals, but never melt it.
Another tip I learned: powdered sugar quality matters. I used an off-brand once, and the mints tasted slightly chalky. Domino or any fine powdered sugar always gives the cleanest, smoothest texture. It’s a small detail, but it completely changed the mouthfeel of the mints.
If your dough feels sticky while shaping, dust your hands lightly with powdered sugar. I used to add more sugar directly into the dough, but that made the mints overly stiff. Powdering my hands instead keeps the dough workable without altering the final texture.
One last tip: mint extract is strong. Start small. I once accidentally used a full teaspoon, and the mints tasted like toothpaste. A little goes a long way, and the flavor becomes slightly stronger as the mints dry, so keep that in mind when tasting the dough.
Common Mistakes to Avoid
I made this mistake the very first time—I didn’t let the cream cheese soften, assuming the mixer would break it down. It didn’t. I ended up with little lumps of cream cheese throughout the dough. They weren’t pretty, and the texture wasn’t smooth. Always soften your cream cheese.
Another big mistake is adding too much food coloring. I once tried making a bright red batch for a Christmas tray, and the liquid food coloring made the dough sticky and unworkable. Gel is the way to go. Use only a tiny bit at a time until you reach the color you want.
Don’t skip the drying time. These mints need several hours of air-drying to develop their signature firm shell. If you rush and pack them into containers too soon, they’ll stick together and lose their shape. I learned this the hard way when I stacked them too early, and half my pretty fork designs got smushed.
Lastly, avoid making the mints too large. The ideal size is bite-sized—just enough to melt smoothly on the tongue. Oversized mints become overly sweet and lose that delicate melt-away nostalgia.(See the next page below to continue…)