hit counter

HOMEMADE CREAM CHEESE MINTS

The very first time I made Homemade Cream Cheese Mints in my kitchen, the air filled with that cool, sweet hint of mint that instantly reminded me of old-fashioned candy bowls at weddings, baby showers, and every church gathering from my childhood. As the butter and cream cheese blended together into a silky base and the powdered sugar transformed it into a soft dough, I felt completely wrapped in nostalgia. Rolling the pastel-colored pieces and pressing them gently with a fork felt like creating tiny edible memories, and I was hooked from the very first batch.

Why You’ll Love This Recipe

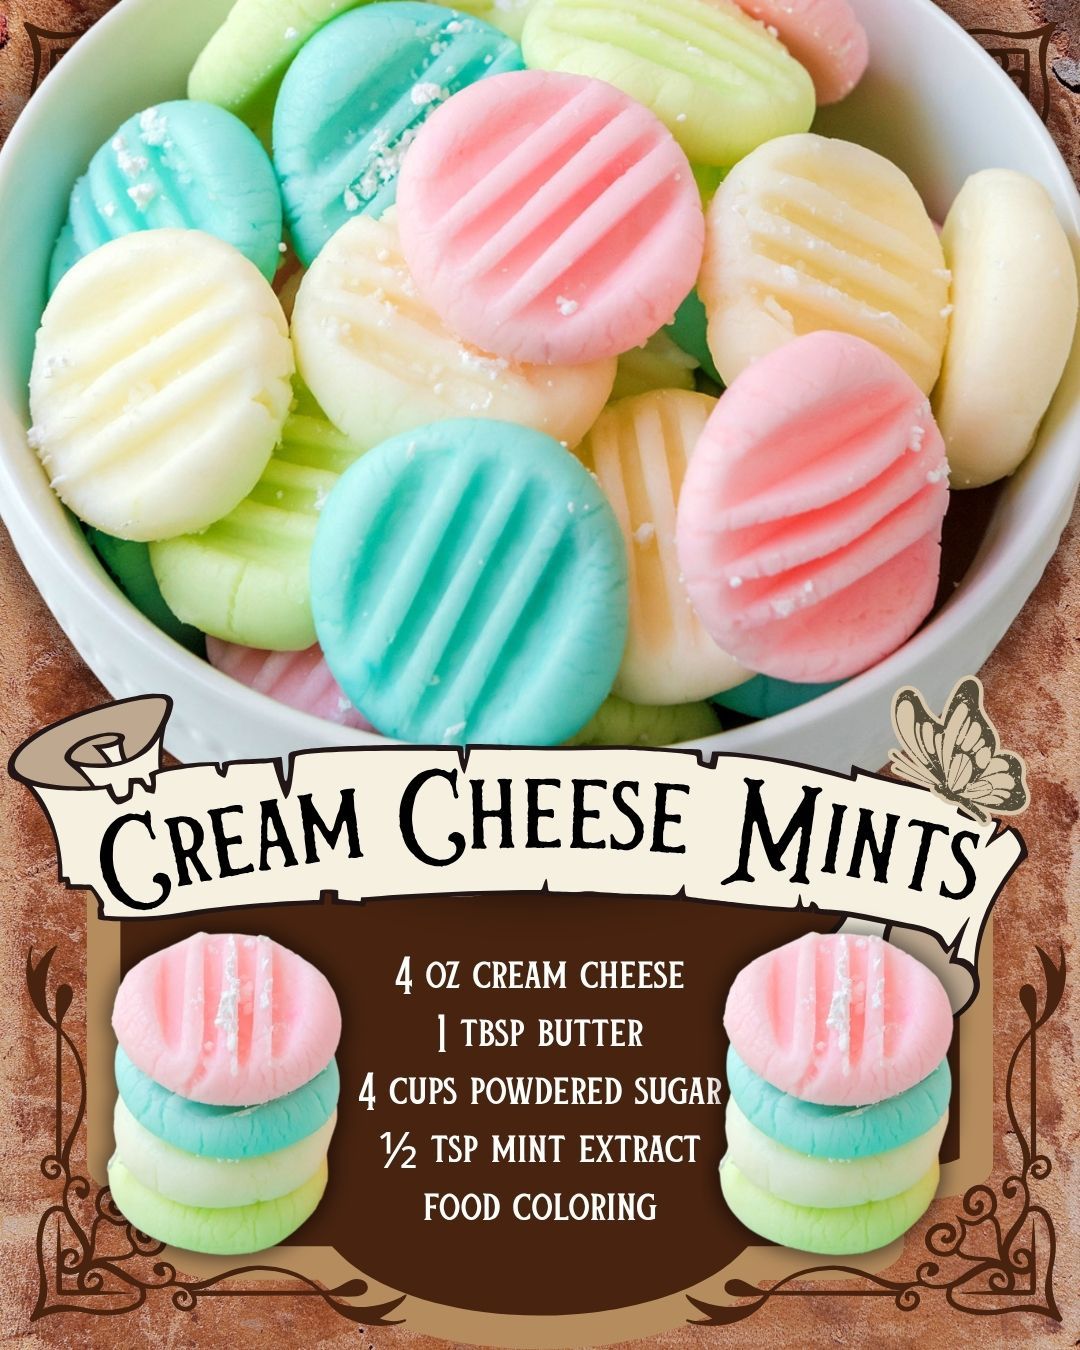
You’ll love this recipe because it’s unbelievably simple, wildly nostalgic, and delivers that melt-in-your-mouth creaminess you remember from childhood events—and since I’ve made these so many times, I can promise you they turn out perfect every single time with almost no effort.

Ingredients

  • 4 oz cream cheese, softened
  • 1 tbsp butter, softened
  • 4 cups powdered sugar
  • ½ tsp mint extract
  • Gel food coloring of choice

I’ve experimented with this recipe enough to know a few things for sure: softened cream cheese makes the smoothest dough, butter adds just enough richness to help with texture, and powdered sugar is the key structure here—don’t try to reduce it or the mints won’t set properly. Mint extract varies in strength by brand, so I always start with ½ teaspoon and adjust. And while liquid food coloring works in a pinch, gel coloring blends beautifully without watering down the dough.

Equipment Needed

  • Mixing bowl
  • Electric mixer
  • Small spatula
  • Parchment paper
  • Fork for pressing designs
  • Airtight container for storing

These mints don’t require anything fancy, and that’s part of the charm. The electric mixer helps combine everything into a smooth dough without clumps—doing it by hand is possible, but it takes a lot of elbow grease. A spatula helps scrape down sticky dough from the bowl. Parchment paper is one of those things you’ll be grateful to have because the mints dry best without sticking. And of course, the fork gives them that classic ridged, old-fashioned look.

Step-by-Step Instructions

When I begin making these mints, I always start by mixing the softened cream cheese and butter until they’re fully smooth. This is crucial—if either ingredient is still cold, the mixture develops tiny lumps that will never quite disappear. Once the mixture is velvety and unified, I add the mint extract, and the whole kitchen fills with the freshest aroma. It reminds me of holiday treats and church receptions all at once.

Next, I gradually add the powdered sugar, one cup at a time. I’ve learned not to rush this step. Once, I dumped in all four cups at once, and the dough turned into a dry, crumbly mess that I had to fix with extra cream cheese. Now I let the mixer run on low as I slowly add the sugar, watching as the dough transitions from creamy to thick, eventually forming a soft, pliable ball. When it feels like play-dough and pulls away from the sides of the bowl, I know it’s ready.

Then comes my favorite part: dividing the dough and adding color. I separate it into 3–4 small bowls and knead a bit of gel coloring into each one using clean hands. There’s something magical about watching the dough turn into soft shades of pastel pink, yellow, green, or blue. The colors always bring me back to baby showers and spring weddings where these mints were served in big decorative bowls.(See the next page below to continue…)

Leave a Comment