
The very first time I made Homemade Butterscotch Fudge, my kitchen filled with the warm, buttery scent that immediately reminded me of my grandmother’s old-fashioned candy recipes. As the butterscotch morsels slowly melted into the sweetened condensed milk, I could smell that deep caramelized aroma swirling up from the pot, and I knew this was going to be one of those treats I’d come back to again and again. When I finally poured the glossy mixture into the pan and let it set, I felt that cozy holiday excitement bubbling up—like I’d made something truly special with almost no effort at all.
Why You’ll Love This Recipe
You’ll love this Homemade Butterscotch Fudge because it combines everything you want in an easy candy recipe—minimal ingredients, no candy thermometer, and a silky, melt-in-your-mouth texture. If you’re someone who enjoys recipes that feel nostalgic and comforting, this fudge will check all the boxes for you. And since it sets beautifully and slices cleanly, it’s the perfect treat for gifting, holiday trays, or last-minute desserts when you want something impressive without spending your whole day in the kitchen.
Ingredients
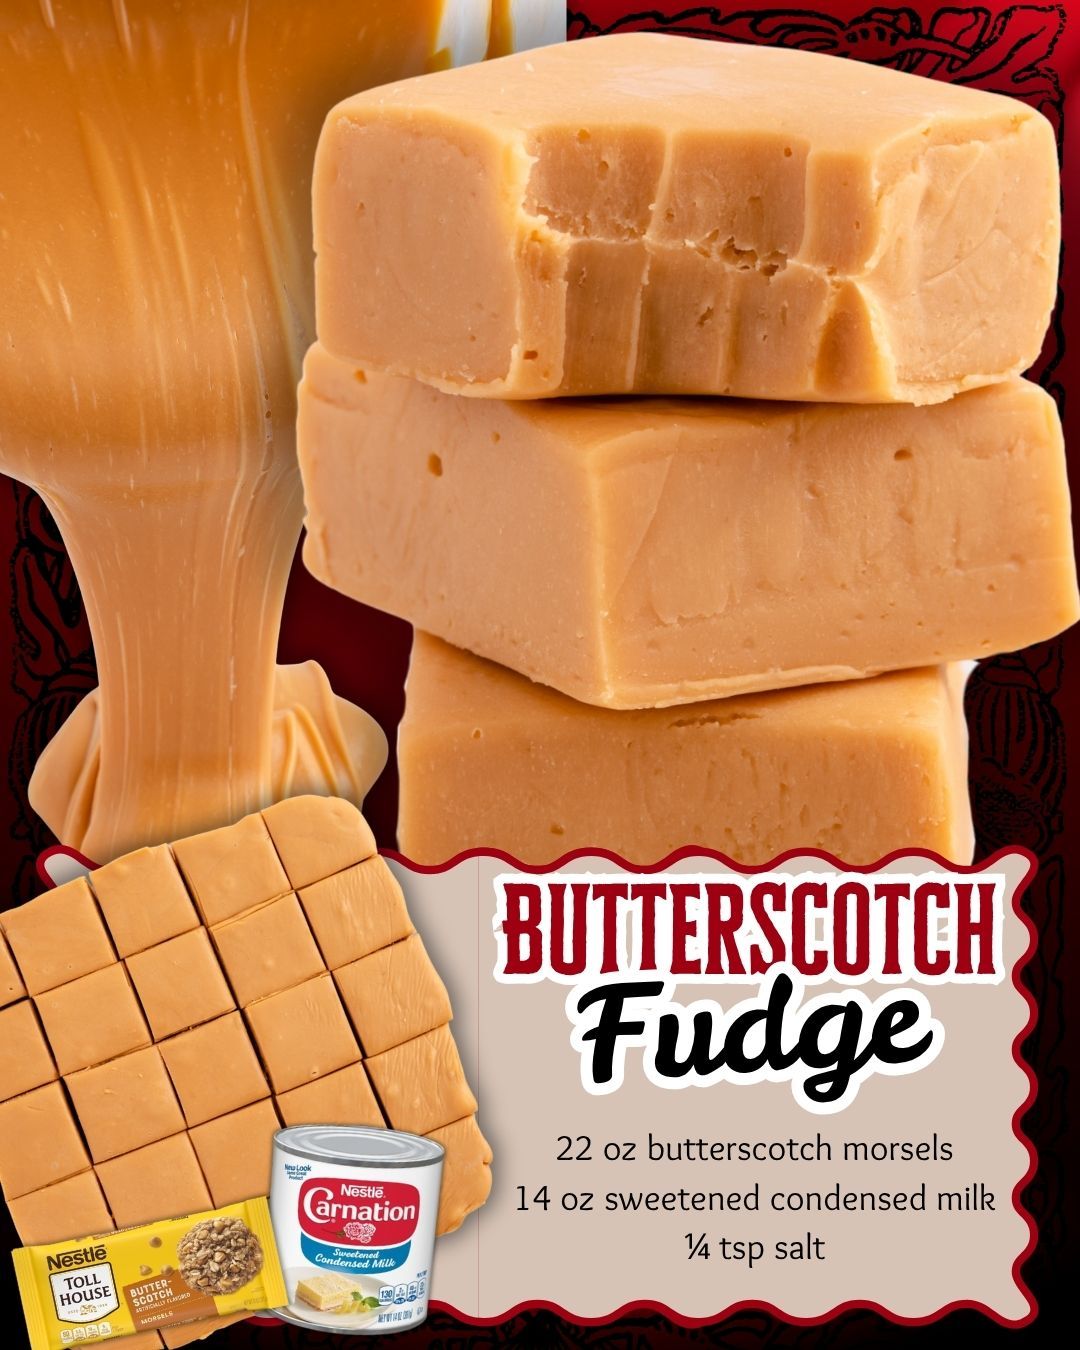
- 22 oz butterscotch morsels
- 14 oz sweetened condensed milk
- 1/4 tsp salt
I’ve experimented with different brands of butterscotch morsels, and I’ve learned that some melt a bit smoother than others—Nestlé gives me the most consistent results. If you want a slightly less sweet version, you can add an extra pinch of salt or even a splash of vanilla to balance the richness. Sweetened condensed milk is essential here; evaporated milk will not work the same. Trust me—I tried it once, and the mixture never set properly. Stick to the classic three ingredients, and the fudge works every single time.
Equipment Needed
- Medium saucepan
- Rubber spatula
- 8×8-inch baking pan
- Parchment paper
- Measuring spoons
- Heat-safe bowl (optional)
- Refrigerator
One of my favorite things about this recipe is how little equipment it needs—just a saucepan and a pan to pour the mixture into. Parchment paper makes removal incredibly easy, but if I ever run out, I lightly grease the pan instead. A rubber spatula helps scrape every silky bit of fudge from the pot, which you’ll appreciate once you see how thick the mixture becomes. And make sure your saucepan is heavy-bottomed; thin pans heat unevenly and can scorch the butterscotch.
Step-by-Step Instructions
I always start by preparing my baking dish so it’s ready to go before the fudge begins to thicken. I line my 8×8 pan with parchment paper, letting a bit hang over the edges like handles. This makes lifting the fudge out so much easier later, and it keeps the corners nice and smooth. Once the pan is prepared, I set it aside and turn my focus to the stovetop.
In a medium saucepan, I combine the butterscotch morsels, sweetened condensed milk, and salt. As soon as the heat turns to medium-low, the aroma begins to rise—a buttery, caramel scent that instantly makes the kitchen feel warmer. I stir constantly because butterscotch can scorch quickly if left alone. Watching the chips melt gradually into the milk is one of those oddly soothing kitchen moments, and I always find myself mesmerized by how glossy the mixture becomes.
Once the mixture is fully melted and smooth, I remove it from the heat. This is the moment where you have to work efficiently—the fudge thickens fast. I pour it into the prepared pan, spreading it with my spatula until it reaches every corner. The mixture firms up almost as soon as it hits the cooler pan, so I gently press the top to smooth it out. Sometimes I tap the pan lightly on the counter to eliminate air bubbles and get that perfect, dense texture.(See the next page below to continue…)