
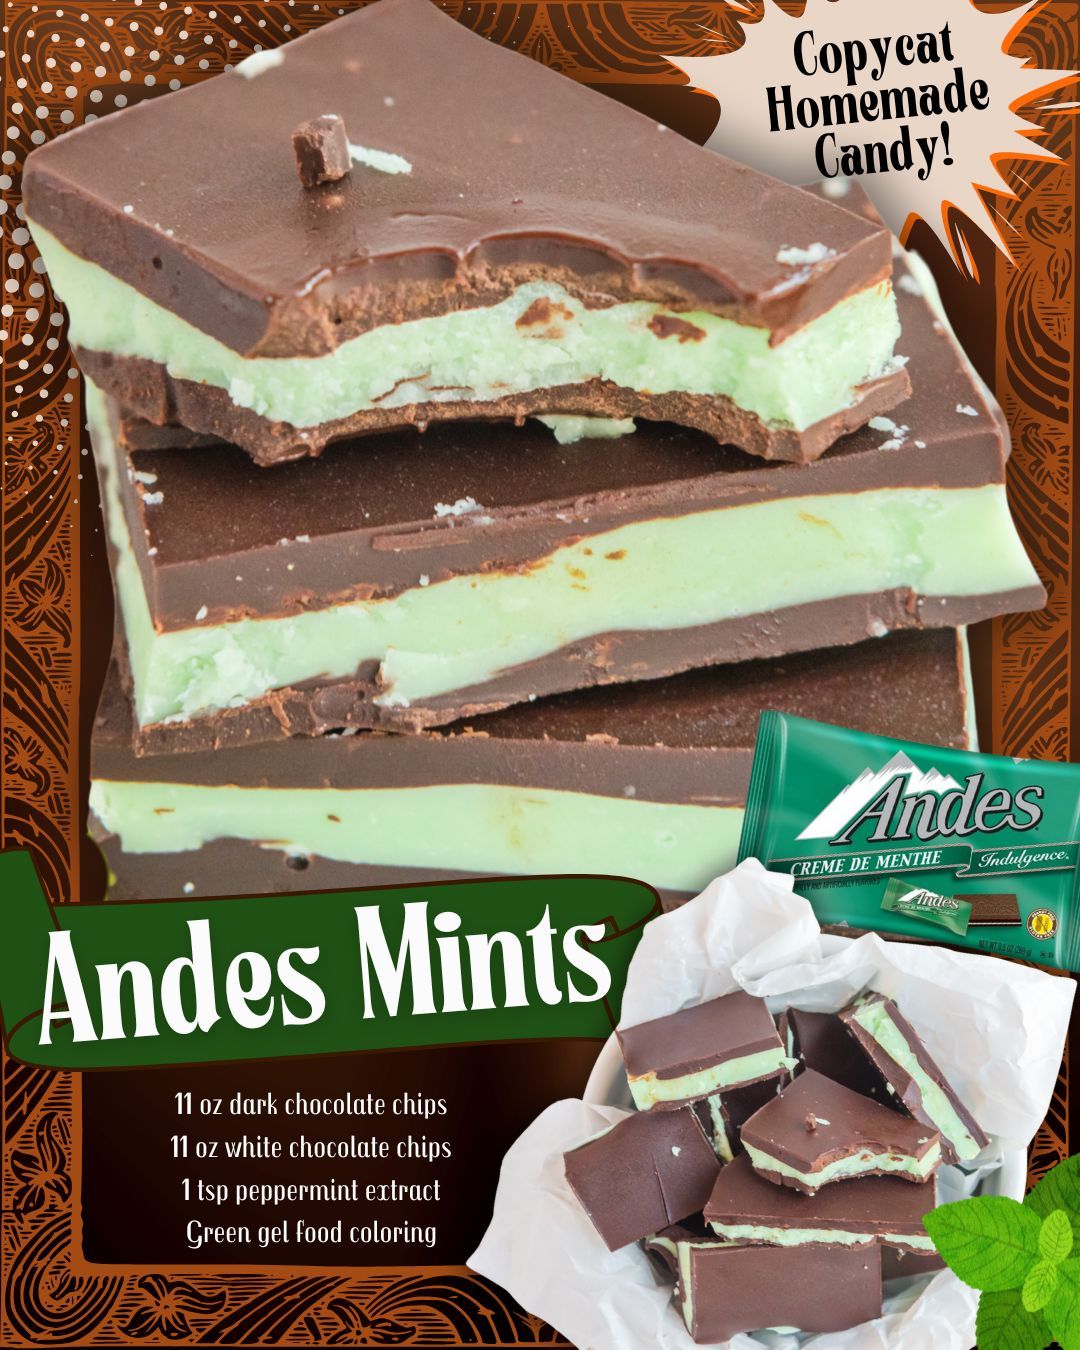
Finally, I melt the remaining dark chocolate and spread it across the top. This last layer seals everything inside and gives the candy that iconic three-layer look. I always tap the pan gently on the counter to remove any air bubbles. Once the pan goes back into the fridge for its final chill, it takes about 20–30 minutes until the candy is completely firm. Cutting into the finished block is my favorite moment—the layers crack cleanly, and the mint center peeks through with that soft green color that makes them instantly recognizable.
Pro Tips for Best Results
I tested this recipe three different ways—melting the chocolate slowly, melting it quickly, and even trying different brands of chocolate—and the biggest thing I learned is not to rush the melting process. Chocolate burns incredibly easily, especially white chocolate, and once it scorches, there’s no saving it. Low and slow heat always produces the smoothest results. If you’re using the microwave, trust me, stick to 20-second bursts and stir each time even if it looks like nothing has melted yet.
Another tip I learned the hard way is to let each layer chill just enough—not too long, not too short. If the bottom layer is too soft, the colors will smear together when you add the middle layer. If it’s too hard, the layers may separate when cut. I’ve found that chilling until the surface is matte but not rock-solid is perfect. It usually takes about 8–10 minutes in my fridge, but yours may vary, so keep an eye on it.
Also, peppermint extract is powerful. Too much can make the mints taste medicinal. I once tried adding a second teaspoon because I thought “more mint equals better mint,” but it completely overpowered the chocolate. One teaspoon is the sweet spot for that signature cool-mint flavor without overwhelming your taste buds. If you’re sensitive to mint, start with ½ teaspoon and taste before committing.
Lastly, use parchment paper—don’t skip it. I skipped it once because I ran out, and I spent way too long trying to chisel hardened chocolate out of the pan. With parchment, the whole slab lifts out effortlessly. It makes slicing, serving, and storing so much easier. Consider it your insurance policy for beautiful, clean-cut candies.
Common Mistakes to Avoid
I made a classic mistake the first time I made this recipe: I rushed the chocolate melting. I turned the heat up too high, thinking it would save time, and ended up with thick, gritty chocolate that wouldn’t spread smoothly. If your chocolate begins to seize, it becomes impossible to get those clean, glossy layers. Keeping the heat gentle is worth every extra minute.
Another mistake is using too much food coloring. Liquid food coloring, in particular, can thin the chocolate and change the texture completely. I tried it once out of convenience, and the white chocolate became strangely runny and wouldn’t firm up properly. Gel coloring is thicker and blends in without changing consistency. A tiny amount is all you need for that classic mint-green shade.
Some people also skip tempering or cooling between layers. If you don’t let the first layer set slightly before adding the next, the colors mix together and you lose that striking three-layer look. On the flip side, letting the first layer chill too long can cause the final layers to separate when you slice the candy. It’s all about balance, and while it sounds fussy, once you get the timing down, it becomes second nature.(See the next page below to continue…)