
The first time I made Homemade Andes Mints in my kitchen, I felt like I had unlocked a nostalgic secret I’d been chasing since childhood. As the chocolate melted on the stove and that cool burst of peppermint filled the air, the whole kitchen transformed into what felt like a tiny candy factory. I remember standing over the counter, smoothing the green mint layer and thinking, “Oh wow, this actually smells exactly like the real thing!” The whole process felt magical, and the moment I cut into the chilled chocolate stack, I knew I’d found a recipe worth keeping forever.
Why You’ll Love This Recipe
You’ll love this recipe because it gives you that familiar melt-in-your-mouth chocolate-mint combination you crave, but with richer flavor, fresher ingredients, and the satisfaction of knowing you made the whole thing from scratch.
Ingredients
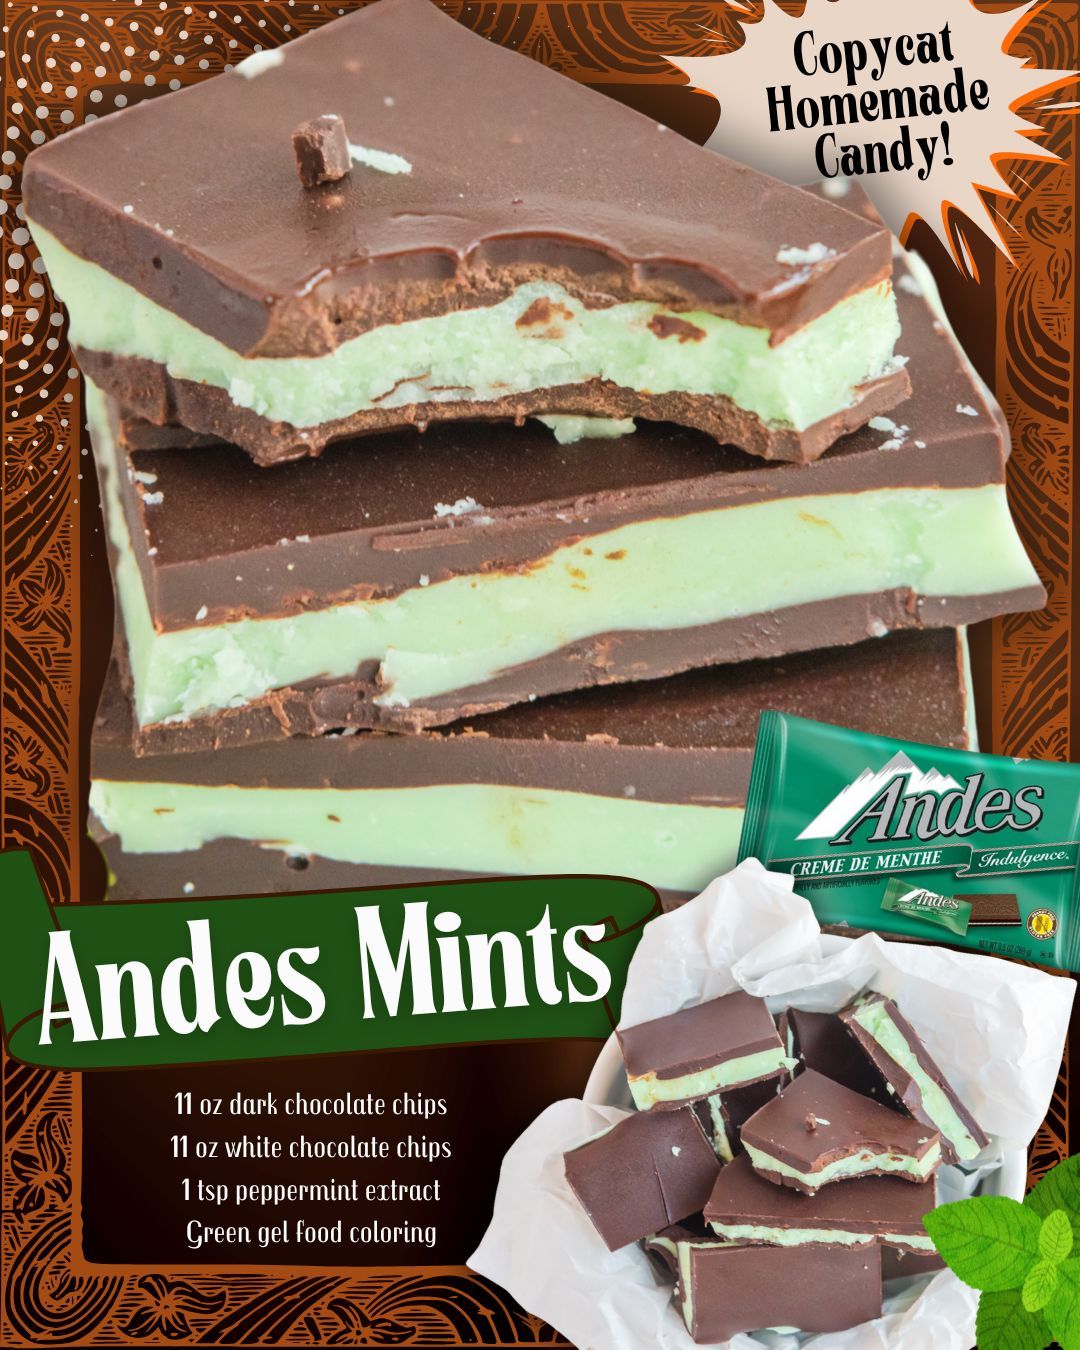
- 11 oz dark chocolate chips
- 11 oz white chocolate chips
- 1 tsp peppermint extract
- Green gel food coloring (as needed)
I’ve tested this recipe several different ways, and these simple ingredients consistently create the smoothest layers and the cleanest flavor. If you prefer a sweeter chocolate, you can swap dark chocolate chips for semi-sweet, but I personally love the contrast between the rich base and the bright mint center. Gel food coloring works better than liquid because it doesn’t thin the chocolate. And whatever you do, don’t use mint oil unless you’re familiar with it—peppermint extract is much easier to control and gives a flavor closer to real Andes mints.
Equipment Needed
- Double boiler or microwave-safe bowl
- Spatula
- Small saucepan (if using double boiler)
- 9×9 baking pan
- Parchment paper
- Offset spatula (optional but helpful)
A double boiler makes the chocolate melt more smoothly and gives you better control over heat, but I’ve also used the microwave in 20-second bursts with great success. Parchment paper is absolutely essential because these layers need to lift out of the pan cleanly. An offset spatula makes spreading each layer much easier, especially when working quickly before the chocolate firms up. And if you don’t have a 9×9 pan, an 8×8 pan works—your layers will just be slightly thicker.
Step-by-Step Instructions
When I make these Homemade Andes Mints, I always start by lining my baking pan with parchment paper, leaving enough overhang on the sides to lift the candy out easily. Once the pan is ready, I melt the dark chocolate chips using a double boiler, stirring until the mixture becomes glossy and perfectly smooth. The smell of warm chocolate rising with the steam always gets me a little excited—I know something good is coming. I pour the melted dark chocolate into the pan and gently smooth it with my spatula, then place the pan in the fridge to firm up just enough to support the mint layer.
While the chocolate chills, I prepare the mint center. I melt the white chocolate chips the same way and stir until they reach that silky, pourable consistency. This is the point where the peppermint aroma takes over—it’s sharp, refreshing, and instantly recognizable. I add the peppermint extract and just a tiny drop of green gel food coloring. I’ve learned that a little coloring goes a long way; one time I added too much and ended up with neon-green mints that tasted great but looked like something from a cartoon. Now I always start with a microscopic amount.
Once the white chocolate is tinted and flavored, I pull the pan out of the fridge. The bottom layer should be firm but still slightly tacky—this helps the layers bond together without separating later. I carefully spread the mint chocolate over the dark chocolate layer, moving quickly because white chocolate can thicken faster than dark chocolate. The kitchen always fills with that cool peppermint scent at this point, and it makes me feel like I’m making holiday candy even in the middle of summer. I level it as smoothly as I can, then return the pan to the fridge to set again.(See the next page below to continue…)