
Equipment Needed
- Electric mixer (hand or stand)
- Mixing bowls
- Measuring cups and spoons
- Whisk
- Rolling pin
- Cookie cutters
- Baking sheets
- Parchment paper or silicone baking mats
- Wire cooling racks
Step-by-Step Instructions
We start by creaming the butter and sugar, which is the most important step for texture. In my stand mixer bowl, I beat the softened butter and granulated sugar on medium-high speed for a full 3-4 minutes. I don’t rush this. The mixture should become very pale, fluffy, and almost look like whipped cream. This incorporates air, which gives the cookies lift and a light texture. I then beat in the eggs, one at a time, ensuring each is fully incorporated before adding the next. Finally, I beat in the vanilla extract. The batter will be smooth and glossy at this stage.
In a separate bowl, I whisk together the flour, baking soda, baking powder, and salt. This isn’t just busywork; whisking ensures the leavening agents are evenly distributed so every cookie bakes uniformly. With the mixer on low speed, I gradually add the dry ingredients to the wet mixture. I mix just until the flour disappears and a soft dough forms. As soon as I see the last streak of flour, I stop the mixer. Overmixing is the enemy of a tender cookie—it develops gluten and makes them tough.
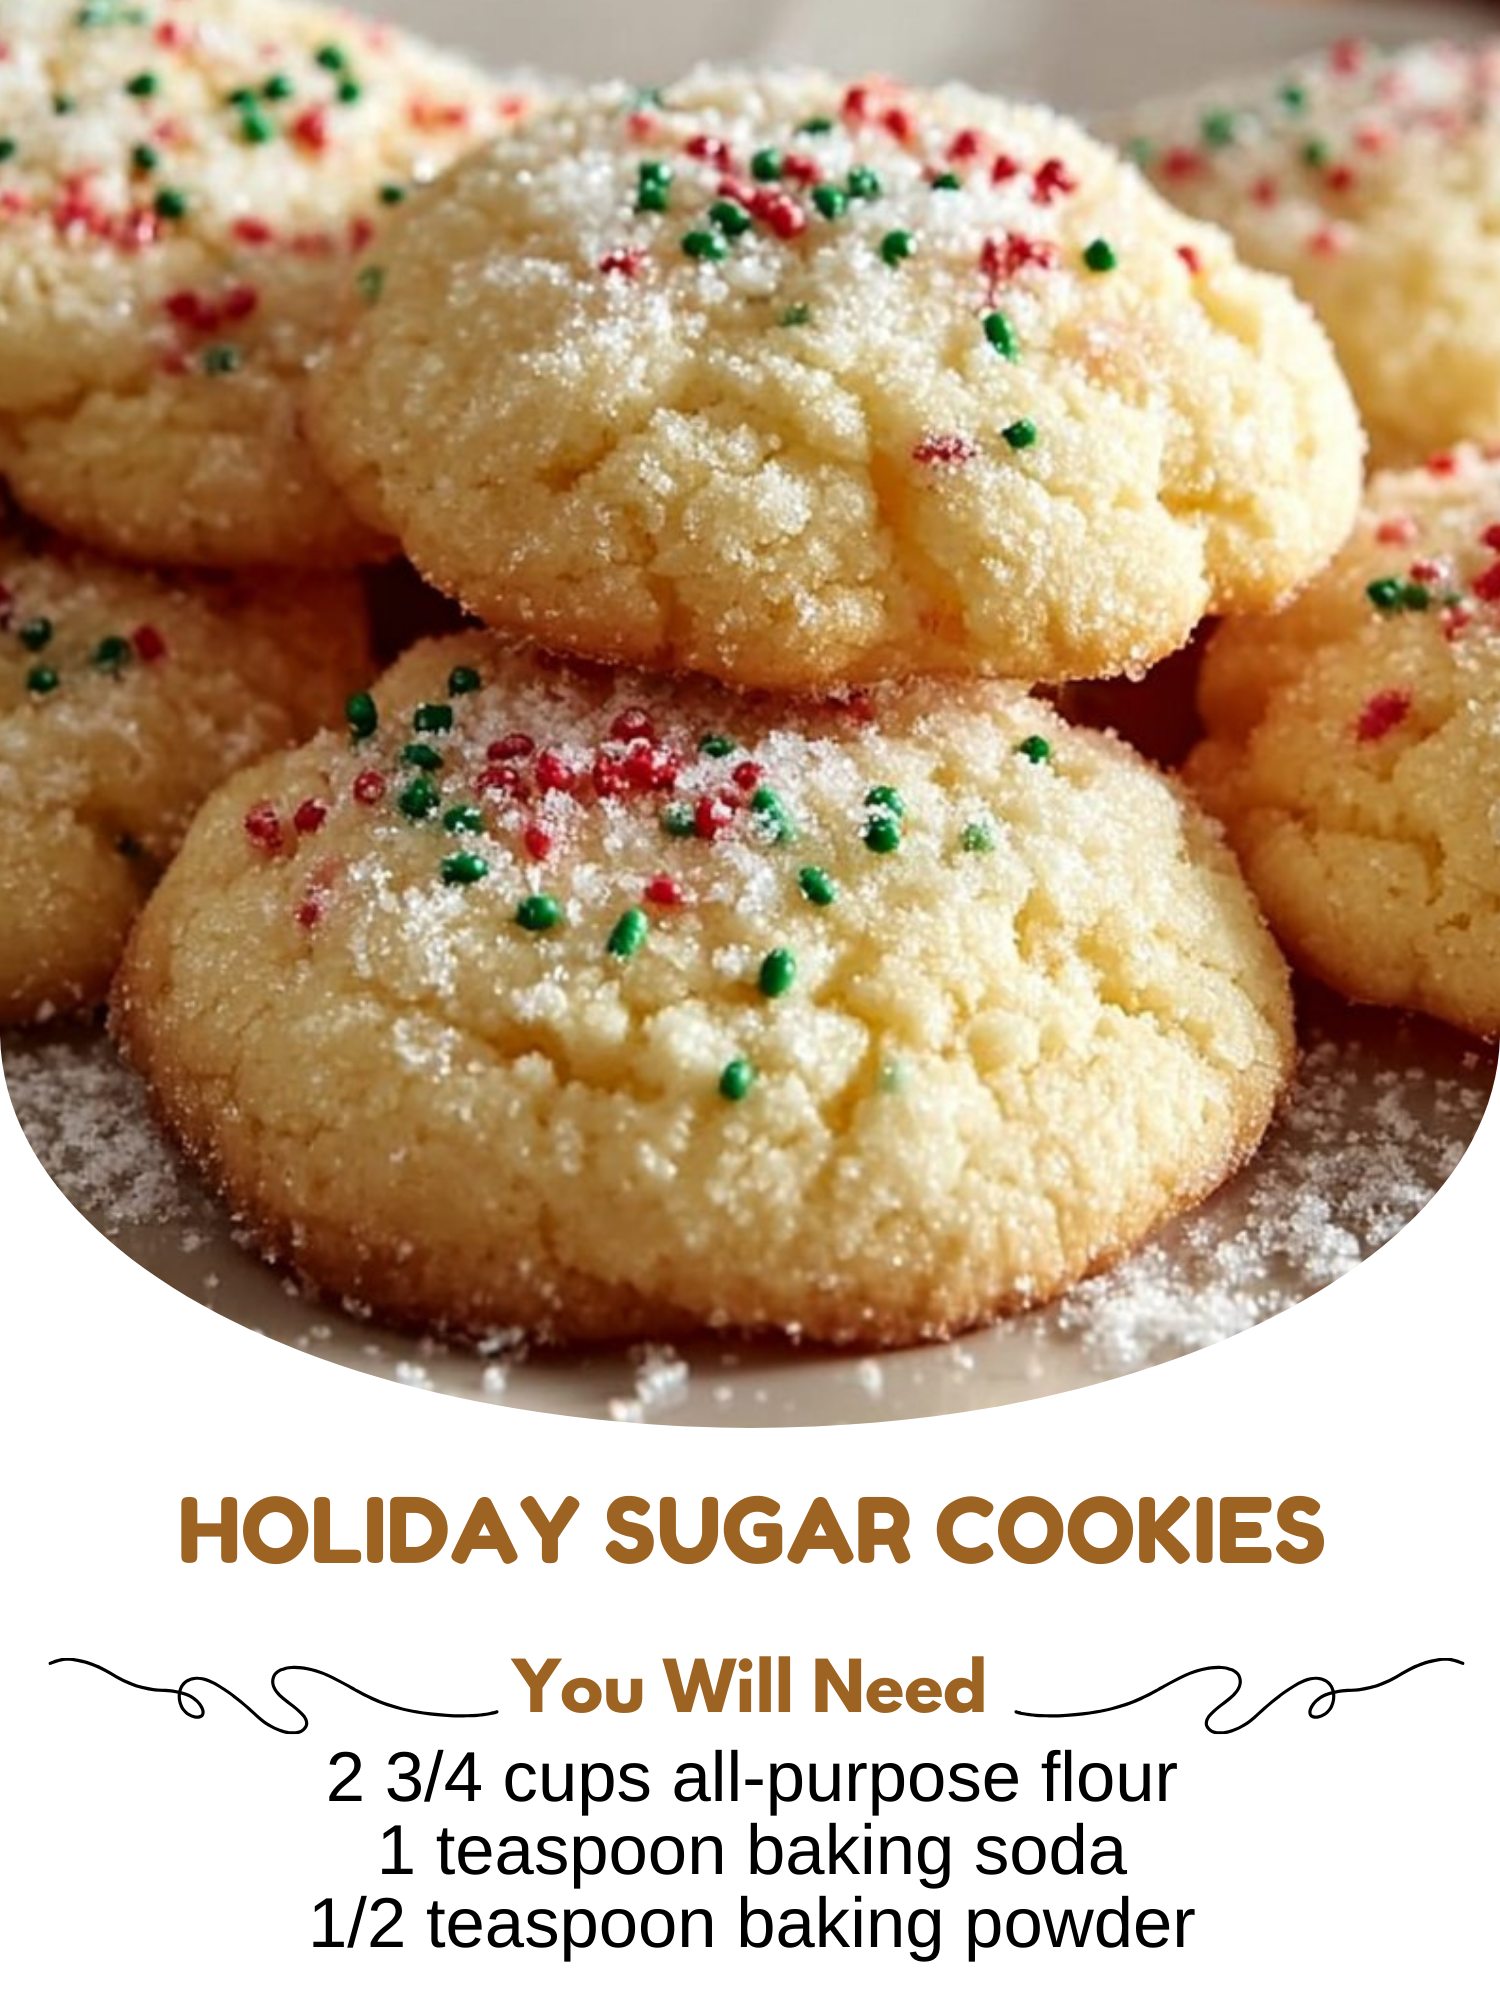
Now, for the chill. I divide the dough in half, shape each half into a thick disc, and wrap them tightly in plastic wrap. This is non-negotiable. I refrigerate the dough for at least 2 hours, and ideally overnight. This chilling firms up the butter, which prevents the cookies from spreading into shapeless blobs in the oven. I learned the hard way that skipping this leads to puddles, not reindeer! Chilled dough is also infinitely easier to roll out without sticking.(See the next page below to continue…)