
After forming them all, I let the mints dry at room temperature for several hours or even overnight. Drying allows the outside to firm up slightly while the inside stays creamy and soft. When I finally pop one into my mouth, that cool sweetness melts instantly, and I’m reminded exactly why these mints have been loved for generations.
Pro Tips for Best Results
I’ve tested this recipe three different ways—using cold cream cheese, using melted cream cheese, and using perfectly softened cream cheese—and trust me when I say: softened is the only way. Cold cream cheese makes the mixture lumpy, and melted cream cheese makes the dough sticky and unworkable. Room temperature is the sweet spot.
Another tip I learned the hard way is to add powdered sugar slowly. One time I dumped the entire bag in at once, thinking I would save time, and ended up with sugar all over my kitchen—and a dough that was dry and crumbly. Gradual mixing gives you control over the texture and saves you a huge cleanup later.
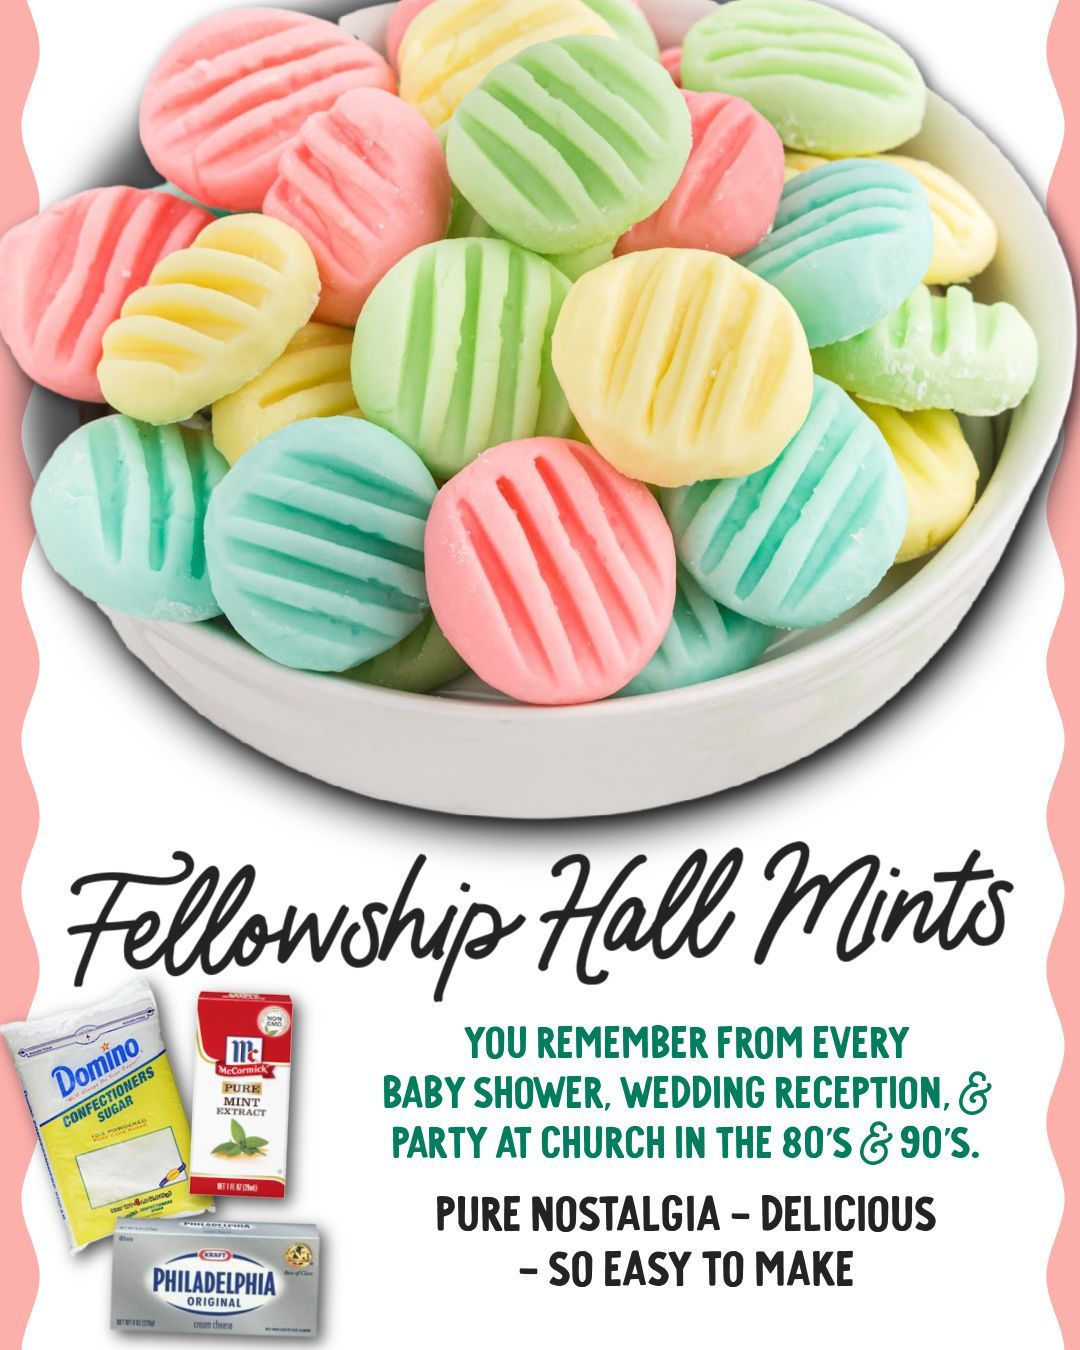
If you want truly smooth, beautiful mints, use gel food coloring and knead it in with clean hands. I tried using liquid food coloring once, and the dough turned wet and streaky. Gel blends beautifully, keeps the dough firm, and produces those pretty pastel colors we all know and love.
And my final tip: taste the dough before forming the mints. Peppermint extract can be overpowering, and different brands vary in strength. I always add extract a few drops at a time until the flavor is exactly what I want because once the mints dry, the mint flavor becomes slightly stronger.
Common Mistakes to Avoid
I made this mistake the first time I ever made Hall Mints—I didn’t soften the cream cheese enough. It looked soft, but when I started mixing, stubborn little lumps refused to blend. The final mints tasted great but had tiny white specks throughout. Now I let the cream cheese sit out for at least an hour before starting.
Another mistake beginners make is adding too much mint extract. It’s so easy to think, “Just one more splash,” but too much extract turns these delicate mints into something that tastes like toothpaste. I did this once for a baby shower and had to remake the entire batch. Start small—you can always add more.
Some people also forget to let the mints dry long enough. If you pack them into containers too soon, they stick together and lose their cute fork pattern. I’ve learned to give mine several hours and sometimes overnight, especially in humid weather.
Lastly, rolling the dough too big can throw off the mint-to-sweetness ratio. I once made giant mints thinking it would save time, but they ended up too rich and not nearly as melt-in-your-mouth. Small, bite-sized pieces are the most satisfying.(See the next page below to continue…)