
I still remember the first time I made Hall Mints in my own kitchen—the moment that sweet cloud of powdered sugar mixed with cool mint aroma filled the air, I felt completely transported back to every baby shower, wedding reception, and church gathering from my childhood. Rolling the soft pastel dough between my palms felt nostalgic and comforting, almost like crafting tiny edible memories. As I placed each colorful mint onto the tray and pressed them gently with a fork, I fell in love all over again with how simple, sweet, and timeless they are.
Why You’ll Love This Recipe
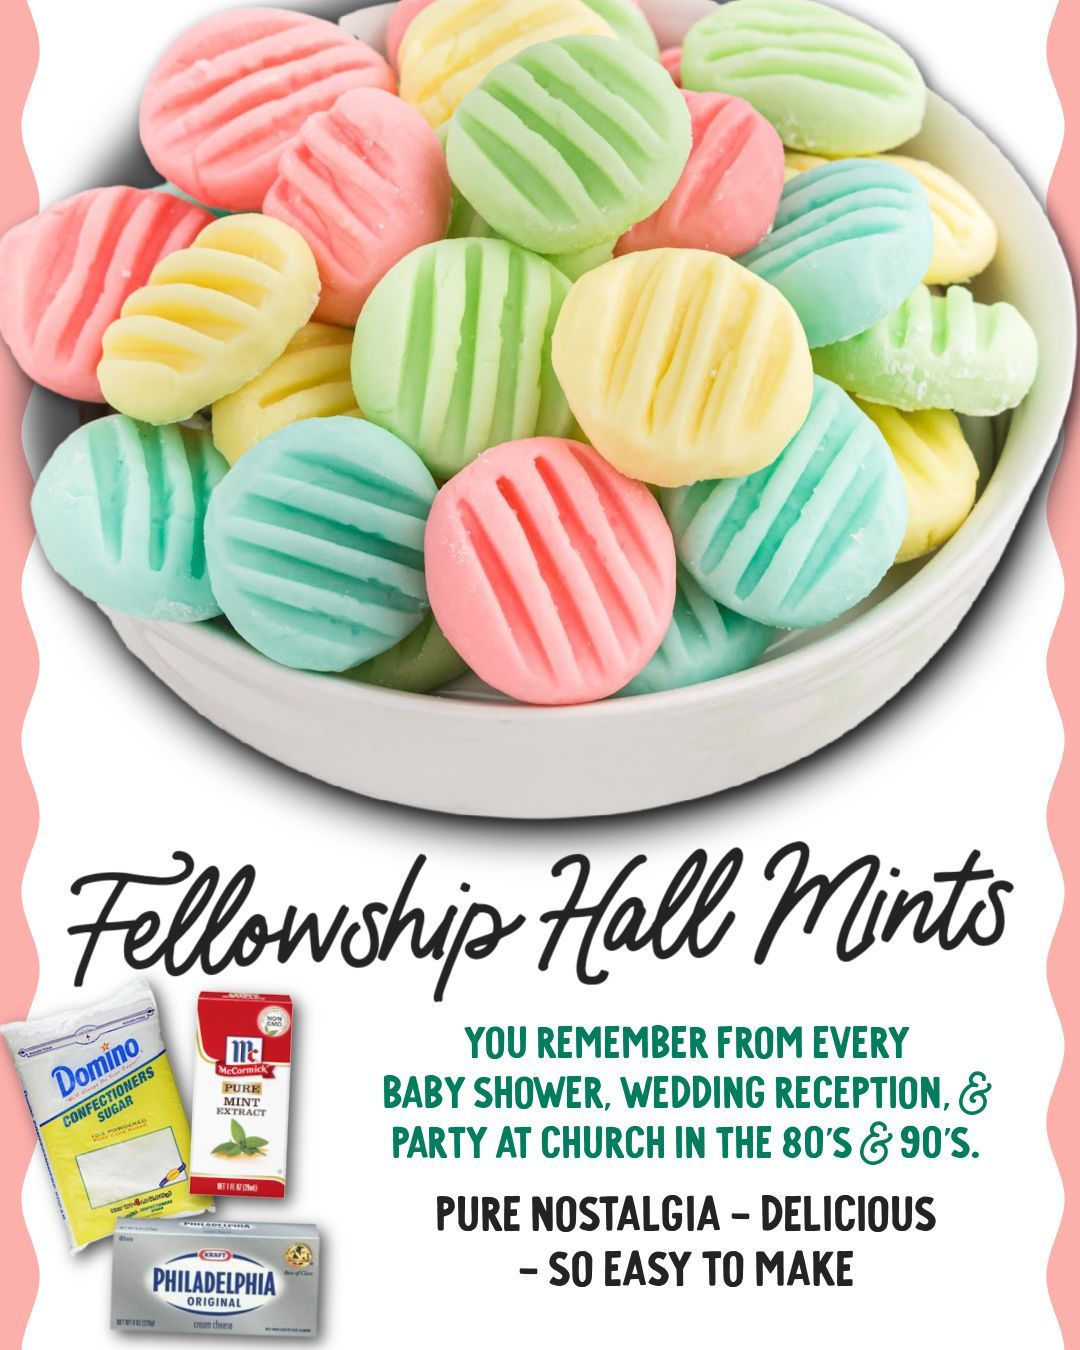
You’ll love this recipe because it gives you that perfect nostalgic bite—creamy, minty, melt-in-your-mouth goodness—with almost no effort at all, and if you grew up attending church fellowship halls or family showers, these mints will transport you instantly back to those joyful moments.
Ingredients
- 8 oz cream cheese, softened
- 1 bag (2 lbs) powdered sugar
- 1–2 tsp mint extract (peppermint or spearmint)
- Gel food coloring (your favorite pastel colors)
- 1 pinch salt (optional, but I like it)
The beauty of this recipe is how flexible the ingredients are. Cream cheese must be softened—don’t skip that step or the dough will be lumpy and frustrating to mix. I switch between peppermint and spearmint depending on the event, but spearmint gives that classic “church mint” flavor. Powdered sugar provides structure and sweetness, and the salt (though optional) helps balance the sugary richness. Gel coloring works best because it keeps the dough smooth without making it sticky like liquid coloring often does.
Equipment Needed
- Mixing bowl
- Electric mixer
- Silicone spatula
- Parchment paper
- Fork for pressing patterns
- Airtight container for storing
You don’t need anything fancy for Hall Mints, and that’s one of my favorite things about them. An electric mixer helps blend the cream cheese and sugar smoothly, but if you’re patient, you can mix by hand. A silicone spatula is helpful for scraping down the bowl because this dough gets thick fast. Parchment paper keeps the mints from sticking as they dry, and a simple dinner fork creates that classic ridged pattern that makes them instantly recognizable.
Step-by-Step Instructions
When I start making these mints, I always begin by beating the softened cream cheese until it’s fluffy and smooth. This is where the magic really starts, because once the mint extract goes in, the entire kitchen smells like a sweet, cool breeze. I always start with just one teaspoon of extract, mix, and taste—peppermint is strong, and I’ve accidentally overdone it before. Once the cream cheese mixture smells fresh and minty, I slowly start adding the powdered sugar.
The dough thickens quickly, and before long, it becomes a soft, pliable ball that’s incredibly satisfying to touch. If it’s too sticky, I add another small scoop of powdered sugar until it feels like soft play-dough. Then comes my favorite part: dividing the dough into sections and kneading in the pastel gel colors. This step feels almost therapeutic—rolling the dough in my hands, watching it turn into soft shades of pink, green, blue, and yellow brings back every memory of seeing these mints on fellowship hall tables.
Next, I pinch off small pieces of dough and roll them into smooth balls. I like to place them on a parchment-lined tray as I go. Once the balls are rolled, I gently press the tops with the tines of a fork to give that traditional striped pattern. The fork mark is iconic—without it, they just don’t look like true church mints. I’ve tried making different shapes before, but the classic disc shape always wins for me.(See the next page below to continue…)