
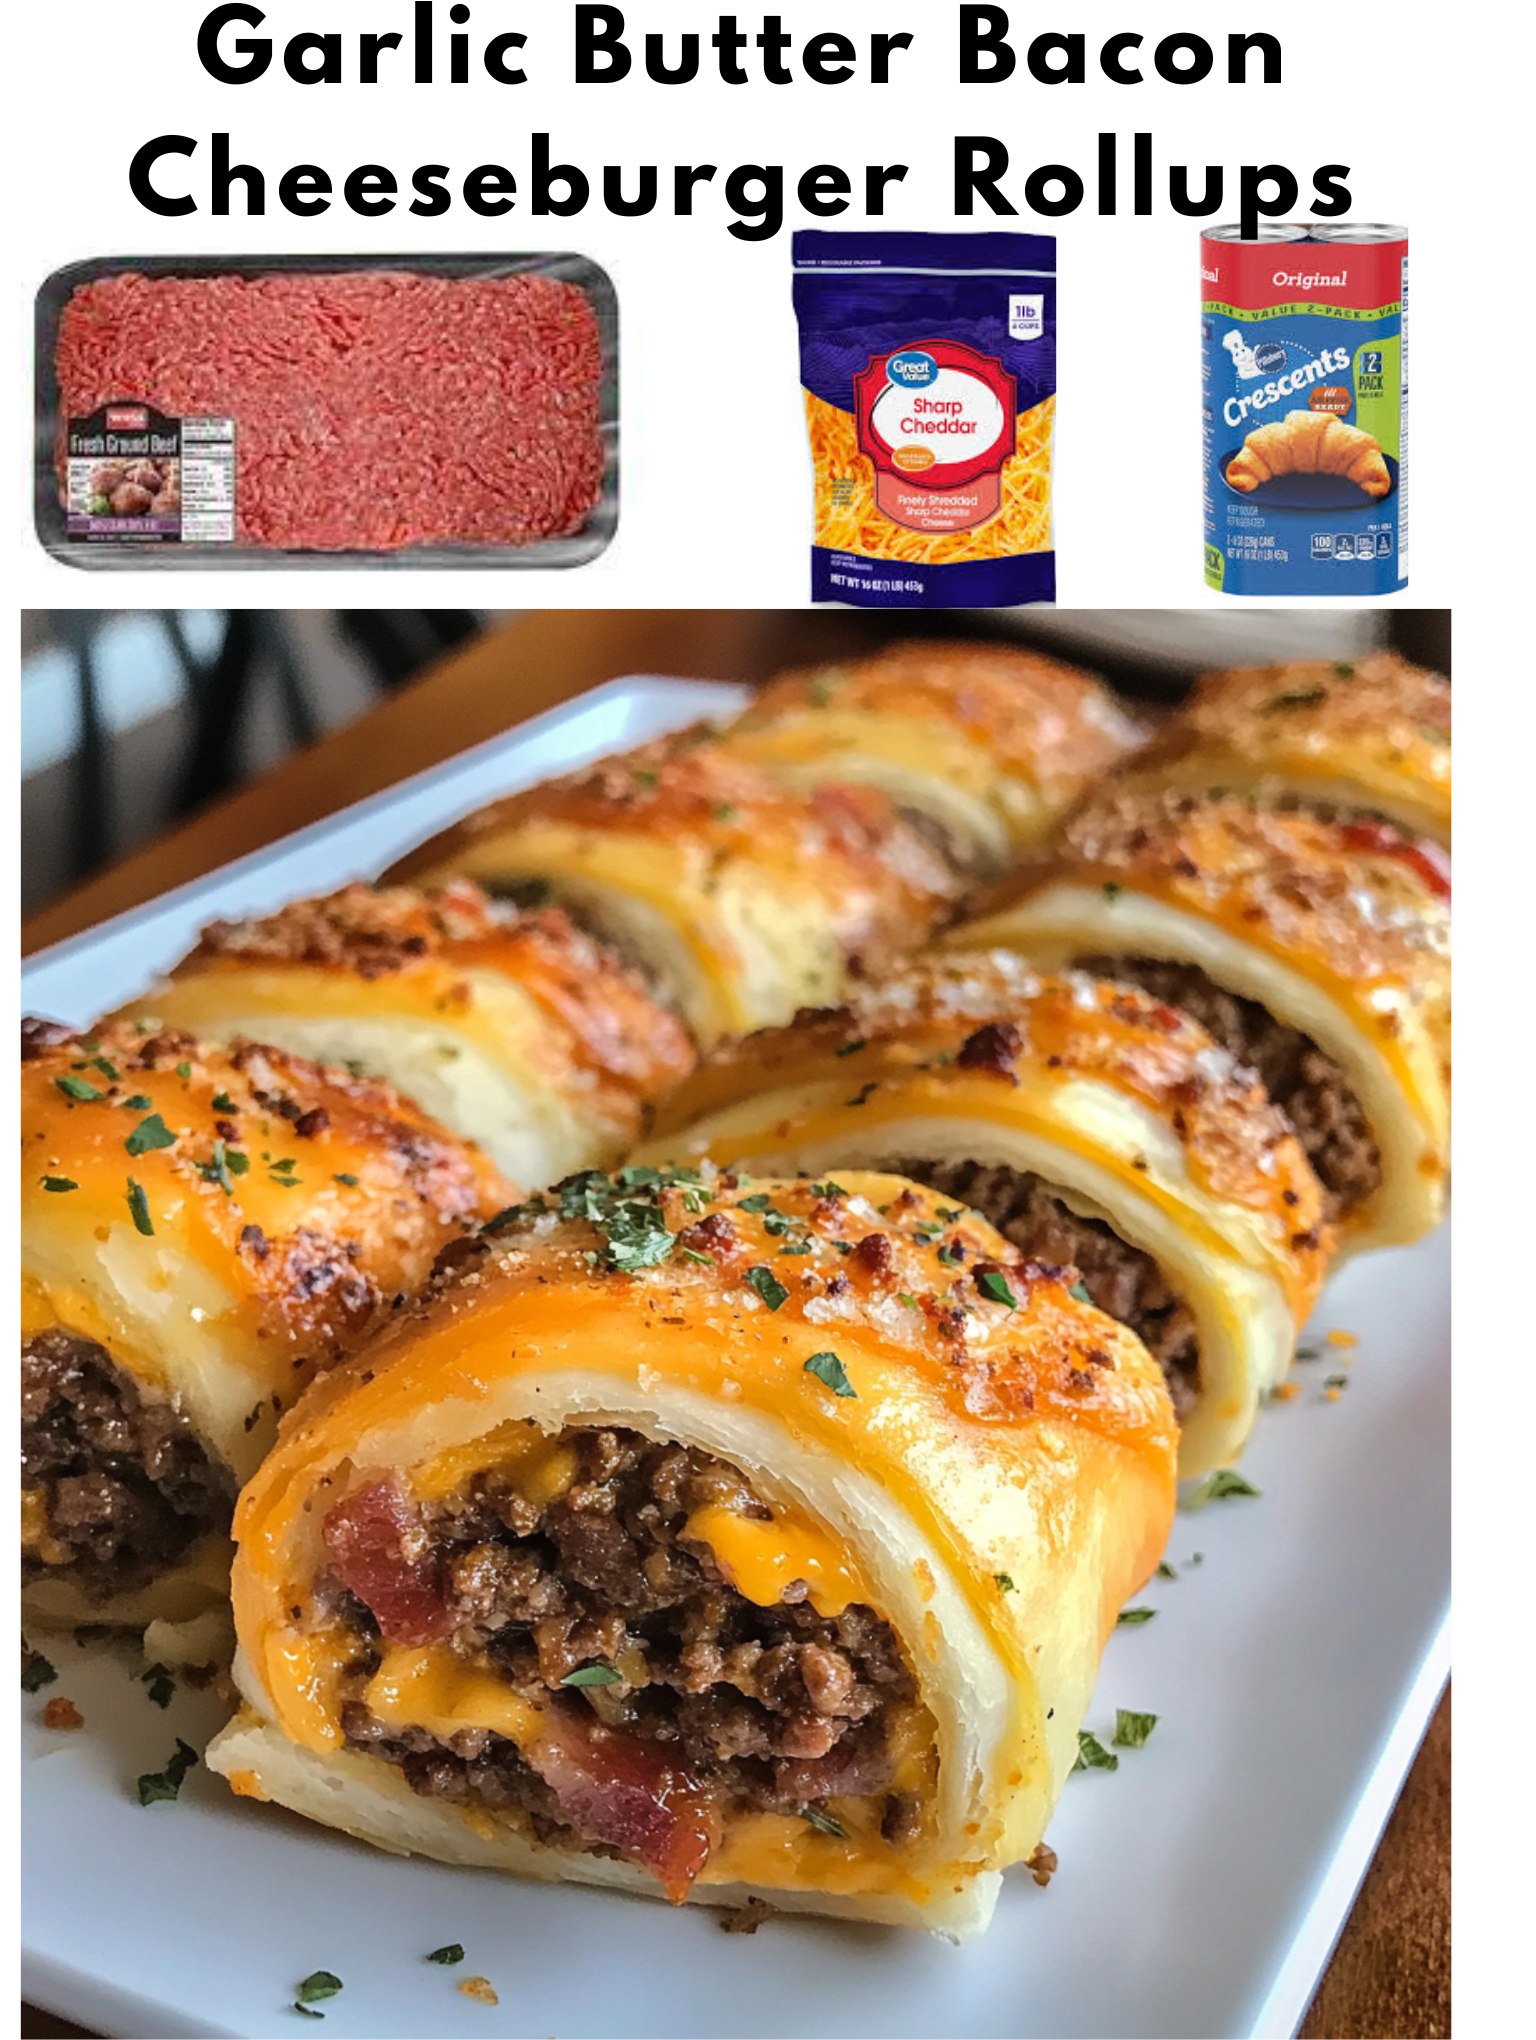
I discovered the idea for these rollups during a serious cheeseburger craving on a night I didn’t want to fire up the grill. The concept of wrapping all that savory goodness in a flaky crescent roll sounded like pure genius. As I cooked the bacon and beef in my skillet, the kitchen filled with that unmistakable, mouthwatering diner aroma. Mixing in the melty cheese and garlic butter was a moment of pure anticipation. Rolling up the dough, brushing it with more of that glorious garlic butter, and watching them puff and turn golden brown in the oven felt like creating edible treasures. The moment I pulled one apart, revealing the steamy, cheesy, beefy interior, I knew I’d struck weeknight dinner gold. It’s a fun, handheld explosion of every good burger flavor.
Why You’ll Love This Recipe
You will absolutely love this recipe because it takes all the messy, glorious components of a loaded bacon cheeseburger and transforms them into a neat, fun, and irresistibly delicious package. It’s a guaranteed crowd-pleaser for both kids and adults, perfect for game day, busy weeknights, or a unique party appetizer. The process is straightforward and deeply satisfying, with a final result that’s crispy on the outside, juicy and cheesy on the inside, and dripping with garlic butter flavor. It’s a creative twist that feels special without requiring any fancy cooking skills.
Ingredients
- 1 (8-ounce) can refrigerated crescent roll dough (seamless sheet is best)
- 6 slices bacon, chopped
- 1 pound lean ground beef (85/15 or 90/10 works well)
- 1 small yellow onion, finely diced
- 2 cloves garlic, minced
- 1 teaspoon Worcestershire sauce
- ½ teaspoon smoked paprika
- Salt and black pepper to taste
- 1 ½ cups shredded sharp cheddar cheese
- ¼ cup shredded Parmesan cheese
- For the Garlic Butter:
- 4 tablespoons unsalted butter, melted
- 2 cloves garlic, minced
- 1 tablespoon finely chopped fresh parsley
- Optional for serving: Burger sauce, ketchup, pickles (See the next page below to continue…)
Equipment Needed
- Large skillet
- Mixing bowls
- Baking sheet
- Parchment paper
- Pastry brush
- Measuring cups and spoons
Step-by-Step Instructions
I start by preheating my oven to 375°F (190°C) and lining a large baking sheet with parchment paper. Then, I get my skillet going. I cook the chopped bacon over medium heat until it’s crispy. Using a slotted spoon, I transfer the bacon to a paper towel-lined plate, leaving that glorious bacon fat in the pan. This is where the flavor builds. To the hot bacon fat, I add the diced onion and cook it for about 3-4 minutes until it starts to soften. Next in goes the ground beef, breaking it up with my spoon as it browns. The smell at this stage is absolutely incredible—savory, smoky, and deeply satisfying.
Once the beef is no longer pink, I stir in the two minced garlic cloves, Worcestershire sauce, smoked paprika, salt, and pepper. I cook for another minute, just until the garlic is fragrant. Here’s a crucial tip I learned: I drain any excess grease from the skillet. Too much fat will make the filling soggy and leak out of the rolls. I let the meat mixture cool for about 10 minutes; a hot filling will melt the crescent dough prematurely and make it impossible to roll. While it cools, I stir in both the crispy bacon and all the shredded cheddar cheese.
Now, for the assembly. I unroll the crescent dough sheet onto a clean surface. If I’m using the classic perforated triangles, I firmly press the seams together to create one solid rectangle. I evenly spread the slightly cooled beef, bacon, and cheese mixture over the dough, leaving a small border around the edges. Starting from one long side, I carefully roll the dough up tightly, like a jelly roll, using the parchment to help guide it. I place the seam side down on my prepared baking sheet. Using a sharp serrated knife, I gently slice the log into 8 equal pinwheels.(See the next page below to continue…)
In a small bowl, I mix the melted butter, the remaining two minced garlic cloves, and the parsley. This garlic butter is the magic glaze. Using my pastry brush, I generously coat the tops and sides of each rollup with the mixture, reserving a little for after baking. I bake them for 15-18 minutes, until the crescent dough is puffed and a deep, golden brown. As they bake, my whole kitchen smells like a gourmet burger joint.
Pro Tips for Best Results
Letting the meat mixture cool before assembling is non-negotiable. I tested this by rolling with hot filling, warm filling, and cooled filling. The hot filling made the dough gummy and impossible to handle; it just fell apart. Letting it cool for 10-15 minutes firms up the cheese and fat, making for a clean, tight roll that holds together beautifully in the oven.
Use a serrated knife and a gentle sawing motion to slice the log. A dull knife or pressing straight down will smash the roll and push the filling out. I’ve found that a light, quick sawing back and forth gives you the cleanest cuts and the prettiest pinwheels.
For extra crispiness and to prevent a soggy bottom, don’t skip the parchment paper. It also makes cleanup a breeze. If you want an even more golden top, brush the rollups with the remaining garlic butter as soon as they come out of the oven. The heat will make it sizzle and soak right in, adding another layer of flavor.
Common Mistakes to Avoid
The most common mistake is not draining the beef fat. If you leave all the grease from the beef and bacon in the mixture, it will pool in the oven, make the bottoms of the rollups soggy, and can even cause them to fall apart. I made this mistake the first time, and it was a greasy mess. Don’t do what I did! Take a minute to drain the cooked meat in a colander. (See the next page below to continue…)
Don’t overfill the dough. It’s tempting to pack in every last bit of that delicious filling, but if you go overboard, it will burst out the sides during baking and create a leaky, messy rollup. A thin, even layer is all you need. The flavor is so robust that less is truly more in terms of structural integrity.
Another error is underbaking. The dough needs to be a deep golden brown to be fully cooked and flaky. If you pull them out when they’re just lightly tan, the dough at the center of the spiral might still be raw or doughy. Use visual cues—a rich, golden color—not just the timer.
Finally, avoid using cold filling straight from the fridge if you’ve made it ahead. A very cold, hard filling can also be difficult to spread evenly and can lower the dough’s temperature, affecting the bake. If prepping ahead, let the filling come to room temperature for 20-30 minutes before assembling.
Serving Suggestions
I love serving these rollups straight from the oven on a big platter with bowls of burger sauce, ketchup, and mustard for dipping. They are the ultimate finger food for game day or a casual movie night. A big, crisp dill pickle spear on the side is the perfect tangy accompaniment.
To turn this into a full meal, I serve them with a simple side salad, some crispy french fries, or sweet potato wedges. The richness of the rollups pairs wonderfully with something fresh and green or something crispy and salty.
They also make fantastic next-day leftovers for lunch. I pack a couple in a container with a small cup of sauce. They taste great at room temperature or reheated quickly in an air fryer to bring back the crispiness.
Variations & Customizations
The filling is a perfect canvas for your favorite burger toppings. I’ve mixed in a tablespoon of diced pickles or jalapeños for a tangy kick. For a “Western Burger” style, stir in some finely diced sautéed bell peppers. You can also swap the cheddar for pepper jack, Swiss, or even blue cheese crumbles for a different flavor profile.
For a lighter version, you can use ground turkey or chicken instead of beef. Just be sure to add an extra tablespoon of olive oil to the pan since poultry is leaner. You can also use puff pastry sheets instead of crescent dough for an even flakier, more buttery exterior.
To make these ahead for a party, you can assemble the whole log, wrap it tightly in plastic wrap, and refrigerate for up to 24 hours. Slice and bake straight from the fridge, adding 2-3 minutes to the baking time. You can also freeze the unbaked, sliced rollups on a tray before transferring to a bag; bake from frozen, adding 5-7 minutes.
How to Store, Freeze & Reheat
Once cooled, I store leftover rollups in an airtight container in the refrigerator for up to 3 days. They reheat best in an air fryer (at 350°F for 3-4 minutes) or a conventional oven/toaster oven (at 350°F for 8-10 minutes) to recrisp the exterior. The microwave will work in a pinch but will soften the dough.
To freeze, place baked and cooled rollups in a single layer on a baking sheet to freeze solid, then transfer to a freezer-safe bag. They’ll keep for up to 2 months. Reheat from frozen in the oven at 375°F for 12-15 minutes, until hot and crispy.
I do not recommend freezing the unbaked rollups after they’ve been brushed with the garlic butter, as the butter can separate and cause splattering. If you want to freeze unbaked, freeze them before applying the butter glaze, then brush with butter right before baking.
Conclusion
These Garlic Butter Bacon Cheeseburger Rollups have become a legendary favorite in my house. They capture the playful, indulgent spirit of a great burger in a fun, shareable format that never fails to bring smiles. I hope you’ll give them a try, embracing the simple joy of rolling, slicing, and baking your way to a truly memorable meal. They’re proof that with a little creativity, you can turn everyday ingredients into something extraordinarily fun and delicious.