
Easy No-Bake Oreo Truffles are the kind of treat that always steals the show—rich, creamy, coated in chocolate, and completely irresistible. These bite-sized confections come together with just three ingredients (Oreos, cream cheese, and chocolate) and no oven required.
They look sensational on holiday platters, make perfect edible gifts, and are so simple to customize for any season or celebration. If you want to dazzle with almost zero effort, these truffles are your new secret weapon.
What Makes Oreo Truffles So Magical?
Oreo truffles have that rare alchemy of being delicious, foolproof, quick, and fancy-looking all at the same time. Crushed chocolate-sandwich cookies, blended into a luscious dough with tangy cream cheese, form the rich, fudge-like filling; they’re then dipped in a chocolate shell that provides snap and shine. The contrast—creamy and crisp, chocolatey and tangy—is addictive.
These truffles are incredibly versatile: you can decorate with sprinkles, drizzle with colored candy melts or white chocolate, or coat in toppings like coconut or crushed nuts. They keep well, freeze beautifully, and please everyone from toddlers to grandmas.
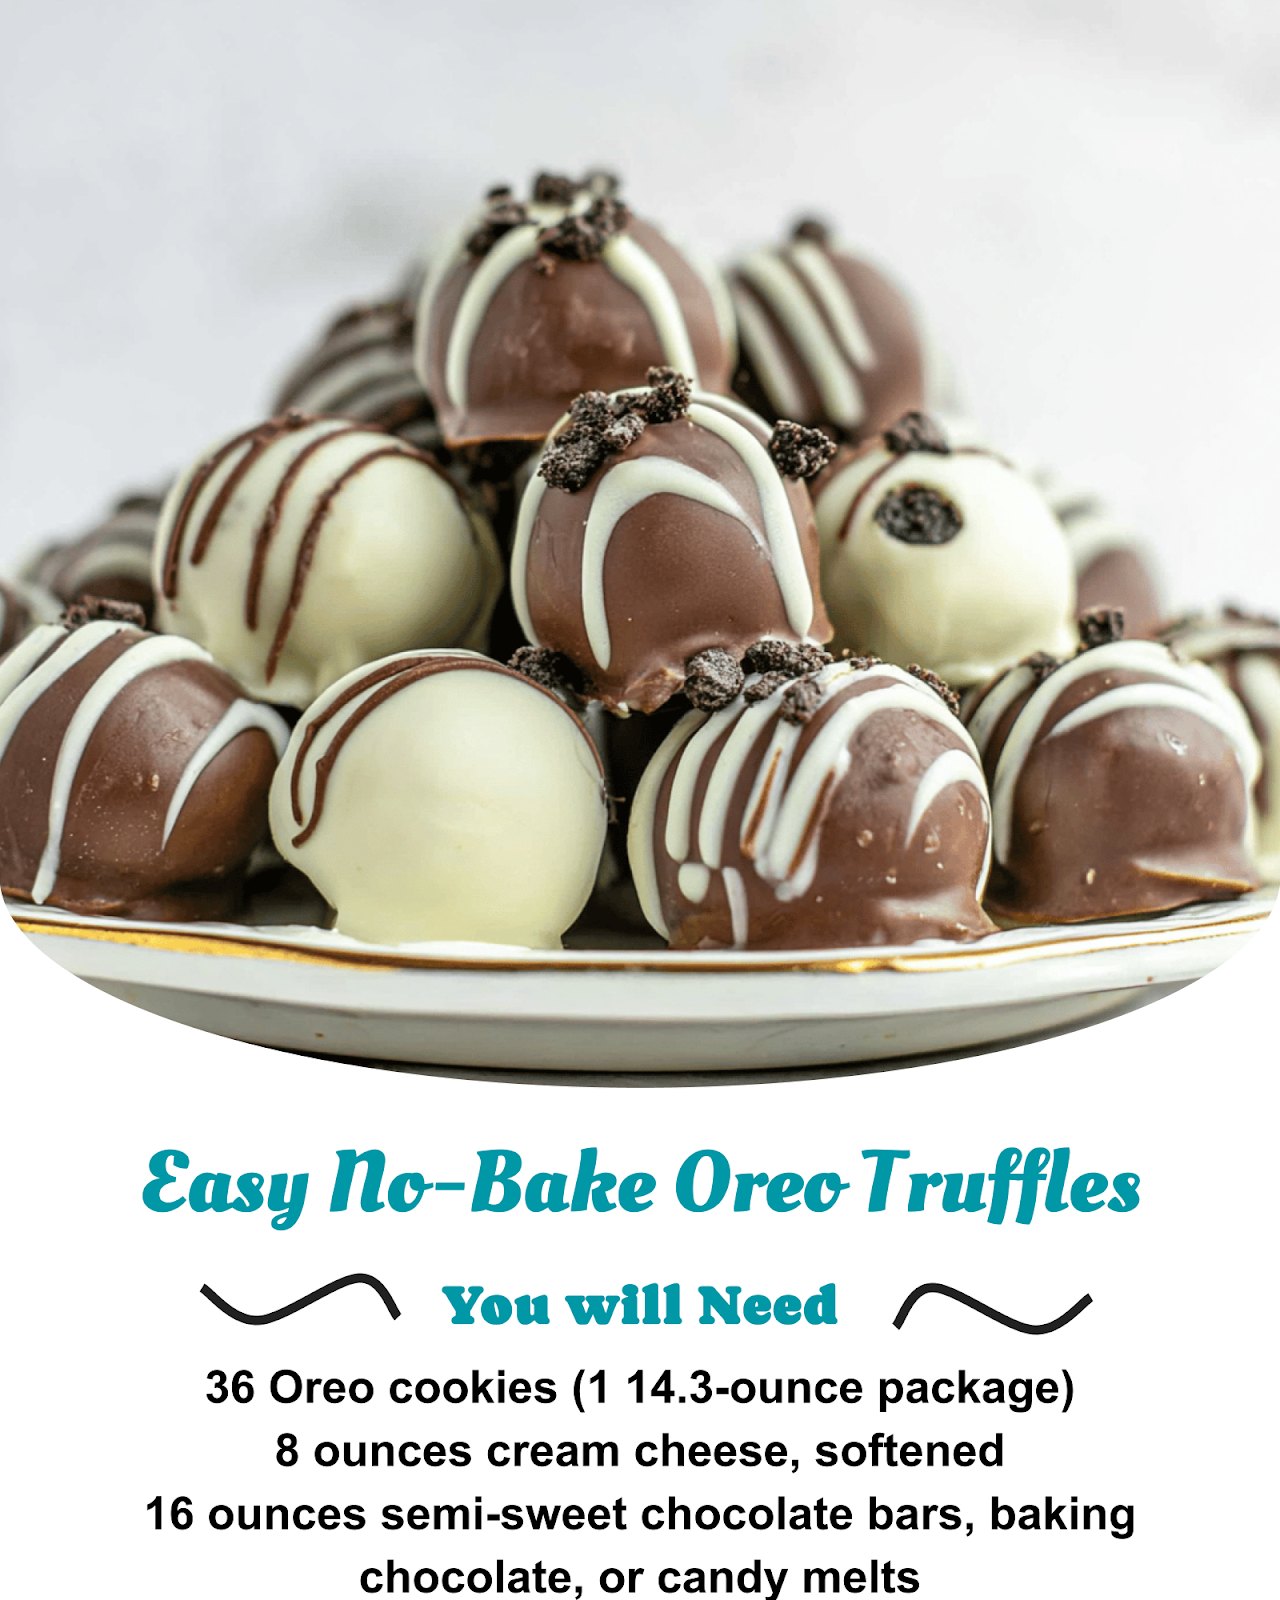
Ingredients
- 36 Oreo cookies (one standard 14–15 oz package)
- 8 ounces cream cheese, softened (full-fat for best texture/taste)
- 12–16 ounces good melting chocolate (semisweet, milk, or white chocolate chips or candy melts)
- Optional: sprinkles, edible glitter, crushed candies, sea salt, coconut, or mini chocolate chips for garnish
How to Make Oreo Truffles Step by Step
Begin by crushing the Oreos. Add the full cookies (cream and all) to a food processor and pulse until you have fine, even crumbs. If you don’t have a food processor, place the cookies in a zip-top bag and use a rolling pin to crush them; try to get the mixture as smooth as possible for the best texture.
Next, transfer your cookie crumbs to a bowl and add the softened cream cheese. You can mix this by hand, with a sturdy spatula, or use a hand mixer for ease. Blend until you have a thick, cohesive dough, completely free of streaks and easy to scoop.
To shape the truffles, scoop a tablespoon or so of the mixture and roll between your palms until round. Arrange each ball on a baking tray lined with parchment or wax paper. Once all are rolled, chill them in the fridge for at least an hour, or speed things up by freezing for 30 minutes. Chilling makes dipping much easier and keeps the truffles firm.
Meanwhile, melt your chocolate or candy melts in a microwave-safe bowl, working in short bursts and stirring after each until the chocolate is smooth and silky. If you like, add a teaspoon of coconut oil for a thinner, glossier coating.
Working with cold truffles, dip each one into the melted chocolate and turn until it’s fully coated. Lift the truffle out with a fork, let the excess chocolate drip, and gently place it back on the tray. Add any sprinkles or toppings right away while the chocolate is still wet—it will set quickly on the chilled balls.
After all the truffles are dipped and decorated, pop the tray back in the fridge until the chocolate is fully set, about 15–30 minutes. Once set, the truffles are ready to serve, pack up, or store.
Tips, Tricks, and Customization
If you find your mixture a bit too sticky to roll, simply chill the dough longer until it firms. For an ultra-smooth filling, crumb the Oreos as finely as possible, and always dip cold truffles into gently melted chocolate (not hot, which can crack the shells).
This recipe is endlessly customizable: drizzle the smooth shells with colored chocolate, scatter with festive sprinkles, top with coarse salt, or roll in toasted coconut or nuts for texture.
Try different Oreo flavors—mint, peanut butter, or even birthday cake—or switch the chocolate coating for your own spin. Make these for birthdays, Valentine’s, Christmas, or any special event by simply changing up your decorations.
Flavor Variations
Peppermint Oreo truffles can be made by adding a drop of peppermint extract to the filling and topping with crushed candy canes. For cookies-and-cream lovers, use white chocolate to coat and sprinkle more crushed Oreos on top. You can fold in a handful of finely chopped nuts for crunch or a teaspoon of orange zest for a bright, fruity twist.
Make-Ahead, Storage, and Gifting
These truffles are perfect for advance prep. Once fully set, store in an airtight container in the fridge for a week, or freeze layers of truffles between parchment for up to three months. Thaw overnight in the fridge before serving. Because they keep so well and taste fantastic cold, they travel beautifully for gifting, potlucks, or a surprise treat in lunchboxes.
Troubleshooting and FAQ
If your truffles break apart during dipping, it usually means they weren’t cold enough—just chill them longer until completely firm. If your melted chocolate is too thick, a little oil can help smooth it out.
Cracked shells are likely from a temperature shock between the cold centers and hot chocolate, so let the truffles sit out a few minutes or melt your chocolate gently. No food processor? Just crush the cookies very finely and mix well with a spatula.
Who Will Love These
Anyone who loves Oreos, chocolate truffles, or rich, creamy desserts. These are favorites with kids, busy bakers, and anyone who appreciates a fast, fancy-looking recipe with big payoff for little effort. With easy swaps, they can be made gluten-free or vegan, so they suit almost every diet and occasion.
Serving and Decorating Ideas
Oreo truffles look stunning lined up in mini muffin cups on a dessert tray or stacked pyramid-style for a party centerpiece. Gift them in pretty boxes with colored tissue, or set out at holiday gatherings with peppermint bark, cookies, and fudge. Tie a few in clear bags with ribbon for party favors, teacher gifts, or thank-yous.
Conclusion
Easy No-Bake Oreo Truffles are rich, creamy, and infinitely adaptable—ready to turn any occasion into something special. With three basic ingredients, endless options for coating and topping, and no baking required, they’re the ultimate homemade treat for holiday trays, gifting, or a sweet bite whenever you crave it most. Make a batch and taste why they’re a modern classic everyone wants to keep in their recipe box.