
Another classic error is trying to dip room-temperature or merely refrigerated centers. I was impatient once and tried to coat them after only 15 minutes in the fridge. It was a disaster. The soft centers mushed in the chocolate, creating misshapen blobs, and several fell right off the fork into the bowl. The freezer is your indispensable ally here. That deep freeze creates a stable, firm core for the chocolate to cling to. Don’t you dare skip or shorten this step.
Using chocolate chips straight from the bag without any adjustments can lead to a thick, stubborn coating that’s hard to work with. If chips are all you have, you can salvage the situation by adding about a tablespoon of coconut oil or shortening to the chips before you melt them. This will thin the chocolate to a proper dipping consistency and help it set with a nicer snap and a more attractive shine.
And finally, rushing the setting process by putting the freshly dipped balls in the refrigerator. While it works, it can sometimes cause the chocolate to “bloom,” creating a dull, whitish, speckled finish as the fat rises to the surface due to quick temperature change. For that perfect, glossy, professional-looking shell, let them set at cool room temperature on the counter. It requires a little patience, but the beautiful visual payoff is absolutely worth the wait.
Serving Suggestions
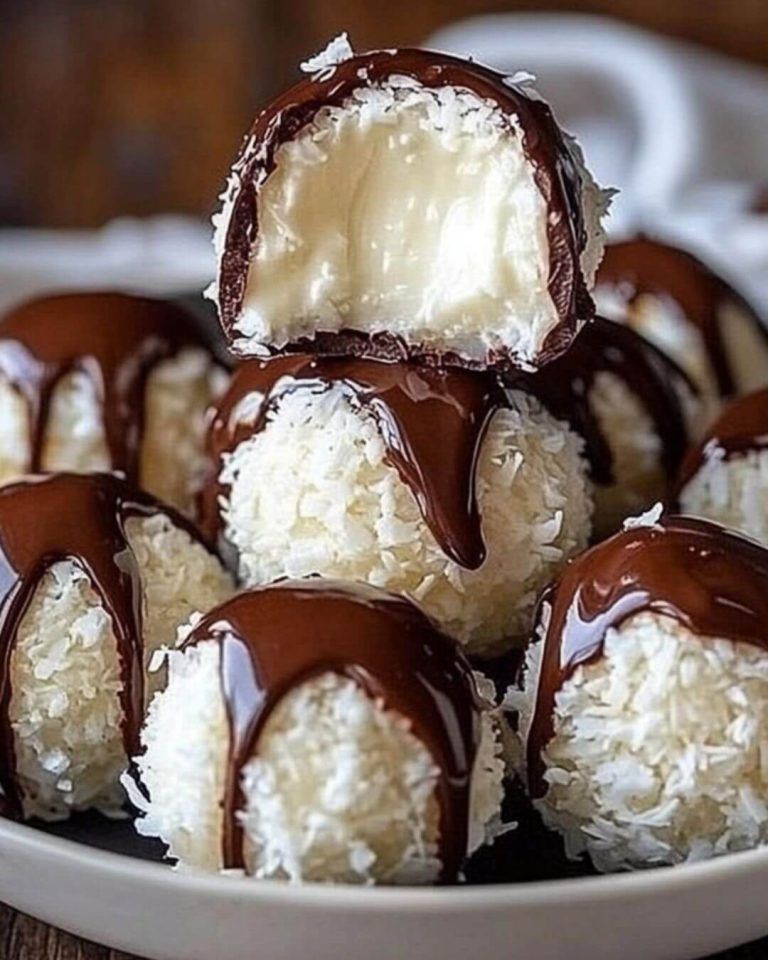
I love presenting these on a simple white ceramic platter or in a elegant glass bowl. They look incredibly inviting piled high, like little jewels. For a party, I’ll often place each one in a mini paper candy cup—it makes them easy to grab, adds a pop of color, and gives such a polished, finished look. They are the perfect, not-too-heavy sweet ending to a rich dinner party menu.
These are my absolute favorite homemade gift. I layer them carefully in a small cardboard gift box or a clear cellophane bag tied with a pretty ribbon or baker’s twine. A little handwritten tag that says “Homemade Coconut Delights” always brings the most delighted smiles. They’re a wonderful, thoughtful treat for teachers, neighbors, or as a hostess gift during the holidays—something about homemade candy feels so personal and special.
For my own personal stash, I keep a small airtight container of them in the fridge. There’s something about enjoying one straight from the chill with a cup of strong black coffee in the afternoon that feels like a secret, luxurious pause in my day. The cool, firm chocolate giving way to the chewy center is a textural dream. They’re also my go-to for satisfying a late-night chocolate craving in the most delicious way possible.
Variations & Customizations
For an Almond Joy-inspired twist, which I make just as often, I press a whole, dry-roasted almond into the center of each coconut ball before freezing. When you bite into the finished treat, you get that wonderful surprise of crunch and toasted flavor. You can even roll the dipped balls in finely chopped almonds before the chocolate sets for an extra nutty presentation.
You can have a lot of fun playing with the coatings. While dark chocolate is the classic, milk chocolate is a delicious, sweeter alternative that kids (and kids-at-heart) adore. For a truly stunning look, I sometimes do a double-dip: first in dark chocolate, let it set completely, then a quick, elegant drizzle of melted white chocolate over the top in zig-zag patterns. It looks incredibly professional and adds another lovely layer of flavor.
Feeling a bit adventurous? Add a teaspoon of pure almond extract or a splash of dark rum to the coconut mixture for a sophisticated flavor boost. For a tropical twist, you could roll the finished, unchilled coconut balls in a very light dusting of unsweetened cocoa powder or crushed freeze-dried raspberries before dipping—it creates a subtle, flavorful outer layer beneath the chocolate shell.
How to Store, Freeze & Reheat
Once the chocolate has fully set, I store these in a single layer in an airtight container in the refrigerator. They keep perfectly for up to two weeks. The cool temperature maintains the chocolate’s satisfying snap and keeps the coconut center firm and fresh. If you need to stack them, place a sheet of parchment paper between the layers to prevent them from sticking together or scratching the beautiful chocolate shells.
These freeze spectacularly well, making them the ultimate make-ahead treat. After the chocolate has fully set at room temperature, I transfer them to a freezer-safe container or bag, again separating layers with parchment. They will keep for up to 3 months. You can eat them straight from the freezer for a fantastic frozen candy bar experience, or let them thaw in the refrigerator for about an hour first.
There is truly no need to reheat these candies, as they are meant to be enjoyed cool. However, if your kitchen is very warm and they’ve become too soft, simply pop the container back into the fridge for 30 minutes to re-firm everything up. Never microwave them, as this will melt the chocolate shell and make the coconut centers overly soft and messy.
Conclusion
These Easy 3-Ingredient Mounds Balls are a beautiful reminder that the most spectacular treats often come from the simplest beginnings. They’ve satisfied my cravings, become my most-requested homemade gift, and never fail to bring a moment of pure joy to anyone who tries one. I love that I can create a taste of pure nostalgia in mere minutes, with ingredients I almost always have on hand. I hope you make a batch, get a little chocolate on your fingers, and experience the same simple, sweet satisfaction. Now, go check your pantry—your inner chocolatier is calling.