
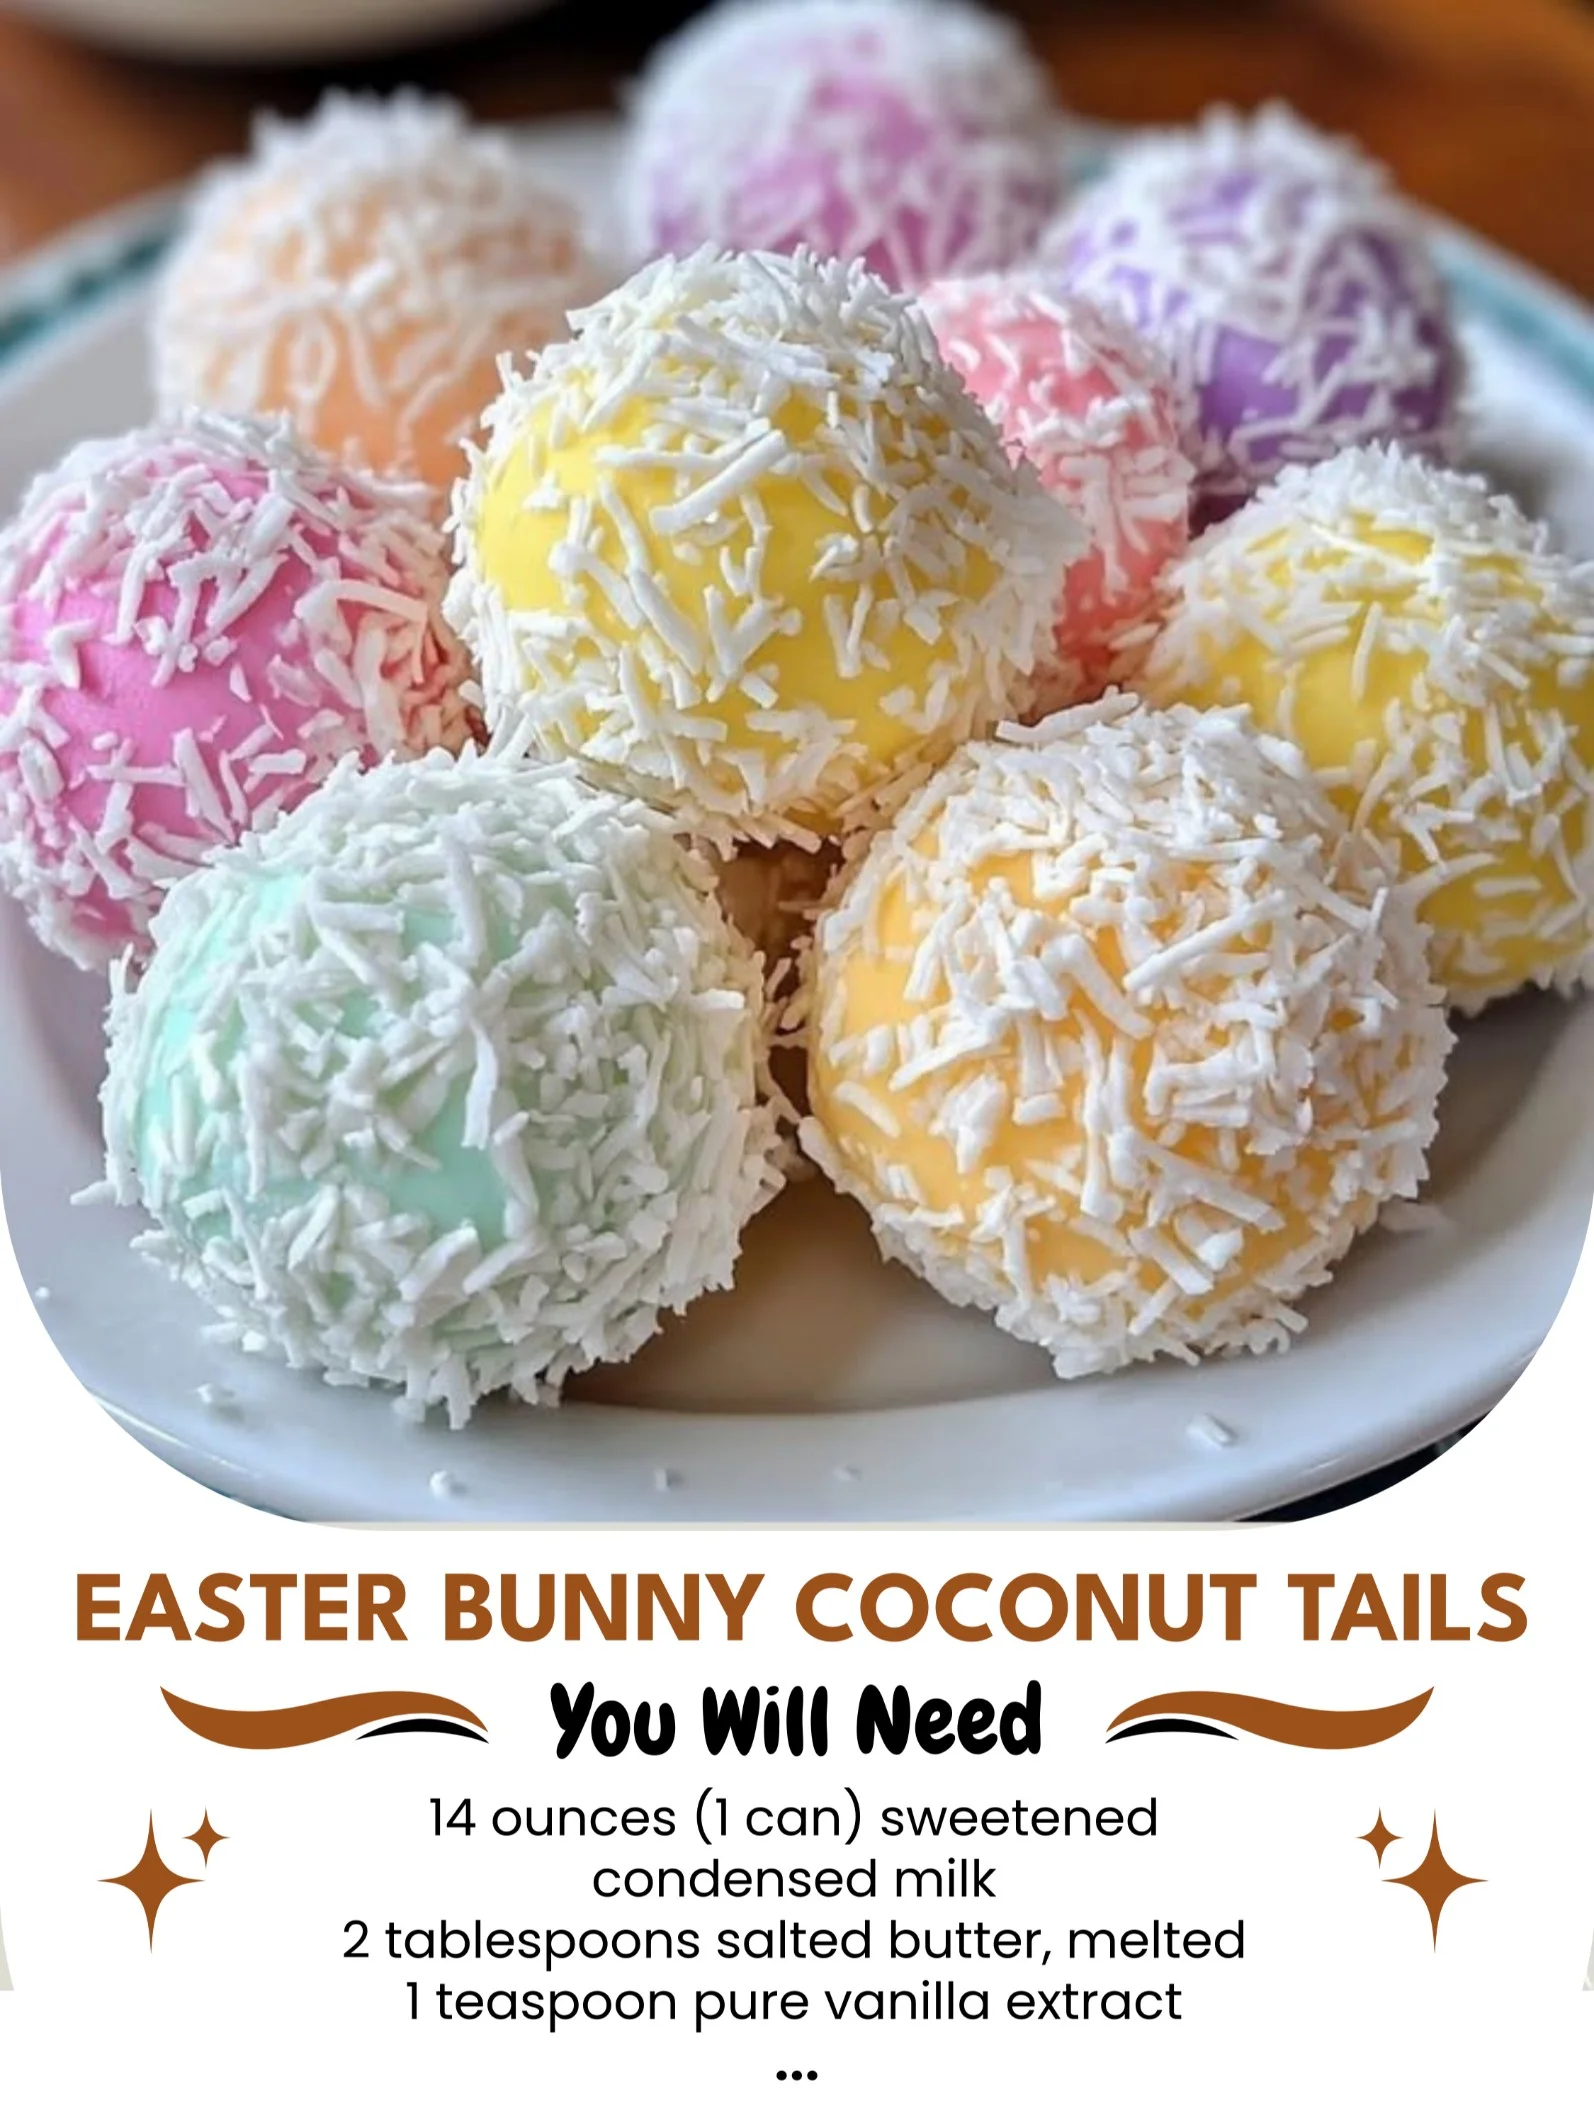
Easter is a time filled with joy, family gatherings, and, of course, delicious treats! One of my favorite recipes that never fails to bring smiles to everyone around is the Easter Bunny Coconut Tails. These delightful little goodies are not only cute but also loaded with a sweet, coconut flavor that makes each bite absolutely irresistible. Today, I want to share this cherished recipe with you so that you can create your own delicious memories this Easter!
Why You’ll Love This Recipe
What’s not to love about a treat that combines the fluffiness of freshly baked dough with a rich coconut filling? These Easter Bunny Coconut Tails are fun to make, wonderfully textured, and they come together surprisingly easily. Plus, they offer a whimsical twist that’s perfect for the holiday. Just imagine the delight on your family’s faces as they find these little bunnies nestled on their plates! Trust me, they’ll be gone before you know it. (See the ingredients in the next page below…)
Ingredients
– 2 cups all-purpose flour
– 1 tablespoon sugar
– 1 packet (2 ¼ teaspoons) instant yeast
– ½ teaspoon salt
– 1 cup warm milk
– ¼ cup unsalted butter, melted
– 1 large egg
– 1 cup sweetened shredded coconut
– ½ cup powdered sugar
– 1 teaspoon vanilla extract
– 2 tablespoons milk (for icing)
– Chocolate chips (for eyes)
Equipment Needed
– Mixing bowls
– Measuring cups and spoons
– Baking sheet
– Parchment paper
– Whisk
– Rolling pin
– Pastry brush
– Cooling rack
Step-by-Step Instructions
To start, I like to activate the yeast first. Warm the milk until it’s lukewarm and mix in the sugar and yeast. Let it sit for about five minutes, until bubbly and foamy. This step is crucial; you want to ensure your dough rises beautifully! In a separate bowl, combine flour and salt, and then add the melted butter and egg into the yeast mixture. Stir it all together until it forms a sticky dough. After that, I like to knead the dough on a floured surface for about 5 minutes until it’s smooth and elastic. (See the next page below to continue steps…)
Next, place the kneaded dough in a greased bowl, cover it with a clean kitchen towel, and let it rise in a warm place for about an hour. It should double in size—this part always smells so good in my kitchen! While the dough rises, prepare your coconut filling by mixing shredded coconut, powdered sugar, and vanilla extract in a small bowl. This mixture is key to getting that delightful coconut flavor inside the tails. Once your dough has risen, punch it down and roll it out on a floured surface into a rectangle about ¼ inch thick.
Now’s the fun part! Cut the dough into strips, about 2 inches wide, and spread a bit of the coconut mixture down the center of each strip. Roll them up to form the tails, pinching the edges to seal them well. Place the tails seam-side down on your parchment-lined baking sheet, giving them some space to rise. Cover them and let them rest for another 30 minutes, and preheat your oven to 350°F (175°C). The anticipation in my kitchen during this time really builds up!
Finally, brush each tail with a bit of melted butter before baking them for about 15-20 minutes, or until they’re golden brown. The aroma wafting through the air makes my mouth water! I let them cool completely before mixing the milk and powdered sugar to create a simple icing for drizzle. Once iced, stick in those chocolate chips for eyes, and there you have it—adorable Easter Bunny Coconut Tails!
Pro Tips for Best Results
I’ve experimented with this recipe several times, and one tip I can’t stress enough is to make sure your milk isn’t too hot when activating the yeast. If it’s too hot, you risk killing the yeast, and then all your hard work will go to waste. A perfectly warm milk temperature really helps in creating a nice fluffy texture for the tails.
Another bottom line I discovered is not to over-knead the dough after adding the fillings, as this can make the tails tough. Just enough kneading to incorporate everything should do the trick! The dough should remain soft and pliable, making it easy to work with while maintaining a delightful airy quality when baked.
Lastly, whenever I make these treats, I often double the coconut filling. It’s such a crowd-pleaser, and you can never have too much coconut in my opinion! The extra sweetness really complements the roll itself and keeps everyone reaching for seconds.
Common Mistakes to Avoid
One of the most common mistakes I’ve made in the past was not measuring the flour accurately. It’s easy to pack it down too much, leading to a dry dough that doesn’t rise properly. I learned the hard way to spoon the flour into the measuring cup and level it off with a knife. This little technique makes a world of difference in the texture of your buns! (See the next page below to continue…)
Another mistake I’d like to mention is forgetting to let the rolls cool completely before icing them. When I rushed this process, I found that the icing just melted away, which is not what you want. Giving them plenty of time to cool gives that lovely glaze contrast to the warm, fluffy tails.
I also encourage you to keep an eye on the baking time. Ovens can be tricky, and each one behaves differently. It’s always best to check on them a couple of minutes early and then adjust as needed. You don’t want to end up with overbaked tails, as they can turn uncompromisingly hard.
Finally, make sure you seal the edges well when rolling up your tails. I’ve had a few battles with coconut filling leaking out while baking. A good pinch will keep everything contained, allowing your buns to keep their shape and beautiful presentation!
Serving Suggestions
Once your Easter Bunny Coconut Tails are ready, they’re perfect for serving at brunch or as a side to your holiday dinner. They also make cheerful additions to a dessert table, bringing a touch of whimsy that everyone appreciates. I like to pair mine with a warm cup of coffee or tea, enhancing the experience on a relaxing morning!
If you have any leftovers (which, let’s be honest, is rare in my house!), you can plate them up for a cozy family movie night. Just the sight of these soft, fluffy buns makes everything feel festive and special, even if it’s just a casual evening in.
Also, don’t forget that kids absolutely adore them! I love placing a little basket of these tails at the kids’ table during family gatherings; their delighted giggles and bright smiles make all my efforts worthwhile.
Variations & Customizations
One variation I enjoy experimenting with is adding a hint of almond extract to the coconut mixture instead of vanilla for a slightly different flavor profile. It adds an unexpected depth that surprises everyone—definitely worth a try if you’re feeling adventurous!
Another fun customization is mixing in some chocolate chips with the coconut filling. The combination of chocolate and coconut is simply divine, and it gives your Easter Bunny Coconut Tails that extra bit of indulgence that chocolate lovers will appreciate. I like to use mini chocolate chips; they spread out nicely throughout the buns.
For those who prefer a healthier option, you could substitute some of the all-purpose flour with whole wheat flour or use natural sweeteners in the filling. I’ve not tried all variations yet, but I’m excited about the results they might bring!
How to Store, Freeze & Reheat
To store your Easter Bunny Coconut Tails, place them in an airtight container at room temperature. They’ll keep well for a couple of days, but I recommend enjoying them fresh for the best texture and flavor. If you find yourself with leftovers, you can easily pop them in the fridge; just bring them to room temperature before serving.
If you want to make these tails ahead of time, the great news is that they freeze beautifully! Just wrap them individually in plastic wrap and then place them in a freezer bag. They can last in the freezer for up to three months. To reheat them, just thaw them at room temperature, and then warm them in the oven for a few minutes. It’s like bringing back that freshly baked taste!
Reheating in the microwave is another option—but I find that it can make them a little chewy if you’re not careful. I recommend the oven for that lovely crispy exterior and soft inside. After all, who doesn’t love that right-out-of-the-oven experience?
Conclusion
I hope you’re as excited to whip up these Easter Bunny Coconut Tails as I always am! Each step brings a bit of joy, creativity, and a whole lot of deliciousness to your kitchen. Whether you’re making them for a family gathering or just for your own enjoyment, I guarantee they’ll leave everyone hopping for joy! Happy baking, and enjoy your time in the kitchen!