
Equipment Needed
- A large, wide mixing bowl
- A sturdy spoon or spatula for mixing
- A measuring cup
- A flat surface or tray for play (like a baking sheet or plastic mat)
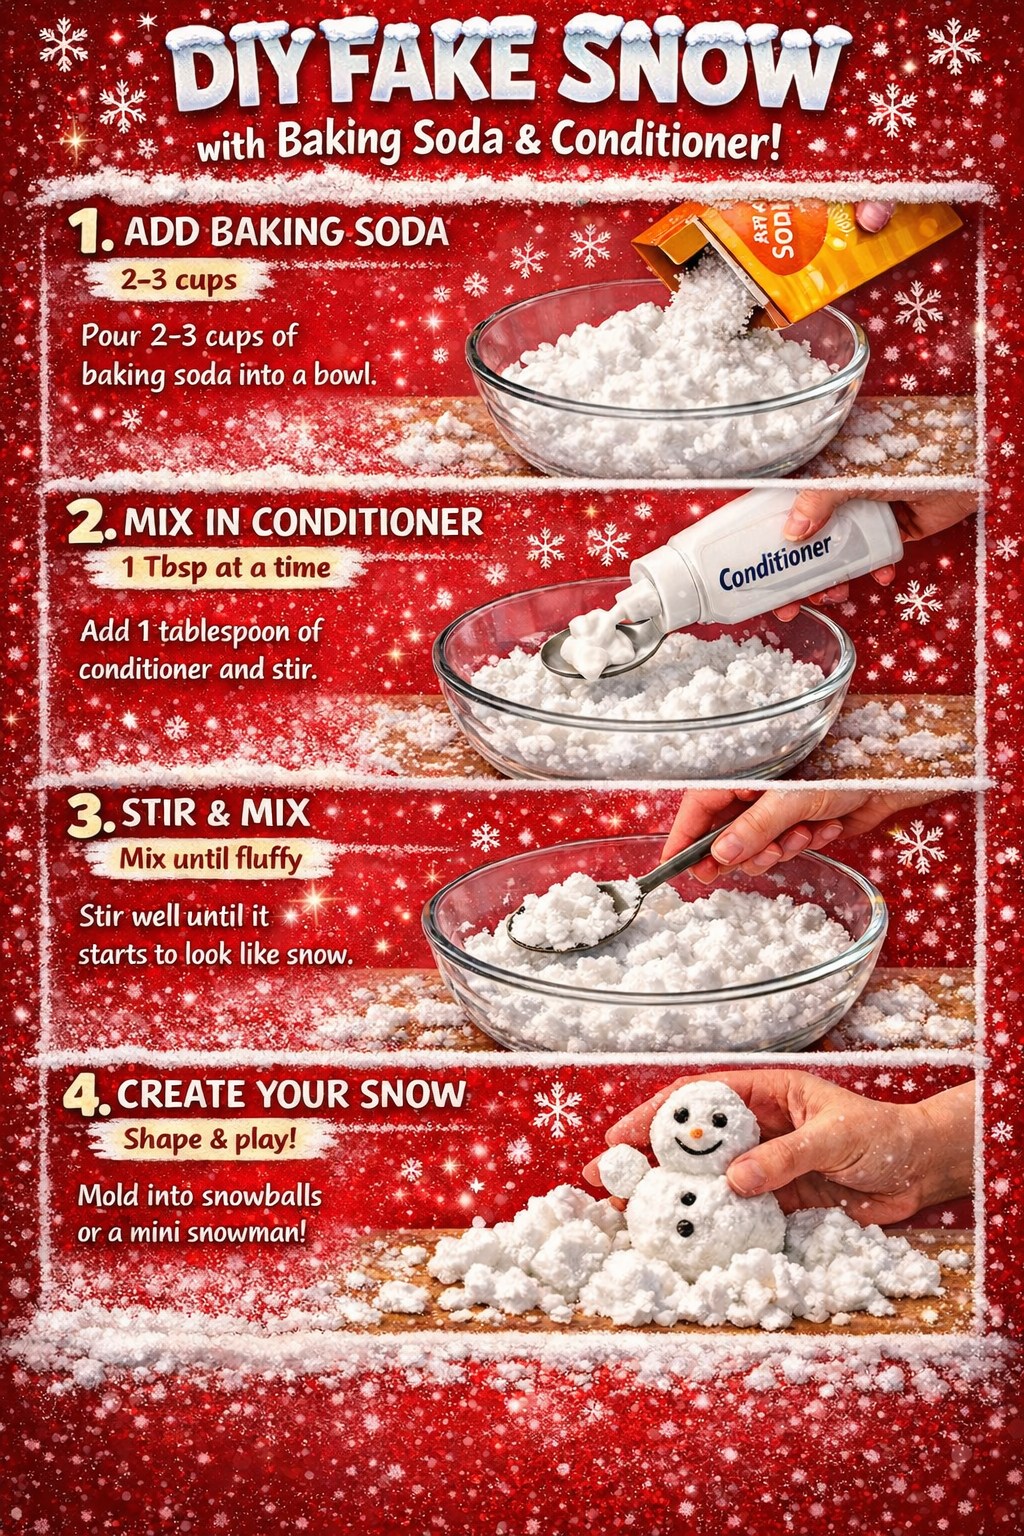
Step-by-Step Instructions
Start by pouring your baking soda into the bowl. I like to start with a full 3 cups—trust me, you’ll want plenty of this stuff to play with, and it stores well. The first time I made it, I only used 2 cups and regretted it instantly when the kids dove in and asked for more before I could even grab my camera. As you pour, notice the texture: it’s a soft, whisper-quiet powder that puffs up in a little cloud. Let the kids help with this part; it’s a great sensory moment in itself and makes them feel involved from the start.
Now, here’s where the alchemy happens. Add your white conditioner one tablespoon at a time. I cannot stress this “one tablespoon” rule enough. My first batch, I got overzealous and poured in a huge glug. The mixture went from powdery to a sticky, slimy mess in seconds, and I had to double the baking soda to save it. After three or four batches, I’ve found the sweet spot is usually about 1 tablespoon of conditioner for every ½ cup of baking soda. Stir slowly after each addition, watching the transformation closely.
You’ll know you’re getting close when you can press a handful together and it holds its shape like a perfect snowball, but still feels dry and crumbly to the touch. The goal is “packable powder.” It should feel cool, be moldable, and still have a slight, pleasant grit—just like real snow! If it’s too dry and won’t pack, add another half-tablespoon of conditioner. If it’s too wet and feels greasy or leaves residue on your hands, add a few more spoonfuls of baking soda. This is the most hands-on part, and getting the texture just right is deeply satisfying. (See the next page below to continue…)