
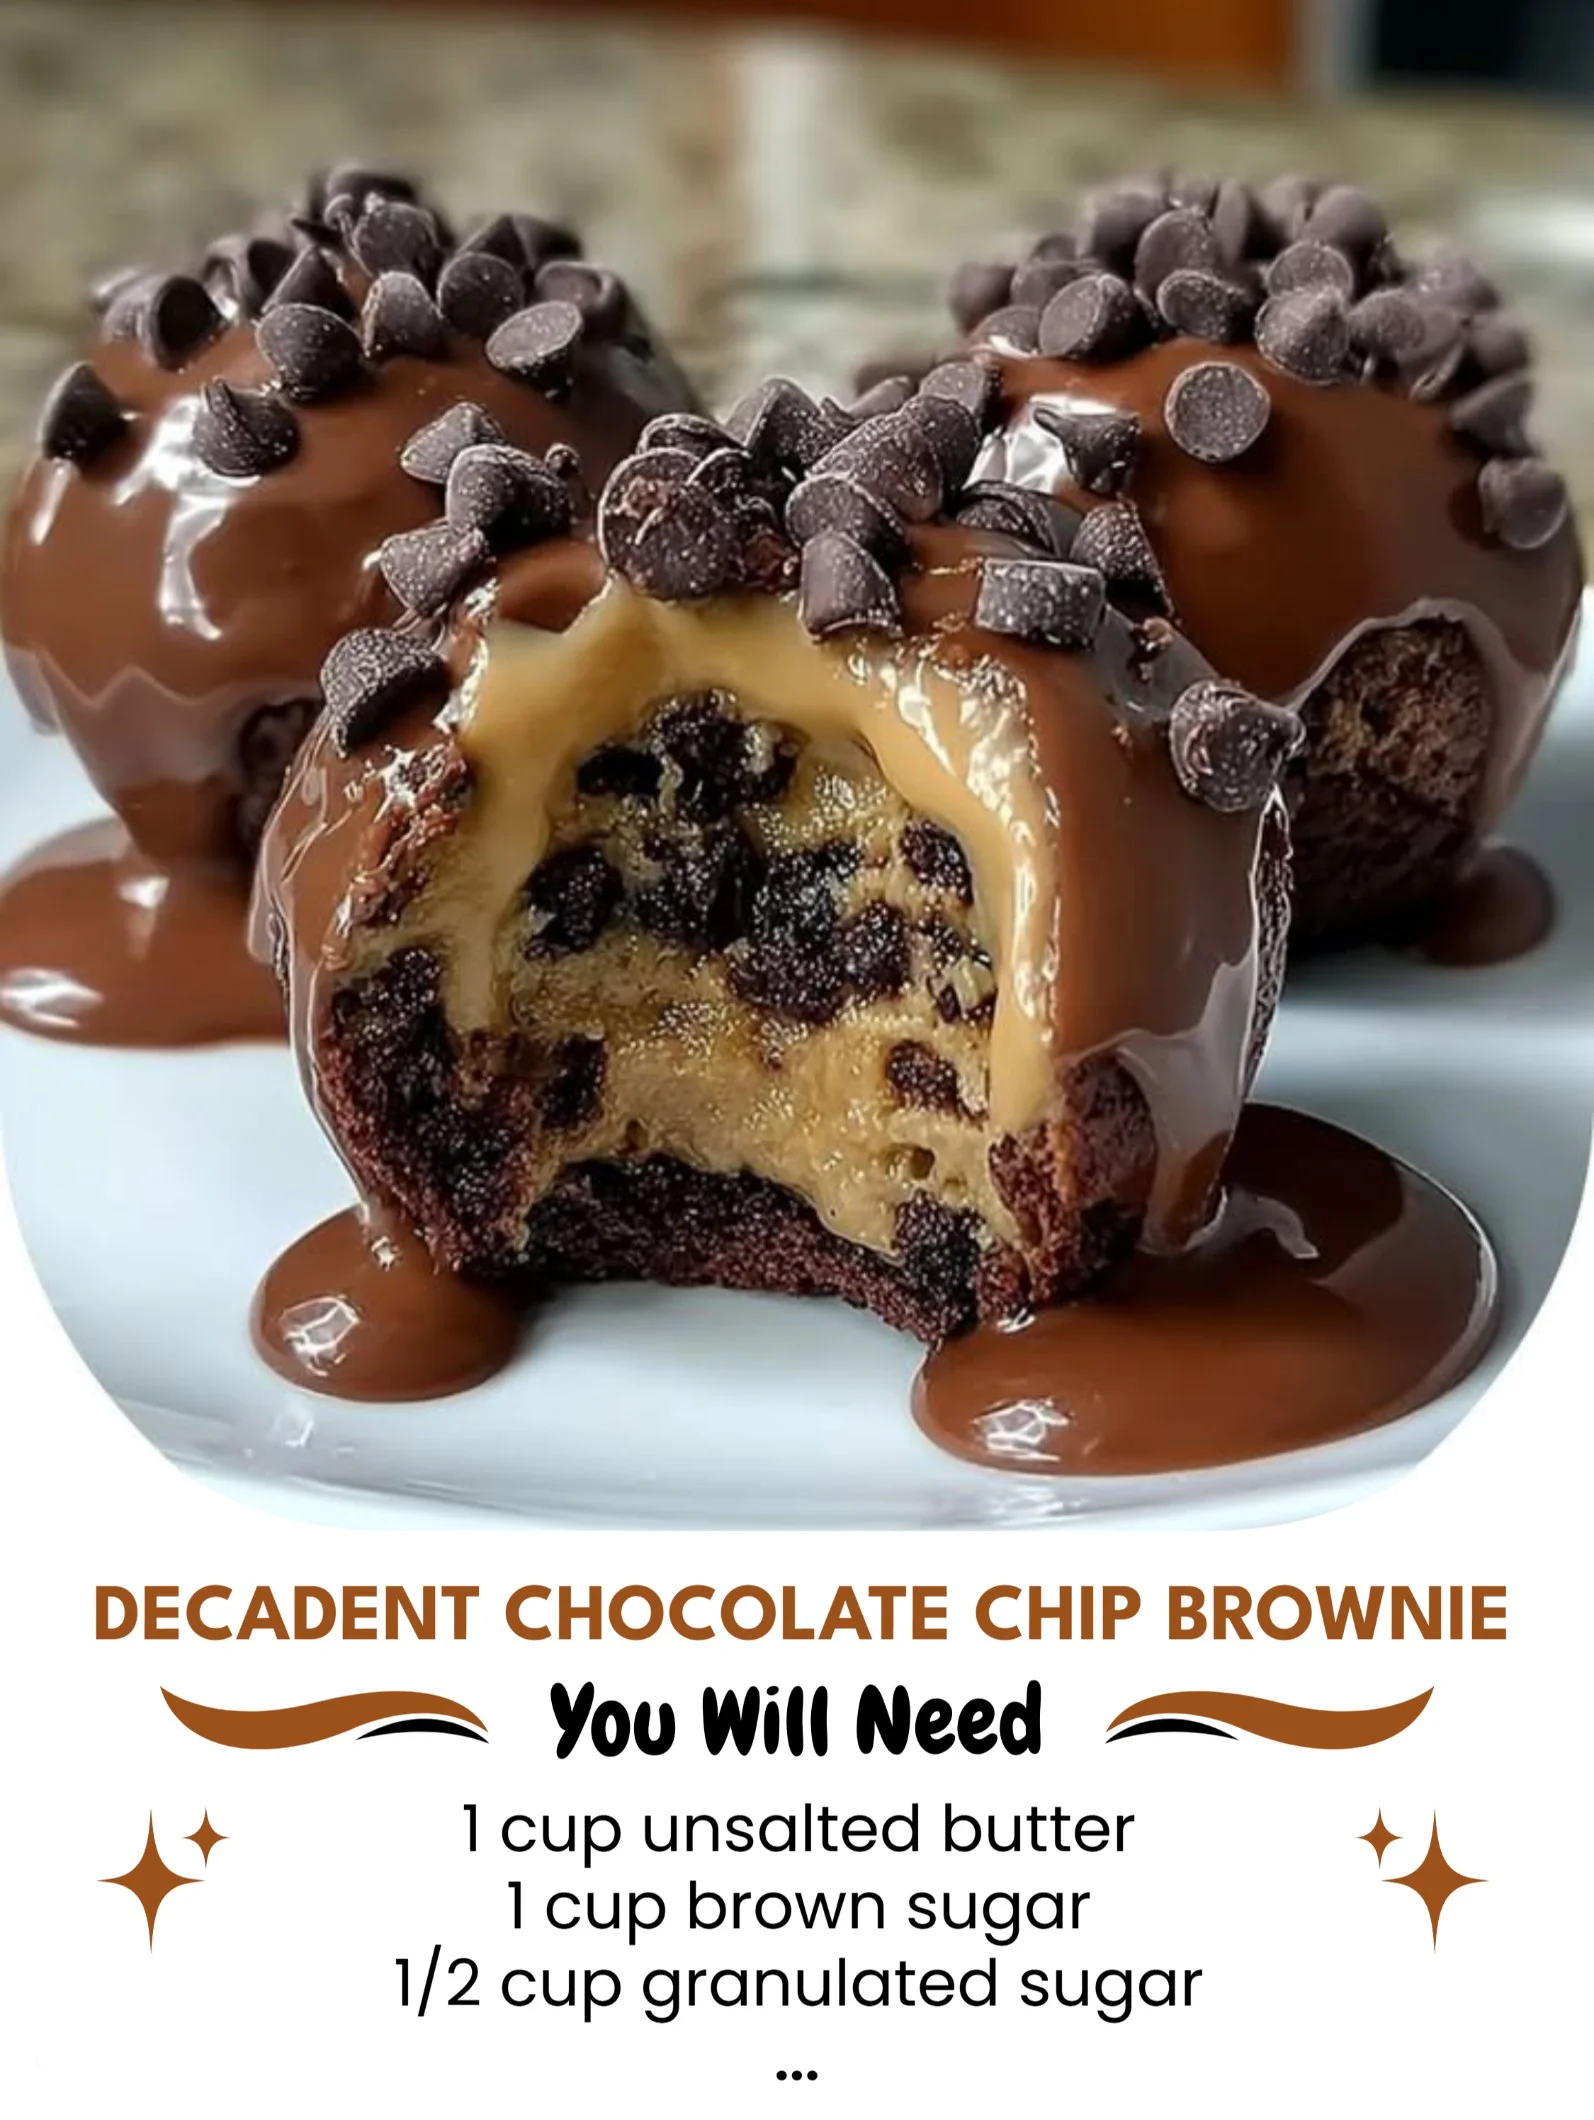
Next, I gently fold in the chocolate chips and nuts, if I’m using them. The chocolate chips add an extra layer of gooey goodness that I absolutely adore! Now it’s time to prepare my baking pan. I usually line it with parchment paper to make it easier to remove the brownies later. Once everything is poured into the pan, I spread the batter evenly using my spatula and pop it into the preheated oven. They typically bake for about 25 to 30 minutes, or until a toothpick inserted comes out with only a few moist crumbs—just how I like them!
While they’re baking, I can’t help but indulge in the delightful scent wafting through the house. After the baking time is up, I take the brownies out and let them cool for at least 10-15 minutes before slicing them into generous squares. The patience required during this cooling time is a true test of willpower, as I yearn for just a little taste to confirm their fudginess!
Pro Tips for Best Results
I’ve played around with this recipe quite a bit, and one thing I’ve discovered is that the quality of chocolate chips does matter. I often use good-quality semi-sweet or dark chocolate chips to elevate the flavor. Don’t skimp on this part; it truly makes a difference in the final taste and richness!
Another tip is to ensure you don’t overbake them. Since ovens can vary, I recommend checking the brownies a couple of minutes before the suggested time. Also, if you love a bit of extra texture, try sprinkling some flaked sea salt on top right before baking. The contrast of salty and sweet is absolute perfection!
Lastly, let the brownies cool completely before you slice them for the cleanest, most beautiful edges. If you can resist the urge to dive in right away, you’ll be rewarded with tidy squares that can be proudly served to family and friends.
Common Mistakes to Avoid
One common mistake I made early on was ever-so-slightly overmixing the batter after adding the dry ingredients. This can lead to a tougher texture, which isn’t what we want for these rich brownies. I’ve learned that a gentle hand is key when folding everything together, just until you see no more flour. (See the next page below to continue…)