
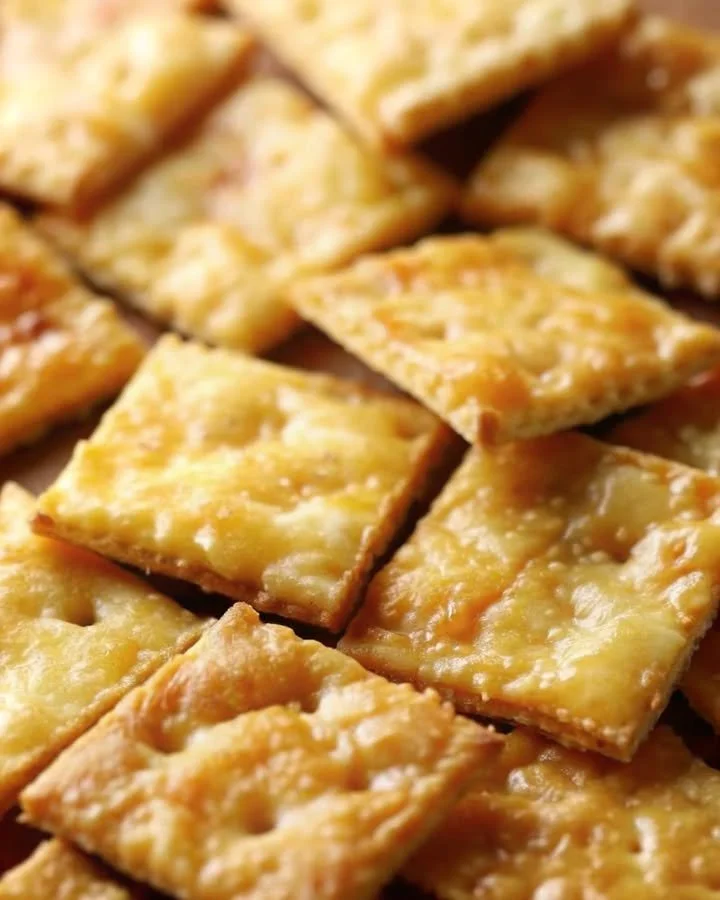
There’s nothing quite like the crunch of a crispy potato cheese ball, right? I remember the first time I made these delicious little bites in my kitchen; the aroma filled the space and had everyone gathering around, eager for a taste. It’s a delightful experience to see people enjoying something you’ve created, especially when it’s as comforting and satisfying as these cheesy, golden treats. So, let me share this recipe with you so you can create this crispy goodness in your own home!
Why You’ll Love This Recipe
One of the best things about crispy potato cheese balls is their versatility. They can serve as an appetizer, snack, or even a side dish depending on your mood and occasion. The crunchy exterior paired with the gooey, cheesy interior will make your taste buds dance with joy! Plus, they are simple to whip up with just a few ingredients, making them perfect for a last-minute gathering. Trust me, once you make them, they’ll become a staple in your kitchen! (See the ingredients in the next page below…)
Ingredients
– 4 medium-sized potatoes
– 1 cup grated cheese (I love using cheddar)
– 1/2 cup breadcrumbs
– 1/4 cup all-purpose flour
– 1/2 teaspoon garlic powder
– 1/2 teaspoon onion powder
– Salt and pepper to taste
– Oil for frying
– Fresh parsley for garnish (optional)
Equipment Needed
– Large pot for boiling
– Mixing bowl
– Potato masher or fork
– Frying pan or deep fryer
– Slotted spoon
– Baking sheet
– Paper towels for draining
Step-by-Step Instructions
To start, I peel and boil the potatoes in a large pot until they are fork-tender. It usually takes about 15 to 20 minutes. Make sure to drain them well before transferring them to a mixing bowl. I like to give them a good mash to ensure the texture is smooth and creamy. The smell of the boiling potatoes is so comforting! Once they are mashed, I mix in the grated cheese along with the garlic powder, onion powder, salt, and pepper to taste. At this point, my kitchen is already starting to smell delish! (See the next page below to continue steps…)
Next, I form the mixture into small balls, about the size of a golf ball. Once they are shaped, I roll each ball in flour, then dip them in breadcrumbs, making sure they are coated evenly. I find this multi-layer coating gives them that perfect crispy exterior when fried. To fry them, I heat oil in a pan over medium heat until it shimmers. Carefully, I add a few balls at a time, frying them until they are golden brown on all sides. This sizzling sound is music to my ears!
After they are done, I transfer the crispy potato cheese balls to a paper towel-lined baking sheet to absorb any excess oil. If I’m feeling fancy, I’ll sprinkle fresh parsley on top for a pop of color. And there you have it—golden, crispy bites of cheesy joy ready to serve!
Pro Tips for Best Results
I tested this recipe three ways to see which frying method was best. The first time, I used a shallow pan, and while the results were good, the balls occasionally flipped over and lost their shape. Then, I tried deep frying them and experienced much better results! The even cooking ensured every side was perfectly crispy.
Also, make sure the oil is hot enough before adding the balls. If it isn’t, the balls will absorb more oil and become dense rather than light and crispy. I usually toss a small piece of bread into the oil; if it browns in about 60 seconds, you’re good to go!
Lastly, don’t hesitate to experiment with the cheese. I once made a batch using a blend of mozzarella and pepper jack, and it added a delightful kick. It’s all about finding that perfect combination that sings to your taste buds!
Common Mistakes to Avoid
One mistake I often see is overcooking the potatoes. It might seem harmless, but if you’ve mashed them too long, they can become gummy. I recommend keeping an eye on them as they boil so they don’t turn into a starchy disaster! (See the next page below to continue…)
Another common pitfall is not seasoning enough. Potatoes can be quite bland on their own, so make sure to taste the mixture and adjust the seasonings if needed. A sprinkle of extra salt or spices can make all the difference in enhancing the flavor.
I’ve also had moments where I didn’t allow the fried balls to drain properly. After frying, I used to skip the step of placing them on paper towels, thinking it wasn’t necessary. Trust me, soggy potato cheese balls are not the goal here! Allowing them to drain lets the crispiness shine through.
Lastly, make sure not to overcrowd the frying pan. I once tried to throw in too many potato balls at once, which led to uneven frying and a less-than-desirable texture. Fry them in small batches for the best results!
Serving Suggestions
These crispy potato cheese balls are fantastic on their own, but I love serving them with a variety of dips for a fun twist. A simple spicy aioli or garlic mayo makes a superb combination. Sometimes I even whip up a quick homemade ranch dressing; it complements the flavors beautifully.
You can also get creative with your serving platter! I love using a large wooden board and arranging the cheese balls alongside various dipping sauces. This setup encourages everyone to grab a ball as they mingle, creating a fun and lively atmosphere at gatherings.
Another option is to serve them as a side with your favorite main dish. They pair wonderfully with anything from a simple salad to burgers, elevating your meal to a whole new level of deliciousness.
Variations & Customizations
If you’re feeling adventurous, you can easily customize the filling inside your potato cheese balls. Think about adding sautéed mushrooms or even some chopped spinach for a healthier twist. I’ve experimented with crispy bacon bits in one batch, and that smoky flavor was an absolute winner!
Cheese-wise, feel free to swap out the cheddar for something more adventurous, like blue cheese or gouda, for a unique flavor profile. Depending on your family’s preferences, you can also mix in some herbs like dill or chives for a fresh taste.
For those who prefer a lighter option, consider baking instead of frying. Although they might not achieve that same golden crunch, brushing them with olive oil and baking at a high temperature can yield delicious results. It’s a great way to prepare these in bulk when you’re hosting guests!
How to Store, Freeze & Reheat
If you happen to have any leftovers (which is rare in my kitchen), you can store crispy potato cheese balls in an airtight container in the fridge for up to two days. I recommend reheating them in the oven rather than the microwave; this way, they’ll regain some of that crispiness.
To freeze, I usually place the shaped (but un-fried) balls on a baking sheet and freeze them until solid. After that, I transfer them to a zip-top bag. This makes it so easy to have a delicious snack on hand anytime! When you’re ready to cook, you can fry them directly from frozen; just add a minute or two to the frying time.
Reheating the fried balls is straightforward. Preheat your oven to 375°F and bake for about 10-15 minutes until they’re warmed through. They might not be as crispy as when they were first made, but they’ll still be delightful!
Conclusion
There you have it! Crispy potato cheese balls that are sure to become a family favorite in no time. I hope this recipe brings as much joy to your kitchen as it has to mine. Whether you’re enjoying them at a party or as a cozy snack at home, I know they’ll hit the spot. Happy cooking!