
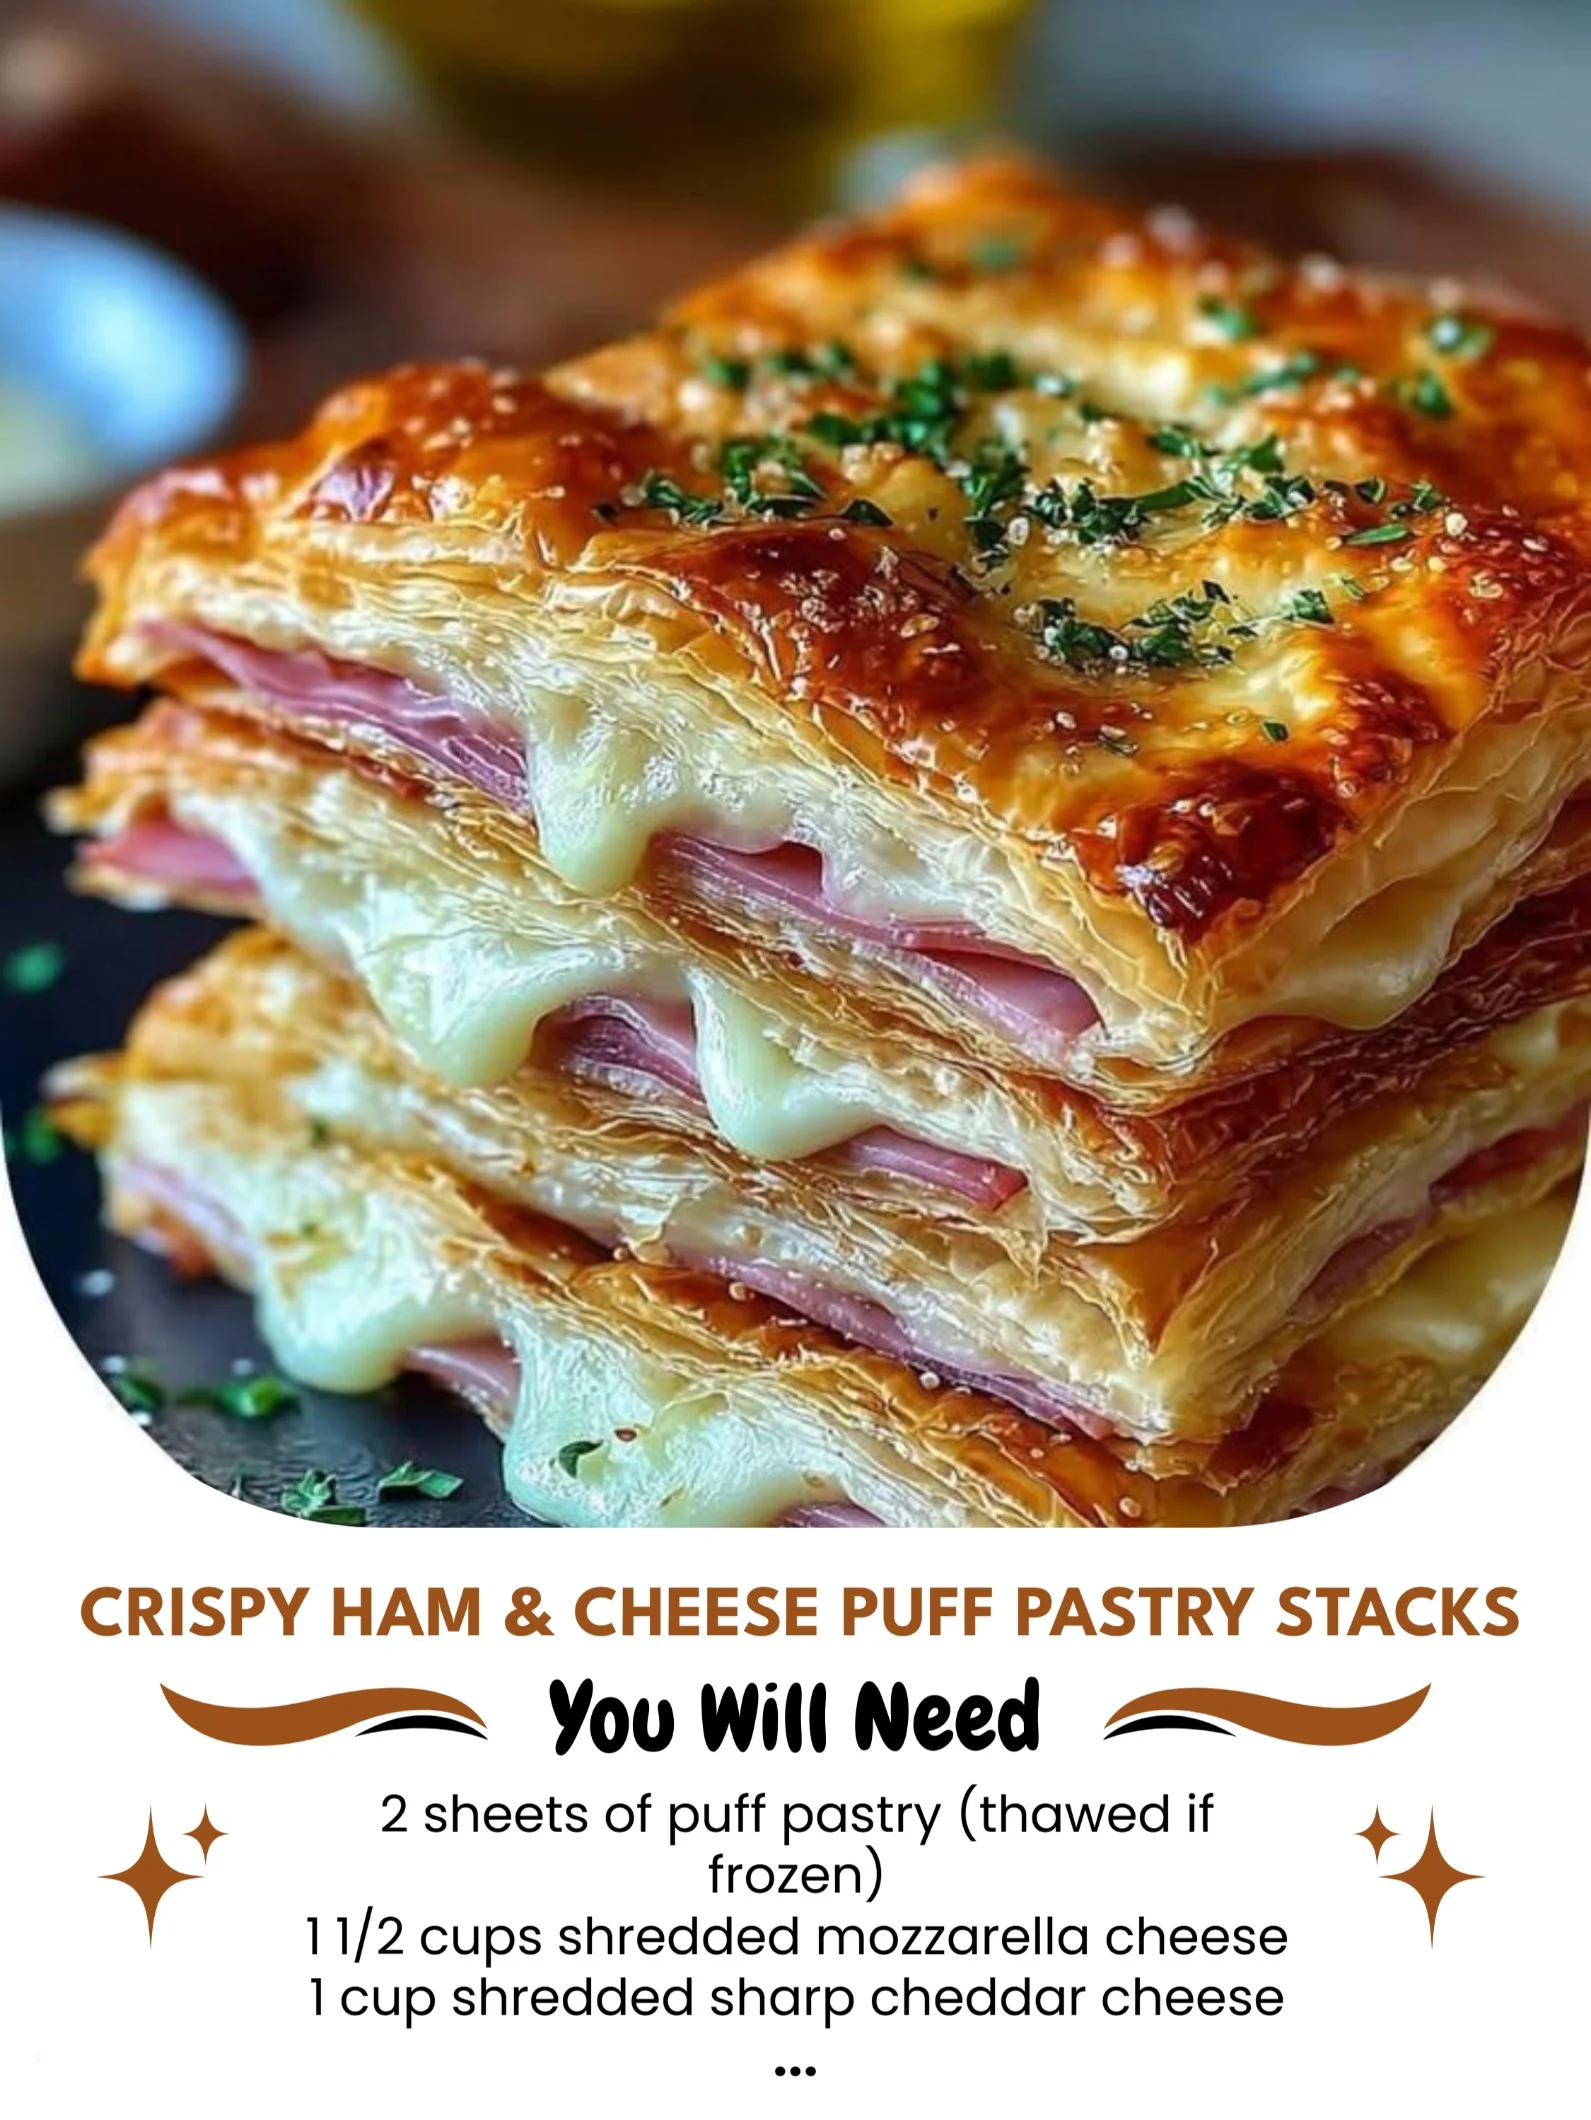
I’m thrilled to share one of my absolute favorite recipes that brings together crispy layers of puff pastry, savory ham, and gooey cheese. Crispy Ham & Cheese Puff Pastry Stacks are the perfect combination of flavors and textures – they’re flaky, rich, and just downright delicious. Whether you’re looking for a quick snack, a delightful appetizer, or an easy meal, these stacks are guaranteed to impress and satisfy.
Why You’ll Love This Recipe
This recipe is a winner for so many reasons. First and foremost, it’s incredibly easy to make, allowing me to whip it up even on the busiest of days. The beauty of puff pastry is its versatility—once baked, it transforms into a golden, flaky masterpiece. Pair that with savory ham and your favorite cheese, and you’ll be in culinary heaven. I love how these stacks make my kitchen smell heavenly while they bake, giving me that warm, homey feeling that only comforting food can bring. They are fun to prepare and bring such joy when shared with family and friends. Plus, they’re a great way to use up leftover ham! (See the ingredients in the next page below…)
Ingredients
– 1 sheet of frozen puff pastry, thawed
– 8 oz thinly sliced ham
– 8 oz cheese (Swiss, cheddar, or your choice), sliced
– 1 egg (for egg wash)
– 1 tablespoon Dijon mustard
– Salt and pepper to taste
– Fresh herbs (like thyme or parsley) for garnish (optional)
Equipment Needed
– Baking sheet
– Parchment paper
– Rolling pin
– Knife
– Pastry brush
– Ruler (optional for even stacking)
Step-by-Step Instructions
To start making these crispy ham and cheese stacks, preheat your oven to 400°F (200°C). I find it helpful to unfold the thawed puff pastry and let it sit on a lightly floured surface for about 5 minutes; this makes it easier to roll out. Using a rolling pin, I roll the pastry into a rectangle about 1/8 inch thick. Once rolled, I carefully cut out squares (about 6 inches each) for stacking. I love the way the pastry transforms into a beautiful canvas for the fillings! (See the next page below to continue steps…)
Next, I spread a thin layer of Dijon mustard onto half of these squares, giving that extra zing to every bite. Then, I layer on those lovely slices of ham, followed by two slices of cheese on top. I usually go for a mix of Swiss and cheddar because I adore the flavor combination. After stacking, I fold the other half of the pastry square over the filling and gently press down the edges to seal them. I like to use a fork to crimp the edges, adding both decoration and a secure closure.
Once all my stacks are assembled, I place them on a parchment-lined baking sheet. Before they go into the oven, I whisk the egg with a splash of water and brush the mixture over each pastry. This gives them that mouthwatering golden color as they bake. I pop them in the oven for about 20-25 minutes, or until they are puffed up and beautifully browned. The aroma that fills my kitchen is absolutely heavenly!
Pro Tips for Best Results
When I first made these stacks, I experimented with different cheeses. I found that a combination of cheeses worked best for flavor and melt factor, so don’t be afraid to mix things up! I once tried adding a sprinkle of spicy pepper jack in the mix, and let me tell you, it added a delightful kick that I absolutely adored.
Also, remember that puff pastry needs to be cold to function at its best. If you can keep it chilled while you work, you’ll get the flakiness that makes these stacks so divine! If at any point the pastry gets too warm and becomes difficult to handle, simply pop it back in the fridge for a few minutes to firm up.
Lastly, don’t skip the egg wash! It’s one of those small but mighty steps that creates that golden shine on the outside. I’ve tried these without the egg wash, and while they were still delicious, the visual appeal was definitely lacking. A little effort goes a long way in presenting your dish!
Common Mistakes to Avoid
One common mistake I made the first time was overstuffing the pastries. While it can be tempting to pile on more ham and cheese, I learned that a thin layer is really all you need. Overstuffing can lead to messy, bloated pastries with filling spilling out during baking, which, trust me, isn’t the look you want! (See the next page below to continue…)
Another mistake is failing to seal the edges properly. I once had a beautiful stack, and when it baked, all the filling leaked out because I didn’t crimp the edges securely. Make sure your edges are well-sealed, or consider using a bit of water to help the pastry stick together better.
Also, don’t forget about the importance of cooling! After taking them out of the oven, allow your stacks to cool on a wire rack for a few minutes. This helps to maintain their crispiness instead of steam building up from sitting in a warm environment. I’ve been too hasty before and bitten into one right away—while delicious, the filling was scorching hot!
Lastly, always check the expiration date on your puff pastry. I once tried to use a long-expired sheet and didn’t get the beautiful puffing I was expecting. Fresh pastry makes all the difference when it comes to achieving that wonderful texture.
Serving Suggestions
These crispy ham and cheese puff pastry stacks are incredibly versatile when it comes to serving. They are perfect as an appetizer or a finger food for gatherings and parties. When I serve them at a gathering, I like to present them on a lovely platter with some fresh herbs for garnish; the green adds a nice contrast against the golden pastry.
I also enjoy pairing these stacks with a light salad or a warm bowl of soup for a cozy meal. The crispy texture complements a creamy tomato soup perfectly, and the combination makes for a delightful lunch or dinner. I love putting my favorite dipping sauces, like a mustard dip or a creamy ranch, on the side for fun.
Another fun serving suggestion is to create a buffet-style setup for game night or parties. I place a few stacks on a table along with various dips and sides, allowing everyone to personalize their plates. It turns a simple dish into an interactive experience that everyone enjoys!
Variations & Customizations
I love the idea of customizing this recipe based on what I have available. For instance, if I’m looking for a vegetarian option, I’ve swapped out the ham for sautéed spinach and mushrooms. Adding a sprinkle of feta cheese instead of the usual type gives it a Mediterranean twist I just can’t resist!
Another variation I’ve tried involves adding thinly sliced apples or pears within the layers for a touch of sweetness. The contrast of flavors creates a delightful balance and takes these stacks to a whole new level. It’s a surprising combination that always garners compliments at my table.
If you’re feeling adventurous, consider experimenting with different spices or herbs to infuse the pastry with even more flavor. A dash of smoked paprika or oregano can do wonders! I like to sprinkle some fresh thyme on top before baking, which adds a lovely aroma as they cook.
How to Store, Freeze & Reheat
If you find yourself with leftovers (though I doubt it!), these stacks store well in an airtight container in the fridge for 2-3 days. Just be aware that they might lose some of their crispiness. To revive them, simply pop them in the oven for a few minutes to warm through before serving.
Freezing is a great option if you want to prepare these in advance. I often make a double batch and freeze the unbaked stacks. I simply layer them between parchment paper in an airtight freezer bag and freeze for up to a month. When I’m ready to bake, I take them out, let them thaw in the fridge overnight, and bake them straight from the fridge.
Reheating baked stacks can also be quick and simple. I recommend using the oven or an air fryer instead of a microwave to retain their crispy texture. Just a few minutes at a low temperature will have them tasting fresh out of the oven!
Conclusion
I hope you’re excited to try making these Crispy Ham & Cheese Puff Pastry Stacks in your kitchen. They truly encapsulate comfort food at its finest, combining flaky pastry with delectable savory fillings. With easy steps and the opportunity to customize, I’m sure these will quickly become a go-to recipe for you too. Cooking is all about joy and sharing, and I can’t wait for you to experience the delight of this dish with your loved ones! Happy cooking!