
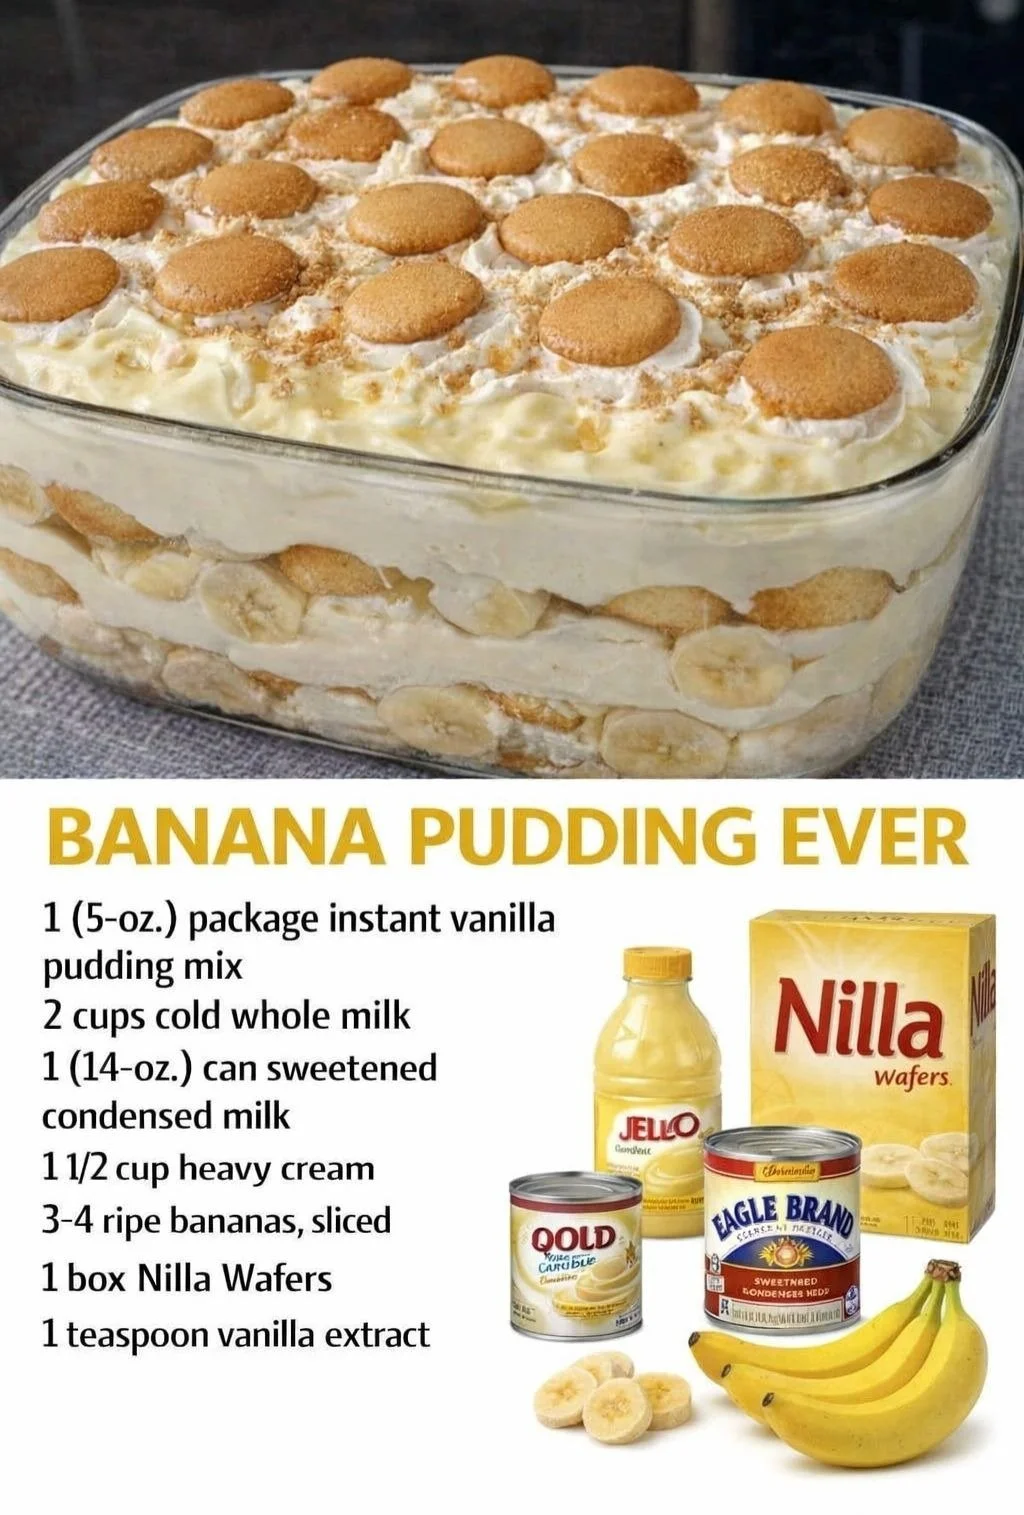
When I think of comforting desserts, creamy vanilla pudding always tops my list. There’s something about its smooth texture and rich essence that evokes warm memories of my childhood. In my kitchen, I’ve spent many happy moments stirring and experimenting with this classic recipe, and today, I want to share it with you. Whether you enjoy it on its own or use it as a base for other desserts, this creamy vanilla pudding dessert is sure to become a favorite in your home too.
Why You’ll Love This Recipe
This creamy vanilla pudding is simple, yet it delivers incredible taste that feels luxurious. It’s perfect for any occasion, whether it’s a cozy family dinner or a festive gathering with friends. What’s more, it’s a versatile recipe that you can customize to your liking! Each spoonful melts in your mouth, bringing joy and nostalgia back to life. Trust me, once you try it, you’ll want to make it again and again. I also love how quick it is to whip together, making it a perfect last-minute treat. (See the ingredients in the next page below…)
Ingredients
– 2 cups whole milk
– 1/2 cup granulated sugar
– 1/4 cup cornstarch
– 1/4 teaspoon salt
– 2 teaspoons pure vanilla extract
– 2 tablespoons unsalted butter
– Optional toppings: whipped cream, fresh berries, or chocolate shavings
Equipment Needed
– Medium saucepan
– Whisk
– Measuring cups and spoons
– Mixing bowl
– Plastic wrap (optional)
– Serving bowls
Step-by-Step Instructions
To start, place the medium saucepan over medium heat. In a bowl, combine the sugar, cornstarch, and salt, whisking until well mixed. Gradually add in the whole milk, whisking continuously to ensure there are no lumps. This step is crucial; the smoother you get your mixture at this point, the creamier your pudding will turn out. Bring this mixture to a gentle simmer, stirring constantly. As it heats, you’ll start to notice the lovely vanilla scent filling your kitchen. (See the next page below to continue steps…)
Once it begins to thicken, continue stirring for about 1-2 minutes until it reaches your desired pudding consistency. Remove the saucepan from the heat and stir in the butter and vanilla extract. Stir until the butter has melted completely, adding an extra luxurious touch to the pudding. At this point, I often find myself sneaking a taste—it’s deliciously sweet and fragrant!
Next, transfer the pudding into a mixing bowl or serving dishes. If you want to avoid a skin forming on the top, you can lay a piece of plastic wrap directly over the surface of the pudding before it cools. This saves the creamy perfection for when you’re ready to serve it. Once it’s cooled down a bit, pop it in the fridge for a couple of hours to fully set up.
When it’s time to serve, you can enjoy this creamy vanilla pudding straight from the bowl or dress it up with whipped cream, berries, or chocolate shavings for an extra special treat. Each creamy spoonful is bound to bring a smile to your face!
Pro Tips for Best Results
I tested this recipe three ways with different types of milk to see what worked best, and I can confidently say that whole milk yields the richest flavor. You might be tempted to use skim or low-fat milk, but trust me—this dessert is all about that creamy decadence!
Another tip: if you find that your pudding isn’t thickening as much as you’d like, it might just need a bit more cooking time. Just keep whisking and watching for that perfect consistency, which should be both creamy and just thick enough to hold its shape.
Lastly, don’t skip on the vanilla extract! The quality of the vanilla makes a huge difference in flavor. I prefer using pure vanilla extract instead of artificial ones—it’s worth every drop for that lovely aromatic finish!
Common Mistakes to Avoid
One mistake I made early on was not whisking enough at the beginning. When you first combine the dry ingredients with the milk, if you don’t whisk it smoothly, you could end up with lumps in your pudding. Believe me, no one wants lumpy pudding, so take your time to whisk thoroughly! (See the next page below to continue…)
Another pitfall is adjusting the heat too high. If you cook your pudding too fast, it can scorch on the bottom, giving it an unpleasant burnt taste. Trust me, keeping the heat at medium and being patient pays off with a lovely, creamy pudding.
Also, remember to stir continuously when it’s cooking! This not only helps avoid lumps but also prevents that dreaded burnt bottom. If you find yourself distracted while cooking, set a timer for the important stirring moments—your pudding will thank you for it!
Using cornstarch can be tricky too; make sure it’s fresh and hasn’t been sitting in your pantry for ages. Old cornstarch can lose its thickening power, and we definitely don’t want a runny pudding.
Serving Suggestions
When it comes to serving, I enjoy layering the pudding with fresh berries in a clear glass dish. The contrast of the vibrant colors and the creamy white pudding can be beautiful and inviting! Plus, the tartness of the berries perfectly balances the sweetness of the pudding.
You can also dress it up with a dollop of whipped cream on top. There’s something about the fluffy texture and coolness that complements the rich pudding beautifully. Sometimes I sprinkle a hint of chocolate shavings or toasted nuts for added crunch.
For special occasions, I like to pair the pudding with a homemade chocolate sauce drizzled over it. It transforms an already delightful dessert into an absolute showstopper!
Variations & Customizations
If you’re feeling adventurous, consider infusing the pudding with flavors like almond or coconut extract for a delicious twist. It’s such a simple modification but can change the entire flavor profile, creating a fun new dessert experience!
For a chocolate version, simply replace a part of the cornstarch with unsweetened cocoa powder. The combination of vanilla and chocolate is always a crowd-pleaser, and I often find friends diving in for seconds when I make this variation!
Or how about adding a pinch of spices? I sometimes toss in a dash of cinnamon or cardamom for a warm twist. The aroma that fills my kitchen when I do this is absolutely heavenly, and it adds an unexpected layer of flavor that can surprise and delight your taste buds.
How to Store, Freeze & Reheat
To store any leftovers, simply cover the pudding with plastic wrap or transfer it into an airtight container, and pop it in the fridge; it will keep for about 3-4 days. I always try to save a few spoonfuls for my late-night snack cravings!
If you want to freeze the pudding, pour it into a freezer-safe container, leaving some space at the top for expansion. It’s best to consume frozen pudding within 1-2 months, but know that the texture might change slightly when thawed.
When it’s time to reheat, just place the pudding back in a saucepan over low heat and stir gently until warmed through. You might want to add a splash of milk to restore its creamy consistency. Just like that, it’s ready to enjoy again!
Conclusion
I hope you feel inspired to try this creamy vanilla pudding dessert in your kitchen! It truly is a simple, delightful treat that brings comfort and joy with every bite. The best part is seeing the smiles it brings to friends and family. So grab your whisk, and let’s get cooking!