
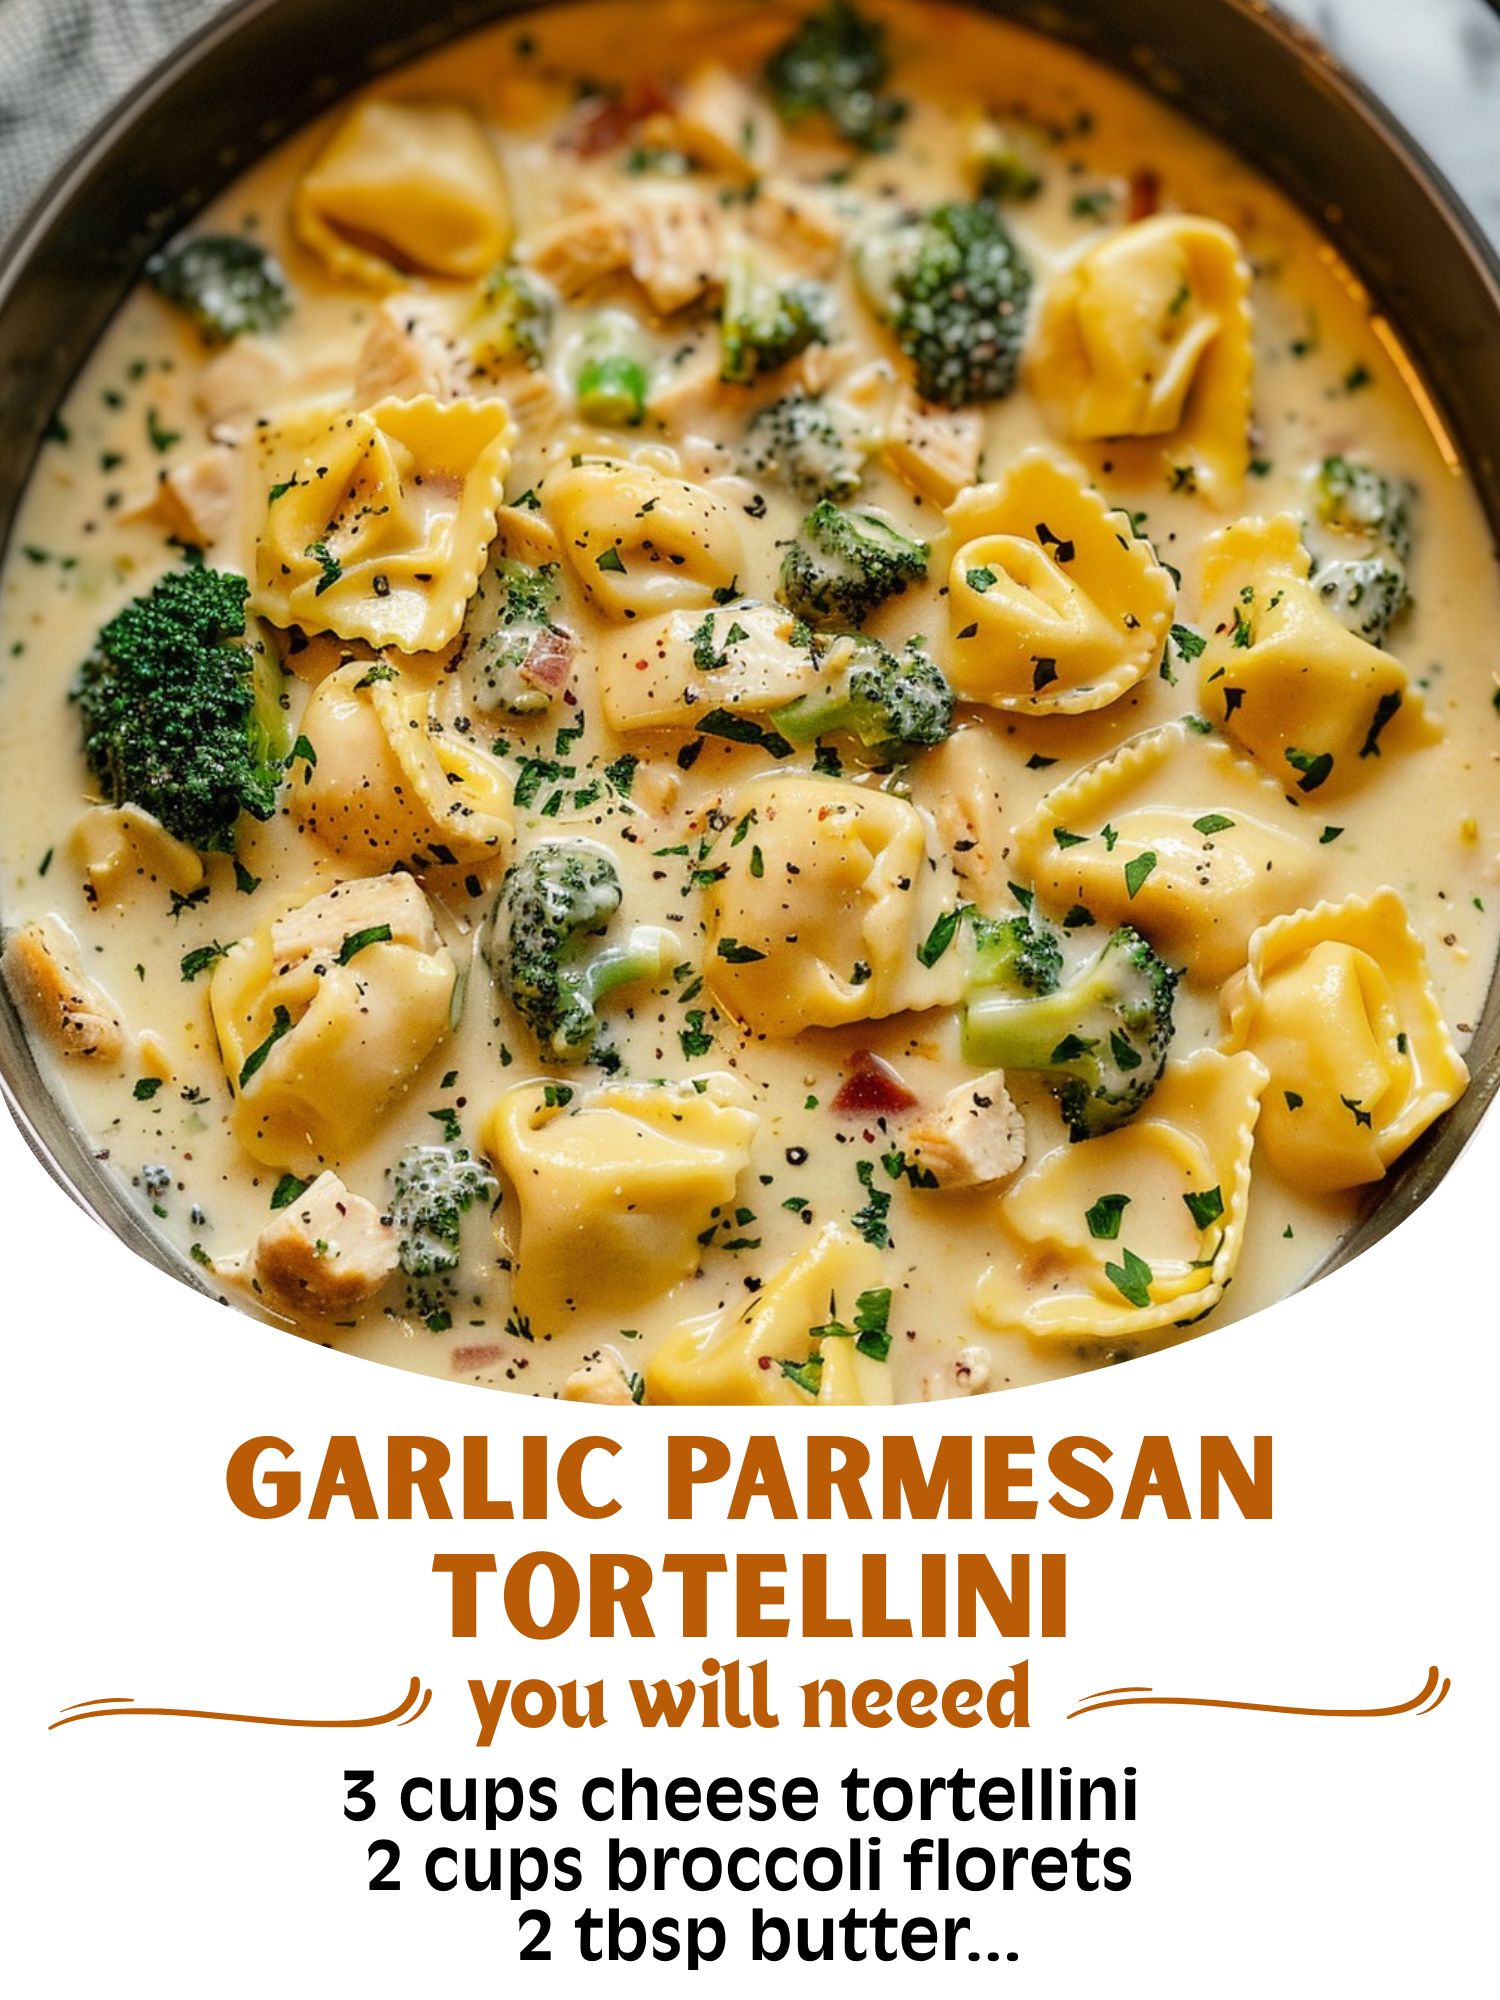
I’ll never forget the first time I whipped up this Creamy Garlic Parmesan Tortellini. It was one of those hectic weeknights where takeout was calling my name, but I craved something homemade. In the time it would have taken for a pizza to arrive, my kitchen was filled with the most incredible aroma—garlic sizzling in butter, the savory scent of seared chicken, and the fresh, green note of broccoli. As the sauce thickened into a velvety, cheese-laden cloak for the plump tortellini, I knew I’d struck gold. This dish is my ultimate weeknight hero: it feels decadent and restaurant-worthy, yet it comes together in one pan with breathtaking speed. It’s the delicious proof that a busy schedule doesn’t mean sacrificing a fantastic, satisfying meal.
Why You’ll Love This Recipe
You will absolutely love this recipe because it’s the perfect trifecta: it’s incredibly fast, uses mostly pantry staples, and tastes like you spent hours in the kitchen. It’s a complete, balanced meal in one dish—protein, veg, and carbs—with a creamy, garlicky sauce that feels indulgent without being heavy. It’s endlessly adaptable, it makes fantastic leftovers, and it’s guaranteed to please both picky kids and hungry adults alike. This is the kind of recipe that you’ll rely on again and again.
Ingredients
- 1 tablespoon olive oil
- 1 pound boneless, skinless chicken breasts or thighs, cut into 1-inch pieces
- Salt and black pepper
- 3 cups fresh or frozen cheese tortellini (about 9-10 oz)
- 2 cups broccoli florets, cut into bite-sized pieces
- 2 tablespoons unsalted butter
- 4-5 large garlic cloves, minced (don’t be shy!)
- 1 1/2 cups chicken broth
- 1 cup heavy cream or half-and-half
- 1 cup freshly grated Parmesan cheese, plus more for serving
- 1/2 teaspoon Italian seasoning
- Optional: Pinch of red pepper flakes, fresh parsley for garnish (See the next page below to continue…)
Equipment Needed
- Large skillet or braiser with high sides (a 12-inch is perfect)
- Tongs or a slotted spoon
- Wooden spoon or spatula
- Box grater (for the Parmesan)
- Measuring cups and spoons
Step-by-Step Instructions
I always start by getting my ingredients prepped—this dish moves quickly, so having everything ready is key. I pat my chicken pieces dry with a paper towel (this is crucial for a good sear!) and season them generously with salt and pepper. In my large skillet, I heat the olive oil over medium-high heat. Once the oil shimmers, I add the chicken in a single layer, resisting the urge to move it around. I let it sear for about 3-4 minutes per side, until it gets a beautiful golden-brown crust. Then, I remove it to a plate with my tongs. It won’t be fully cooked through yet, and that’s perfect—it will finish cooking in the sauce later.
In the same, now-flavorful skillet, I melt the two tablespoons of butter. As soon as it’s foamy, I add the minced garlic. Here’s a tip I learned the hard way: keep the heat at medium. High heat will burn the garlic in seconds, making it bitter. I stir the garlic for just 30-60 seconds until it’s incredibly fragrant—that smell is the soul of this dish. Then, I pour in the chicken broth, using my wooden spoon to scrape up all those delicious browned bits (the fond) from the bottom of the pan. This simple step adds so much depth of flavor.
Now, I bring the broth to a lively simmer. I add the broccoli florets and the fresh tortellini directly to the simmering liquid. If I’m using frozen tortellini, I add it straight from the freezer. I give everything a gentle stir, reduce the heat to medium, and cover the skillet with a lid. I let it cook for about 5 minutes. The steam will cook the tortellini and tenderize the broccoli perfectly. I peek once to give it a stir, and when the tortellini is floating and the broccoli is bright green and tender-crisp, I know we’re on track. (See the next page below to continue…)
For the grand finale, I pour in the heavy cream, sprinkle in the Italian seasoning, and return the seared chicken (and any accumulated juices) back to the skillet. I let it simmer gently, uncovered, for 3-4 minutes, allowing the chicken to cook through and the sauce to reduce slightly. Then, I turn off the heat. This is the most important step: I stir in the freshly grated Parmesan cheese. Adding cheese over heat can cause it to clump or become grainy. Off the heat, it melts smoothly into the most luxurious, creamy sauce that clings to every piece of tortellini, chicken, and broccoli.
Pro Tips for Best Results
Using freshly grated Parmesan cheese is non-negotiable. I tested this with the pre-grated stuff from a bag once, and the sauce was grainy and refused to melt smoothly. The anti-caking agents in pre-shredded cheese interfere with the emulsion. Taking two minutes to grate a block of good Parmigiano-Reggiano or a quality Parmesan makes a monumental difference in texture and flavor. Trust me on this.
The type of cream matters. I’ve made this with heavy cream, half-and-half, and even whole milk. Heavy cream gives you the richest, most decadent sauce that won’t break or separate. Half-and-half works well for a slightly lighter version. I do not recommend using milk alone; it lacks the fat content to create a proper, cohesive cream sauce and can curdle or taste thin.
For the most flavorful chicken, I sometimes marinate it for 30 minutes in a little olive oil, salt, pepper, and garlic powder before cooking. But even when I’m in a rush, the single most important thing is getting a good sear. Don’t crowd the pan, and don’t move the chicken until it releases easily. That golden-brown crust adds a ton of savory flavor to the whole dish.
Common Mistakes to Avoid
My biggest first-time mistake was cooking the tortellini separately. I boiled it according to package directions, then added it to the sauce. Don’t do what I did! It became overcooked, mushy, and the sauce didn’t cling to it properly. Cooking the tortellini directly in the simmering broth with the broccoli allows it to absorb flavor and cook to the perfect al dente texture while thickening the sauce with its starch.(See the next page below to continue…)
Do not add the Parmesan cheese while the skillet is still over active heat. High heat can cause the cheese’s proteins to tighten and seize, creating a stringy, clumpy mess instead of a velvety sauce. Always remove the pan from the heat source first, then stir in the cheese. The residual heat is more than enough to melt it perfectly.
Avoid using jarred, pre-minced garlic. The flavor is muted and often has a preservative taste. Fresh garlic, minced right before using, has a bright, pungent aroma that forms the backbone of this dish. The extra minute it takes to peel and mince a few cloves is worth it for that authentic, powerful garlic flavor.
Finally, don’t overcook the broccoli. It should be tender but still have a slight bite (al dente). If you cook it until it’s army-green and soft, it will become bitter and mushy in the final dish. Five minutes of steaming in the covered skillet is usually the perfect amount of time for crisp-tender florets.
Serving Suggestions
I love serving this dish straight from the skillet, family-style. I give it a final sprinkle of extra Parmesan and a crack of black pepper. Sometimes, I’ll add a light scattering of chopped fresh parsley or basil for a pop of color and freshness. A simple green salad with a lemony vinaigrette on the side is the perfect accompaniment to cut through the richness.
For a heartier meal or to stretch it for a bigger family, I’ll sometimes serve it with a loaf of warm, crusty bread or some garlic breadsticks. There’s always extra sauce in the bottom of the pan that’s just begging to be sopped up. It turns the meal into a truly comforting, carb-loaded feast.
When I’m looking for a lighter pairing, I’ll skip the extra bread and instead serve it with a side of roasted cherry tomatoes or a simple arugula salad. The acidity from the tomatoes or the peppery bite of the arugula balances the creamy, cheesy pasta beautifully without making the meal feel too heavy.
Variations & Customizations
This recipe is a fantastic canvas. For a vegetarian version, I simply omit the chicken. I’ll add an extra cup of broccoli and maybe toss in some sliced mushrooms or sun-dried tomatoes when I sauté the garlic. The vegetable broth can be used in place of chicken broth, and the dish is just as satisfying.
For a different protein, diced Italian sausage or large shrimp work wonderfully. For shrimp, I sear them quickly after the chicken step (they only take 1-2 minutes per side) and add them back at the very end with the Parmesan to avoid overcooking. Smoked sausage, sliced and browned, adds a fantastic, hearty flavor.
If you want to play with the sauce, adding a teaspoon of Dijon mustard or a tablespoon of sun-dried tomato pesto along with the cream can add a lovely depth. For a touch of luxury, I’ll finish the sauce with a tablespoon of cold butter swirled in off the heat, right after the Parmesan, for an extra-glossy finish.
How to Store, Freeze & Reheat
To store leftovers, I let the dish cool completely before transferring it to an airtight container. It will keep in the refrigerator for 3-4 days. The sauce will thicken as it chills, which is normal.
Reheating requires a gentle touch to preserve the sauce’s creaminess. The microwave can cause the sauce to separate. My preferred method is on the stovetop. I add the leftovers to a skillet with a small splash of chicken broth or milk. I warm it over low heat, stirring frequently, until it’s heated through and the sauce has loosened to the right consistency.
I do not recommend freezing this dish. Cream-based sauces with Parmesan cheese tend to separate and become grainy when thawed and reheated. The texture of the tortellini and broccoli also suffers, becoming mushy. This is a recipe best enjoyed fresh or within a few days of making it.
Conclusion
This Creamy Garlic Parmesan Tortellini with Chicken & Broccoli is more than just a quick dinner; it’s a reliable, delicious solution that feels like a treat. It has saved countless of my busy evenings and never fails to deliver comfort and flavor in every single bite. I hope it becomes a cherished, easy favorite in your kitchen, too, bringing warm, satisfying meals to your table with minimal fuss.