
Now, for the magical part. I pour about two-thirds of the cheesecake filling over the warm crust and spread it gently. Then, I carefully drizzle most of the caramel sauce in long lines over the filling. Using a small offset spatula or the tip of a knife, I swirl it through the cheesecake layer just a few times. You want beautiful ribbons, not a muddy blend. I then spoon the remaining cheesecake batter over the top and lightly smooth it. A final, light drizzle of the last bit of caramel goes on top for visual appeal before baking.
The bars bake in a preheated 325°F (160°C) oven for about 35-45 minutes. The goal is for the edges to be set, but the center should still have a slight, gentle jiggle—like Jell-O. It will firm up as it cools. I made the mistake of baking until the center was completely solid once, and the bars were dry and overcooked. I let them cool completely at room temperature, then I refrigerate them for at least 4 hours, but ideally overnight. This chilling step is non-negotiable; it allows the flavors to meld and gives you that perfect, clean slice.
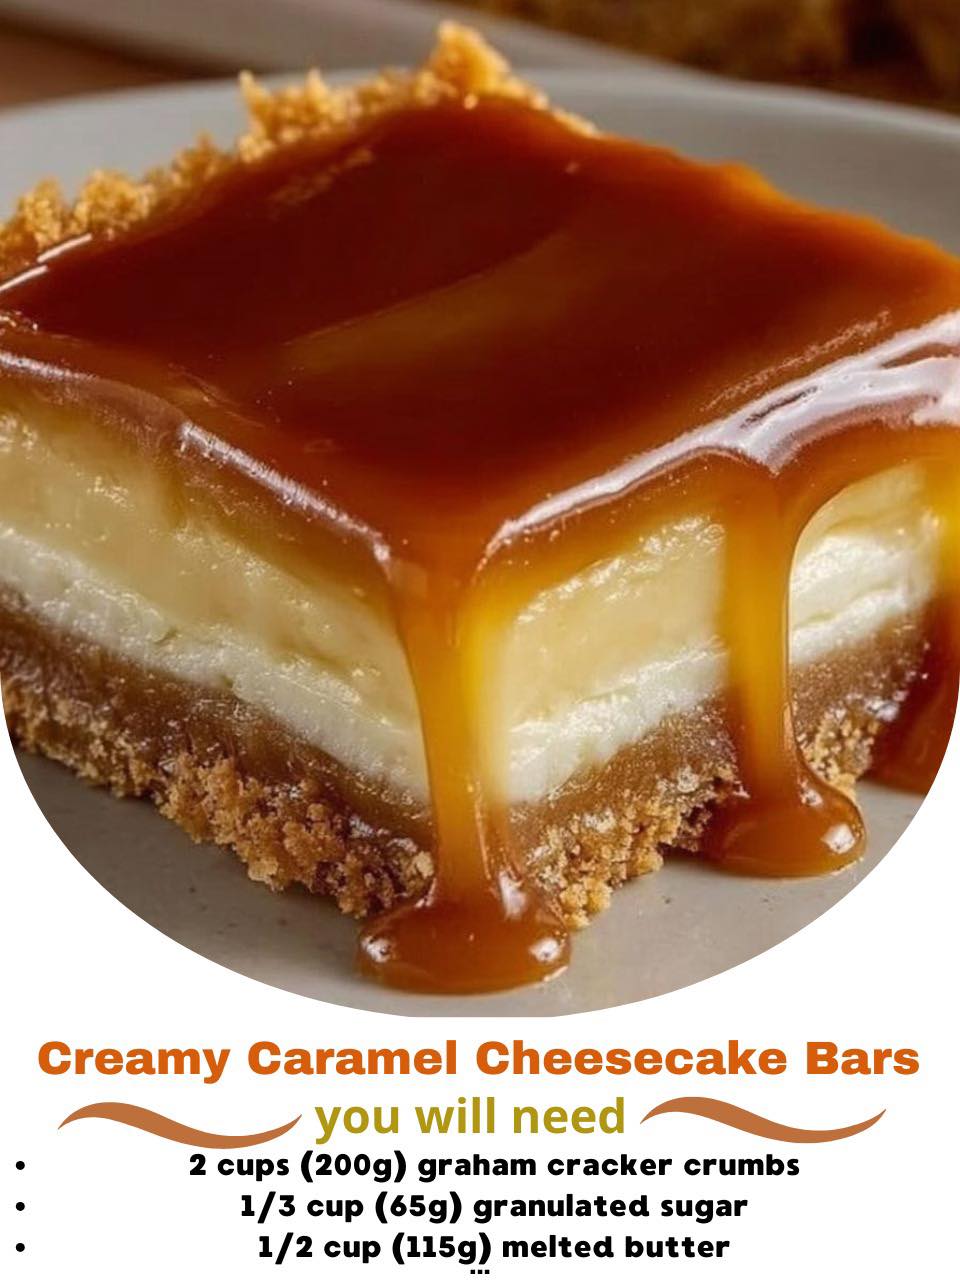
Pro Tips for Best Results
To achieve that bakery-style smooth filling, I always pass my cheesecake batter through a fine-mesh sieve after mixing. It sounds like an extra step, but it catches any tiny lumps of cream cheese that your mixer missed. I tested a batch with and without sieving, and the difference in texture was remarkable. The sieved batch was utterly flawless.
For the cleanest swirls, use a thick caramel sauce and don’t overdo it. I make a simple test: if a spoonful of your caramel holds its shape on the filling for a second before starting to sink, it’s perfect. If it immediately disappears, it’s too thin. A thin sauce will just dissolve into the batter. I warm my caramel slightly to make it more pourable, but never hot.(See the next page below to continue…)