
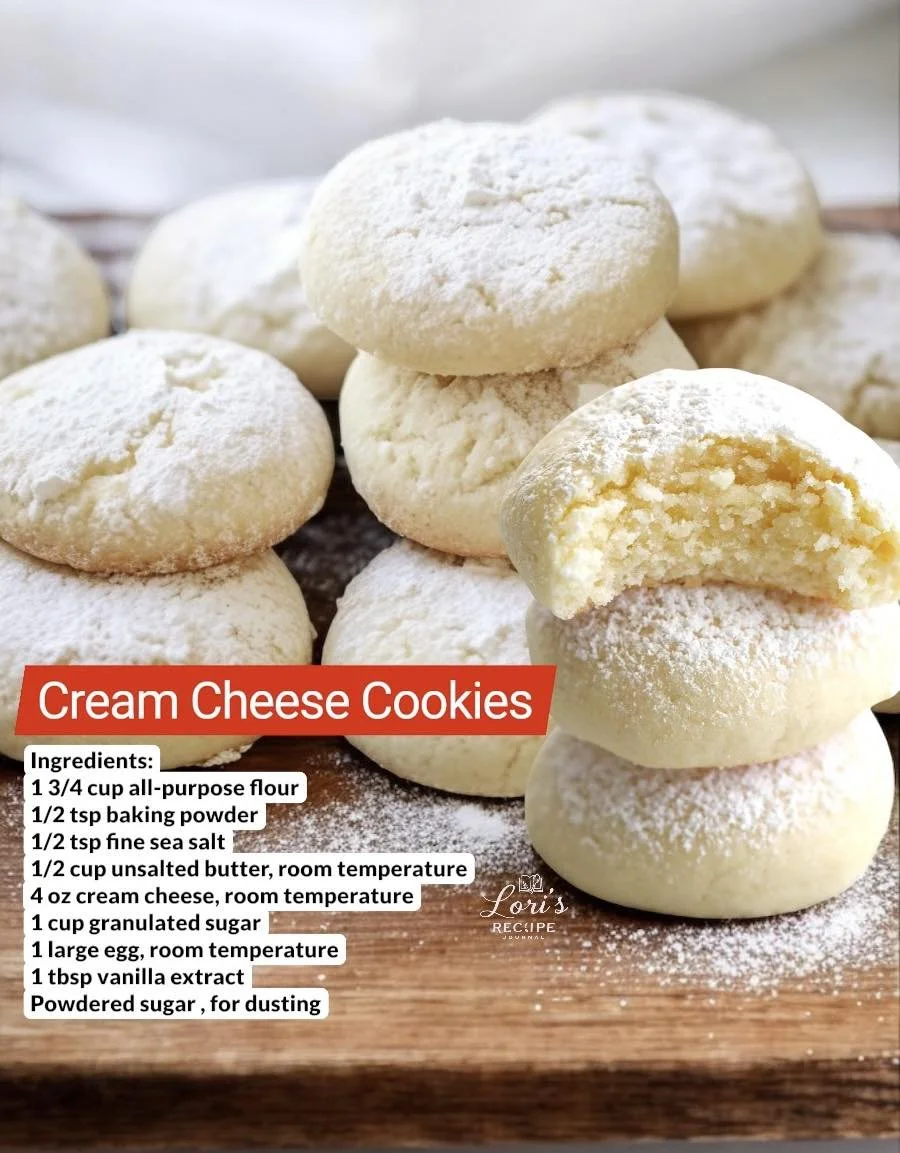
Welcome to my kitchen! Today, I’m excited to share one of my absolute favorite recipes: Cream Cheese Cookies. These cookies are a delightful blend of soft and chewy textures, with a rich cream cheese flavor that makes them stand out from ordinary cookies. I first stumbled upon this recipe years ago, and I’ve loved making them ever since. Whether it’s a cozy family gathering or a spontaneous afternoon treat, these cookies are perfect for any occasion.
Why You’ll Love This Recipe
Not only are these Cream Cheese Cookies easy to whip up, but they also come together with simple ingredients you probably have on hand. The best part? They stay soft and fresh for days, making them perfect for batch baking. You’ll love how the slight tang from the cream cheese complements the sweetness of the sugar, creating a cookie that’s truly irresistible. Plus, with the dough being so versatile, you can easily add in your favorite mix-ins like chocolate chips or nuts. (See the ingredients in the next page below…)
Ingredients
- 1 cup cream cheese, softened
- 1 cup unsalted butter, softened
- 2 cups granulated sugar
- 2 large eggs
- 1 teaspoon vanilla extract
- 4 cups all-purpose flour
- 1 teaspoon baking powder
- 1/2 teaspoon baking soda
- 1/4 teaspoon salt
Equipment Needed
- Large mixing bowl
- Hand mixer or stand mixer
- Rubber spatula
- Cookie sheet
- Parchment paper (optional)
- Measuring cups and spoons
Step-by-Step Instructions
To get started, preheat your oven to 350°F (175°C). In a large mixing bowl, I like to combine the softened cream cheese and butter. Using my hand mixer, I beat them together until the mixture is light and fluffy. The moment the sweet aroma starts to fill the kitchen, I know I’m on the right track! Once that’s done, I gradually add in the sugar and beat until it’s well-combined. This usually takes about 2-3 minutes. (See the next page below to continue steps…)
Next, I crack in the eggs one at a time, mixing until each one is fully incorporated. Then, I add the vanilla extract, which is where the magic happens—it’s such a comforting scent! In a separate bowl, I whisk together the flour, baking powder, baking soda, and salt. Slowly, I incorporate the dry ingredients into my creamy mixture using a rubber spatula, making sure not to overmix. The dough should be thick yet soft, sticking slightly to your fingers.
Now it’s time to scoop! I use a cookie scoop to portion out the dough onto my prepared cookie sheet, ensuring there’s enough space between each mound for spreading. Bake them for about 10-12 minutes, just until the edges are slightly golden. The first time I made these, I couldn’t resist peeking through the oven door—the smell was heavenly! Once done, I allow the cookies to cool on the sheet for a few minutes before transferring them to a wire rack to cool completely.
Pro Tips for Best Results
I tested this recipe three ways to ensure the best results. For a lighter texture, try refrigerating the dough for at least 30 minutes before baking. This not only firms up the dough, making it easier to scoop but also enhances the flavors. You’ll be amazed at the difference it makes!
Also, feel free to experiment with add-ins. I had a batch with chocolate chips that nearly vanished in one sitting! You might also try adding a bit of lemon zest to the dough for a refreshing twist, which I found balances the sweetness beautifully.
Finally, don’t skip the cooling step. Letting the cookies cool on the baking sheet for a few minutes prevents them from breaking apart when you transfer them. I learned this the hard way when I tried to move them too quickly one time—what a crumbly mess that was!
Common Mistakes to Avoid
One common mistake I see is using cold cream cheese. Make sure it’s room temperature before you start; otherwise, it won’t blend well with the butter. I once rushed this step, and my batter was lumpy instead of smooth—it was not a pleasant sight!
Another error is overbaking the cookies. They may not look done when you take them out, but remember they will continue to cook on the baking sheet. I recommend setting a timer and checking them at the 10-minute mark.
It’s also crucial to properly measure your flour. I tend to whisk mine before scooping it to aerate it, which prevents the cookies from becoming too dense. Too much flour can lead to a dry cookie, and we want a soft and chewy texture!
Lastly, don’t crowd the cookie sheet. I used to place too many cookies on one pan, thinking I would save time. But they ended up baking unevenly. Giving them space allows for even baking and proper spreading.
(See the next page below to continue…)
Serving Suggestions
These Cream Cheese Cookies are delightful on their own, but I love to make them the star of a dessert platter. You can pair them with a cup of tea or coffee for a cozy afternoon treat. If you’re hosting a gathering, they make a fantastic addition to any dessert table because they look as good as they taste.
For an extra special touch, I sometimes drizzle melted chocolate or a simple glaze over the top. This adds an elegant flair, perfect for special occasions. You can even sprinkle a bit of sea salt on top, which makes for a delicious sweet and salty contrast.
Finally, if you’re sharing these with young kids, consider making them mini. Smaller versions are not only fun but also great for little hands, and they bake just as beautifully!
Variations & Customizations
There are so many ways to customize these cookies! One of my favorites is to mix in crushed nuts like walnuts or pecans for an added crunch. I also like to fold in dried fruit like cranberries or raisins for a chewy texture and a pop of color.
Another fun idea is to change the frosting—try a fresh orange or lemon buttercream for a citrusy kick. These flavors pair beautifully with the cream cheese base and add an extra layer of flavor that truly impresses.
You can even make them seasonal! For the fall, adding pumpkin spice would be a great way to infuse a warm aroma into your kitchen. Come holiday time, I’ve experimented with peppermint extract, which gives the cookies a festive twist that my friends rave about.
How to Store, Freeze & Reheat
Storing these cookies is easy! I typically keep them in an airtight container at room temperature for about a week. If you’re like me and love to bake in batches, you can also freeze the cookies for up to three months. Just make sure to let them cool completely before putting them in a freezer-safe bag.
If you want to freeze the dough, that works too! You can scoop the cookie dough onto a tray, freeze it until solid, then transfer the dough balls to a ziplock bag. When you’re craving a warm cookie, just take out as many dough balls as you need, and bake directly from frozen—just add a minute to the baking time.
When reheating, I pop the cookies in the microwave for about 10-15 seconds to bring back that fresh-baked softness. It’s a little trick I learned that makes them taste like they just came out of the oven!
Conclusion
I hope you’re as excited to try these Cream Cheese Cookies as I am to share the recipe with you! They’re not just cookies; they’re little bites of happiness that bring warmth to my kitchen and smiles to my loved ones. Happy baking, and may your kitchen always be filled with delicious aromas and joyful moments! Enjoy!