
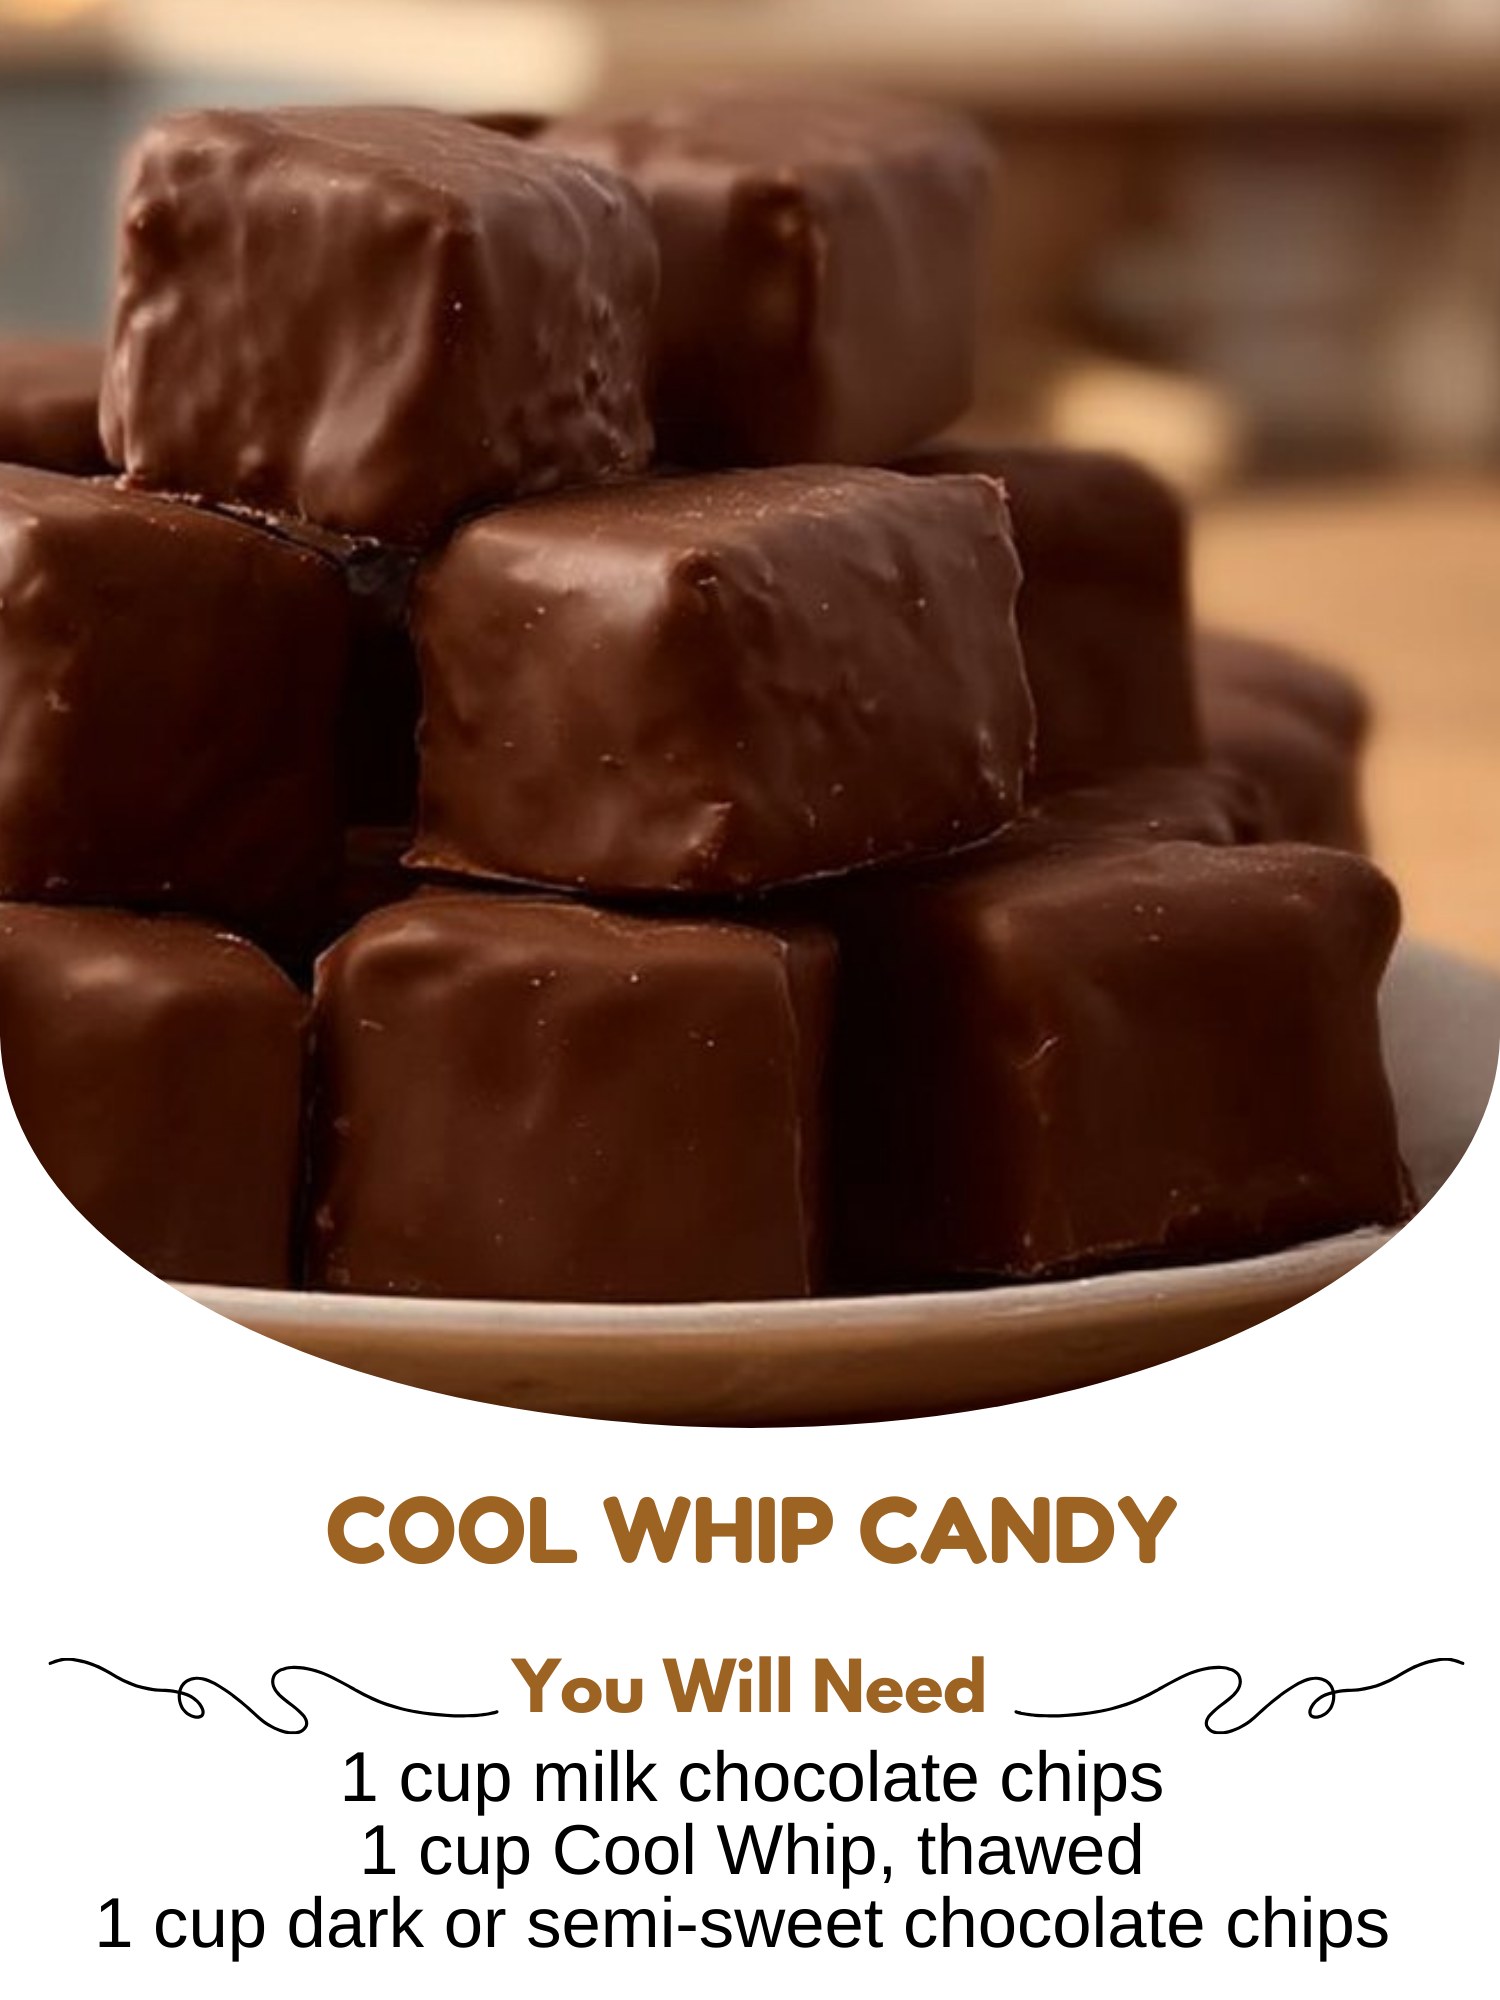
Equipment Needed
- Medium microwave-safe bowl
- Spatula
- Second small microwave-safe bowl (for optional topping)
- Baking sheet or tray
- Parchment paper or a silicone baking mat
- Tablespoon or small cookie scoop
Step-by-Step Instructions
We start by lining a baking sheet or tray with parchment paper. This is crucial for easy removal later. Then, I take my one cup of milk chocolate chips and place them in a medium, microwave-safe bowl. I microwave them in 30-second bursts, stirring vigorously with a spatula after each burst, until they are just completely melted and smooth. This usually takes about 90 seconds total. The key is to stop as soon as they’re liquid; overheating will seize the chocolate. The glossy, melted chocolate is already begging to be turned into something special.
Now, for the magic moment. I measure out one cup of the fully thawed Cool Whip. I gently spoon it into the bowl with the melted milk chocolate. Using my spatula, I start to fold them together. At first, it will look like a streaky mess, but keep folding gently. Within a minute, it transforms into a uniform, silky, and incredibly fluffy chocolate mousse. The mixture will be thick but soft. This is the base of our candy, and tasting a tiny bit off the spatula is practically required—it’s that good.
With my mixture ready, I use a tablespoon or a small cookie scoop to drop rounded mounds onto the prepared parchment-lined tray. I aim for about 1 to 1.5 tablespoons per piece. They won’t spread, so you can place them close together. I then slide the entire tray into the freezer for about 15 minutes. This short chill is not to freeze them solid, but to firm them up just enough to make the next step—dipping—clean and easy. I learned the hard way that skipping this leads to sticky fingers and misshapen candies.(See the next page below to continue…)