
Don’t try to substitute homemade whipped cream or a different whipped topping. I tried it with a stabilized homemade whipped cream once, and it was a soupy failure. The specific stabilizers and composition of Cool Whip (or its generic equivalent) are what react with the melted chocolate to create this unique, stable structure. It’s a chemical magic trick you can’t replicate with fresh cream.
Stirring too vigorously or for too long after the mixture becomes smooth can incorporate too much air and affect the final density. Once the chocolate and Cool Whip have married into a smooth, thick mixture with no streaks, stop stirring and pour it into the pan. Overworking it can sometimes make it grainier as it sets.
Finally, using a pan that’s too large is a common error. An 8×8 inch pan gives you the perfect thickness for a satisfying, bite-sized piece. If you use a 9×13, the candy layer will be very thin, more like a bark, and it will set too hard and be difficult to cut neatly. Stick with the recommended size for the ideal texture.
Serving Suggestions
I love presenting these candies arranged on a beautiful white platter or a vintage cake stand. They look incredibly elegant dusted with a light sifting of cocoa powder, a drizzle of melted white chocolate, or a sprinkle of flaky sea salt just before serving. The contrast in flavors and textures elevates them to gourmet status.
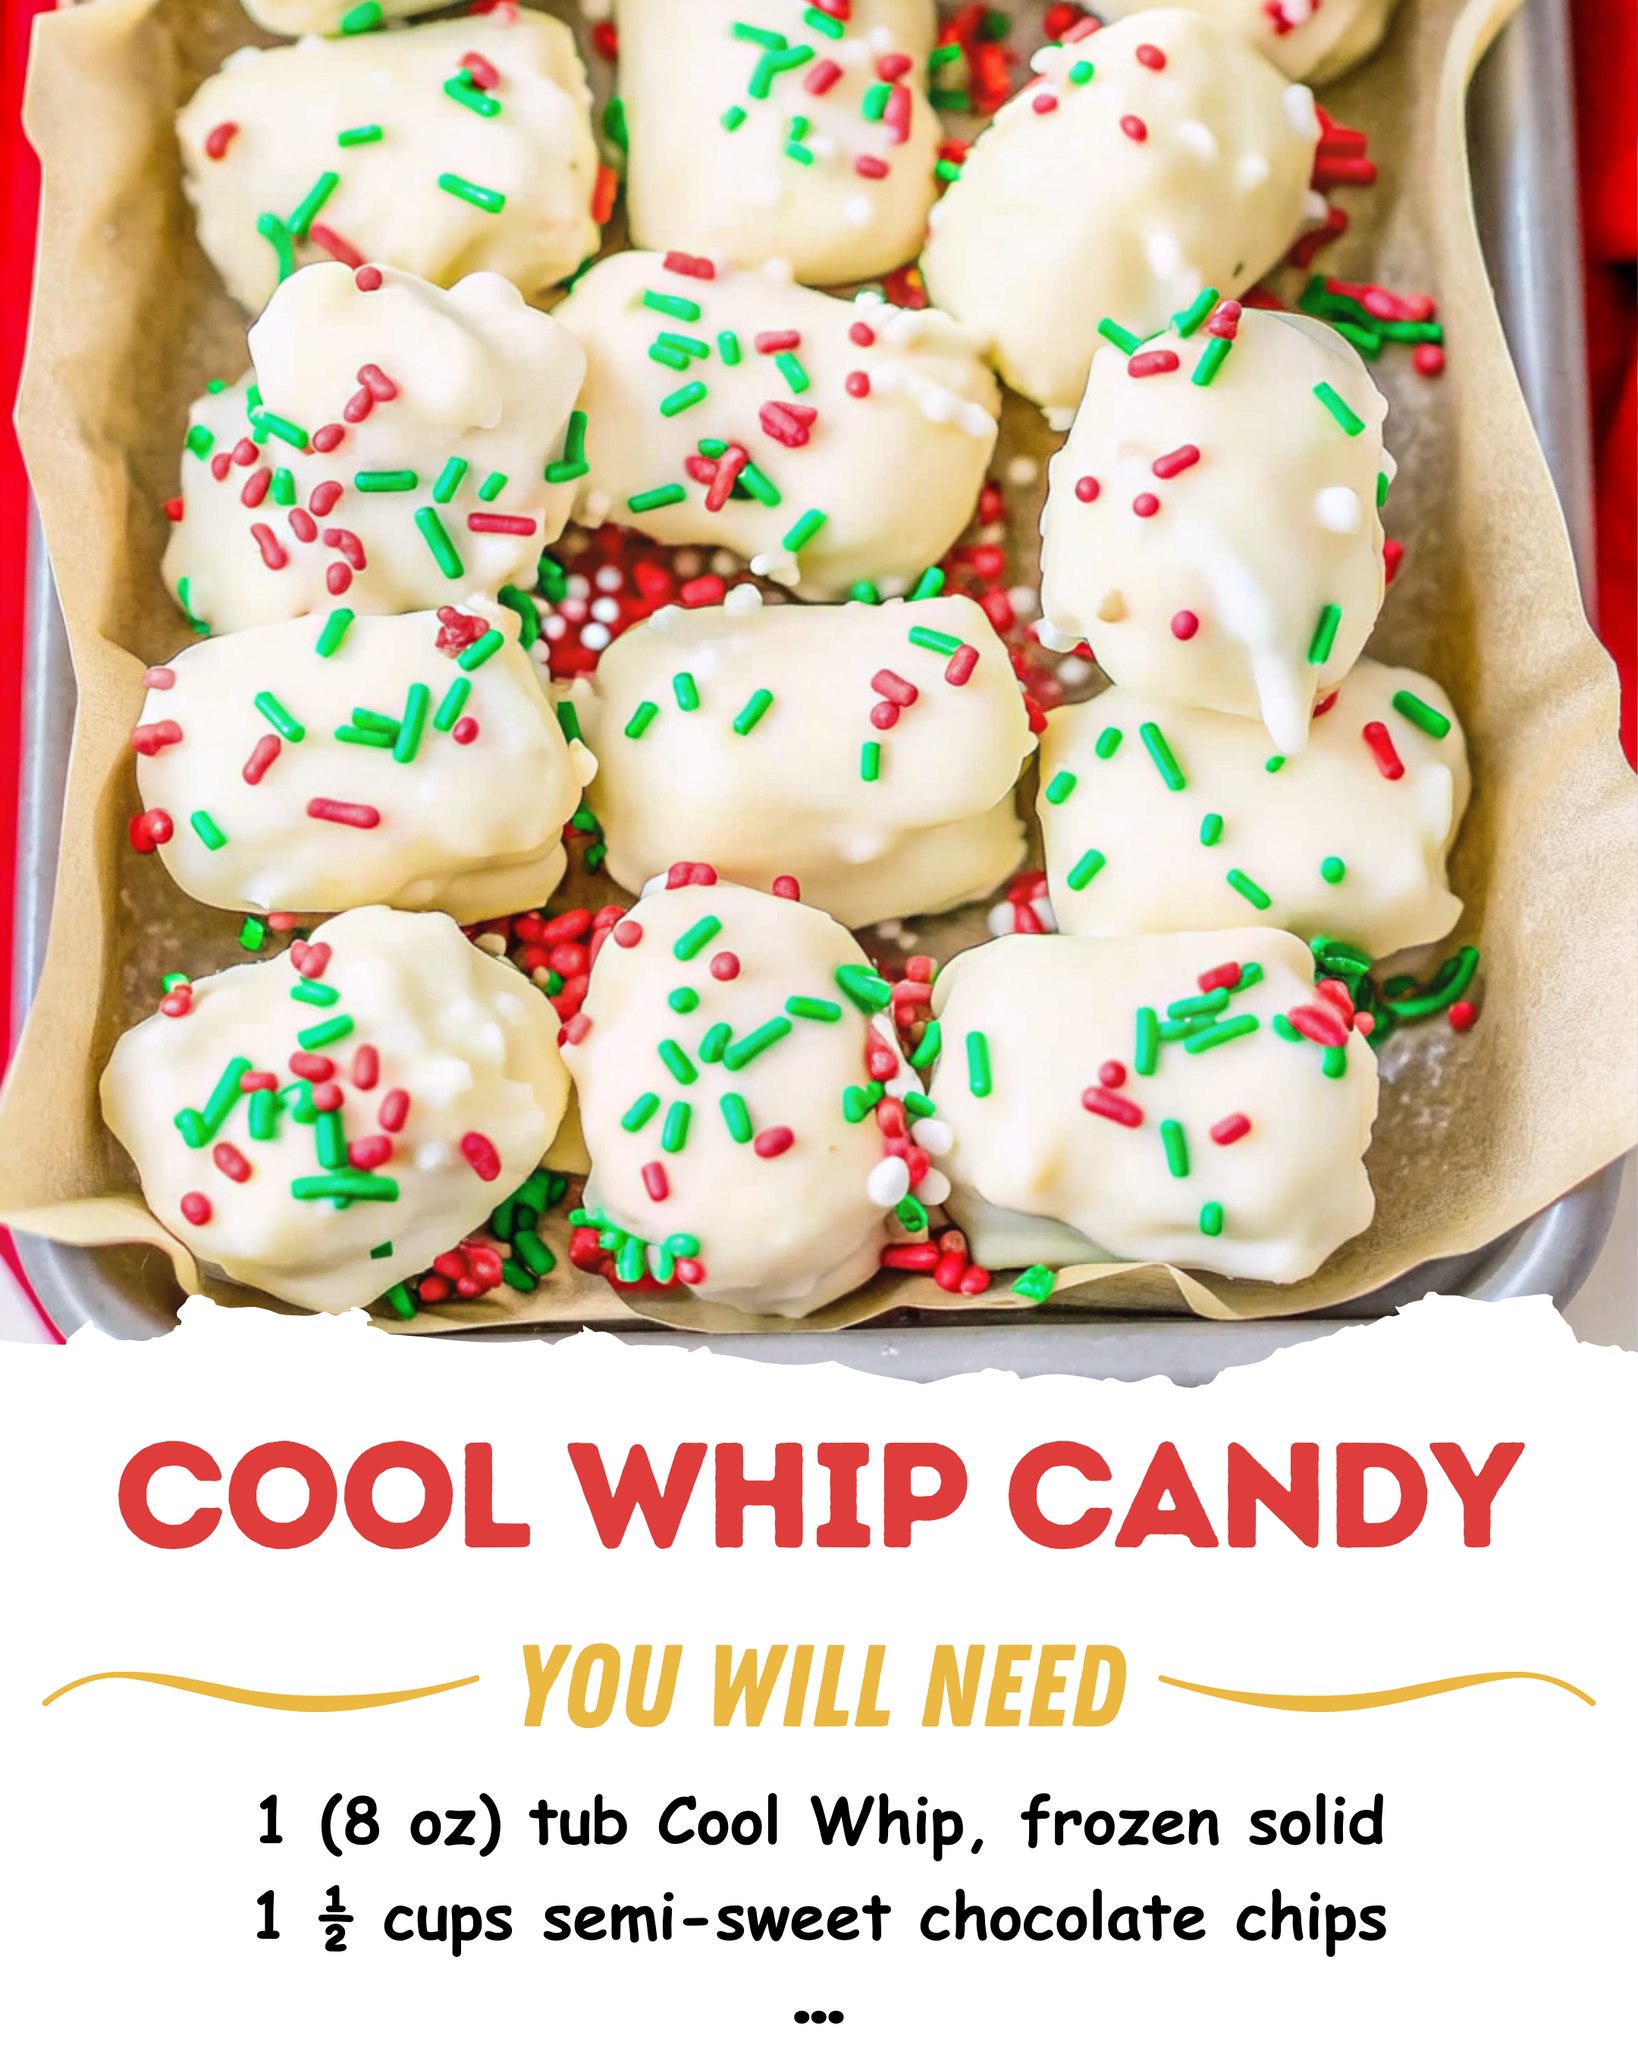
These are my absolute favorite treat to bring to parties or package as gifts. I layer them in mini cupcake liners inside a small gift box or a clear cellophane bag tied with a ribbon. They are always the first dessert to disappear from a potluck table, and people are always stunned when I reveal the two-ingredient secret.
At home, I enjoy one or two squares with a cup of strong black coffee or a glass of red wine. The bitterness of the coffee or the tannins in the wine cut through the richness of the chocolate beautifully, making for a perfectly balanced little moment of indulgence.
Variations & Customizations
This recipe is a fantastic canvas for flavors. After the chocolate mixture is smooth, you can fold in a handful of add-ins. My favorite is a half-cup of finely chopped toasted nuts (like pecans, almonds, or hazelnuts) or a handful of mini chocolate chips for extra texture. You could also stir in a teaspoon of peppermint extract for a holiday mint version, or a tablespoon of instant espresso powder for a mocha twist.
For a swirled effect, you can melt a quarter-cup of white chocolate chips separately. After pouring the dark chocolate mixture into the pan, dollop the white chocolate on top and drag a knife or toothpick through to create marbled patterns. It’s stunning and adds a lovely flavor contrast.
You can also change the shape entirely. Instead of a pan, you can drop tablespoon-sized mounds of the mixture onto a parchment-lined baking sheet to create individual truffle-like drops. Or, for a fun twist, pipe the mixture into silicone chocolate molds to create adorable, shaped chocolates. Just be sure to chill them until fully firm.
How to Store, Freeze & Reheat
Store the cut candies in a single layer in an airtight container in the refrigerator. They will keep their perfect texture for 5-7 days. If you need to stack them, place a sheet of parchment paper between layers to prevent sticking. They must be kept refrigerated due to the dairy-based whipped topping.
You can freeze this candy successfully for up to two months. Place the cut squares in a single layer on a parchment-lined baking sheet to freeze solid, then transfer them to a freezer-safe bag or container. Thaw in the refrigerator for a few hours before serving. The texture remains wonderfully creamy.
I do not recommend reheating this candy at all, as it is meant to be enjoyed cold. Leaving it at room temperature for more than 20-30 minutes will cause it to soften significantly. If it’s too hard straight from the fridge, a 5-minute rest on the counter is perfect. It is a no-bake, no-reheat wonder.
Conclusion
This Cool Whip Candy is the ultimate kitchen magic trick—a humble, two-ingredient wonder that consistently wows and delights. It has saved me countless times when I needed a quick, impressive dessert, and it never fails to bring a smile. I hope you’ll give this simple recipe a try and experience the joy of creating something so luxurious from something so simple. Happy mixing