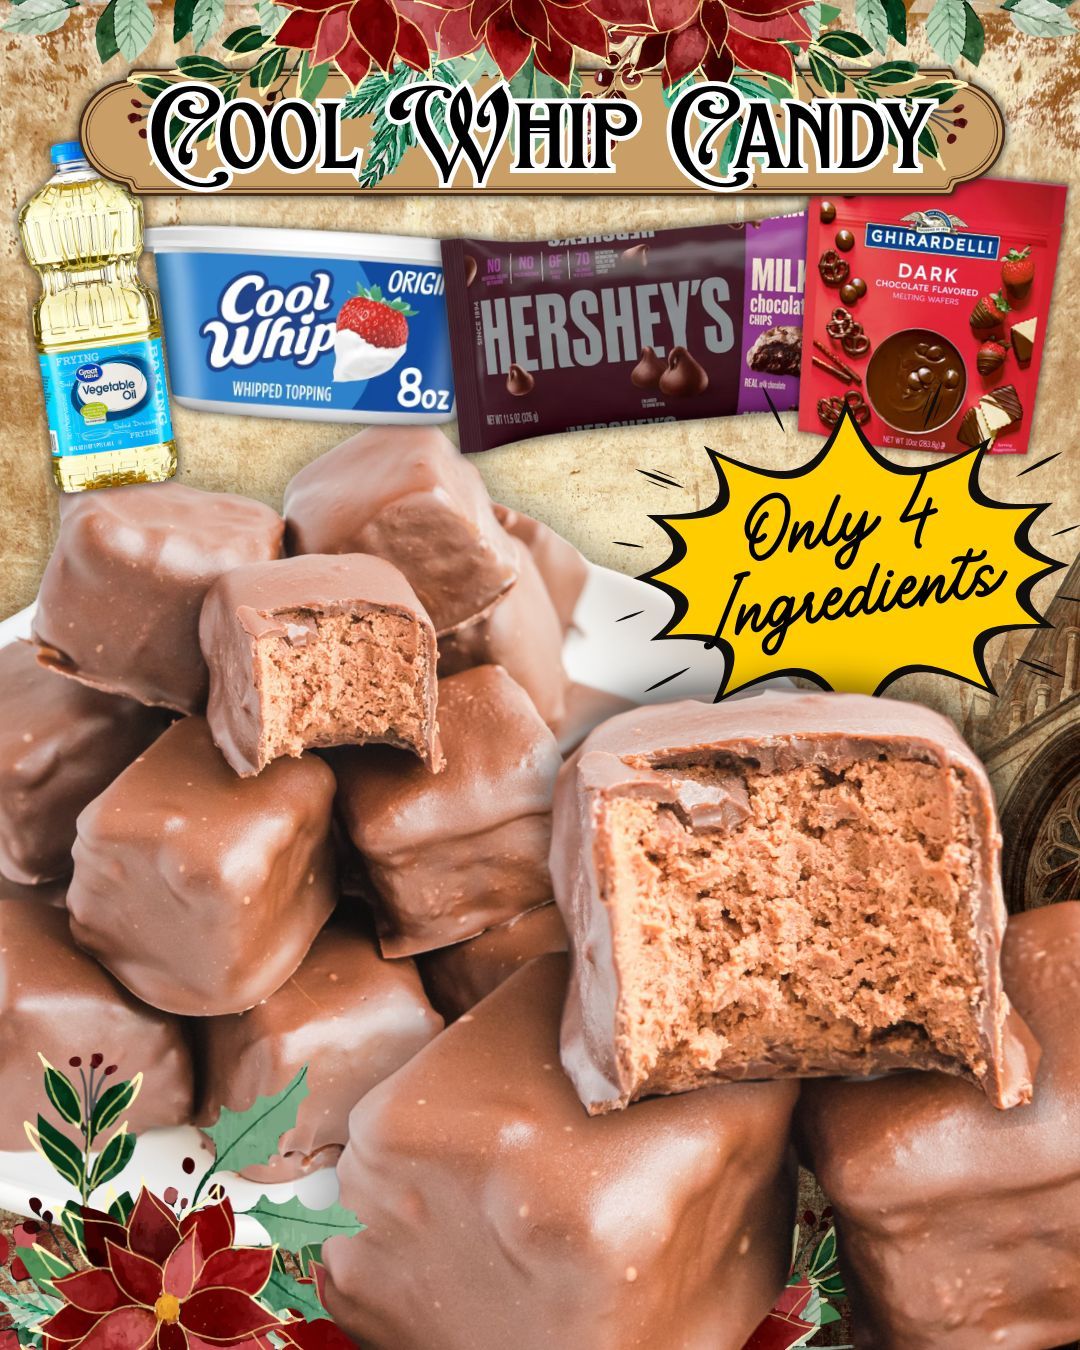
hit counter

COOL WHIP CANDY

Finally, don’t skip the oil in the coating. I tried omitting it once because I thought it wouldn’t matter, but the coating hardened into a dull, brittle shell that cracked unevenly. Just one tablespoon keeps the chocolate silky and beautiful.

Serving Suggestions

I love serving Cool Whip Candy chilled because the inside stays fluffy and cool, almost like a frozen mousse. When I bring these to gatherings, they disappear in minutes because people always expect them to be fudge, then get that airy surprise inside. They’re perfect for dessert platters, especially during holidays when everyone appreciates bite-sized treats.

When I’m hosting a cozy movie night, I’ll set out a bowl of these little squares next to popcorn. The salty-sweet combination is incredible, and people always end up reaching for seconds. Sometimes I’ll even mix a few pieces right into warm popcorn so the chocolate melts slightly over the kernels.

If you like pairing desserts with drinks, these candies go beautifully with coffee. I often enjoy a piece or two with my afternoon cup—the chocolate melts slowly on your tongue while the coffee balances the sweetness. It’s one of my favorite low-effort indulgences.

For gifting, these are wonderful. I’ll package them in little treat bags with a ribbon or tuck them into small tins. Because they look like handmade chocolates, people always assume I spent hours tempering and shaping them, and I secretly love watching their reactions when I tell them it was just four ingredients.

Variations & Customizations

One variation I love is using semi-sweet chocolate inside instead of milk chocolate. It gives the filling a slightly richer, more balanced taste. The texture stays the same—fluffy and cloud-like—but the flavor becomes deeper and a little more grown-up. It’s perfect if you prefer less sweetness.

Another option is rolling the frozen filling into little truffle balls instead of cutting squares. It’s a bit messier during shaping, but the end result looks like luxurious chocolate truffles. Sometimes I dust them with cocoa powder before dipping for a dramatic finish.

I’ve also experimented with flavored chocolate chips inside. Mint chocolate chips give the candy a cool, refreshing twist, while caramel chips create a buttery undertone. Just make sure the chips melt smoothly before mixing them with the Cool Whip.

For a holiday touch, you can add crushed peppermint to the coating or sprinkle a few festive sprinkles on top before the chocolate sets. I’ve even drizzled white chocolate over the tops for a bakery-style look. The possibilities are endless once you know the base recipe.

How to Store, Freeze & Reheat

Cool Whip Candy stores beautifully, which is one reason I keep coming back to it. I keep mine in an airtight container in the fridge, and they stay perfect for about a week. The coating stays firm, and the inside stays wonderfully soft. Every time I open the container, that sweet chocolate smell greets me like a treat in itself.

If you want them to last longer, they freeze incredibly well. I spread the pieces on a baking sheet, freeze them until firm, then store them in a freezer bag. They don’t stick together, and they stay good for up to two months. The filling keeps its fluffy texture even after thawing, which surprised me the first time I tried it.

When I’m ready to enjoy them from the freezer, I let them sit on the counter for about 10–15 minutes. They soften slightly but stay cool and mousse-like. I’ve tried eating them straight from the freezer, and while still tasty, they’re much firmer and lose some of that airy charm.

There’s no reheating needed with this candy—it’s meant to be enjoyed chilled. But if your coating looks slightly dull after long storage, you can gently rub a tiny bit of vegetable oil over the tops with a fingertip to bring back their glossy finish. I only do this for gifting or presentation.

Nutrition Information

Since this is a candy recipe, it’s definitely in the category of sweet indulgences, but I like to remind myself that the pieces are small and satisfying enough that one or two go a long way. The Cool Whip keeps the filling light and airy, so even though it includes chocolate, it doesn’t feel heavy. I enjoy a couple and never feel weighed down.

The fat content mainly comes from the chocolate and Cool Whip, and that’s what gives the candy its luscious texture. I’ve made lower-sugar desserts before, but there’s just something joyful about letting this one be exactly what it is—a simple, decadent treat. It’s all about balance.

If you want to lighten it up slightly, you can use light Cool Whip, but I’ll be honest: the texture becomes a bit icier. It still works, but the creaminess is reduced. I always return to the original version because it tastes the most like classic candy-shop chocolate.

For anyone tracking portions or macros, I find it helpful to cut the candy into smaller squares. The filling is rich enough that even a small bite feels indulgent, and it’s easier to enjoy in moderation when the pieces aren’t oversized.

FAQ Section

Can I use homemade whipped cream instead of Cool Whip?
I’ve tried it, and the texture becomes softer and less stable. Cool Whip holds its shape better when frozen and mixed with chocolate, so I always recommend sticking with it.

Why did my filling turn grainy?
It usually means the chocolate was too hot when you added the Cool Whip. I learned to let the chocolate cool slightly before folding, and it solved the problem completely.

Can I coat these with white chocolate instead?
Absolutely! I’ve done that for parties, and they look gorgeous. Just be sure to use high-quality melting wafers so the coating doesn’t seize.

How long do they take to freeze?
Usually three to four hours for the filling to get firm enough for cutting and dipping. I often make the filling the night before to keep the process relaxed.

Can I make these in advance for an event?
Yes, and they hold up beautifully. I often make them two or three days ahead, store them in the fridge, and they taste just as fresh when served.

Conclusion

Cool Whip Candy has become one of my favorite little kitchen secrets—a simple, four-ingredient treat that feels fancy, nostalgic, and delightfully homemade all at once. Every time I take a bite, that creamy, airy center reminds me why I love experimenting in my kitchen, and I hope this recipe brings you the same sweet joy it’s brought me. Enjoy every chocolatey moment!

Leave a Comment