
Equipment Needed
- Baking sheets (2-3)
- Parchment paper or wax paper
- Microwave-safe bowl or double boiler
- Rubber spatula or spoon
- Forks or dipping tools
- Small bowls for sprinkles
Step-by-Step Instructions
My process always starts with serious prep work. I line two or three baking sheets with parchment paper—this is essential for easy cleanup and prevents the chocolate from sticking. I then pour my various sprinkles into separate small, shallow bowls so they’re ready for the fast-paced decorating to come. I lay out my pretzels in a single layer on one of the sheets, checking for any broken pieces (which I happily snack on). Having everything organized before I melt the chocolate is the key to a smooth, enjoyable process, not a frantic one.
Next, I melt the white chocolate. I place the chips or wafers in a microwave-safe bowl with the teaspoon of coconut oil. I melt them on 50% power in 30-second intervals. After each interval, I take the bowl out and stir vigorously, even if it doesn’t look melted. The residual heat will do the work. I keep going until the chocolate is completely smooth and fluid. This low-and-slow method is crucial; I burned my first batch by using full power, and it became a grainy, lumpy mess. Patience here yields a perfect, dippable coating.
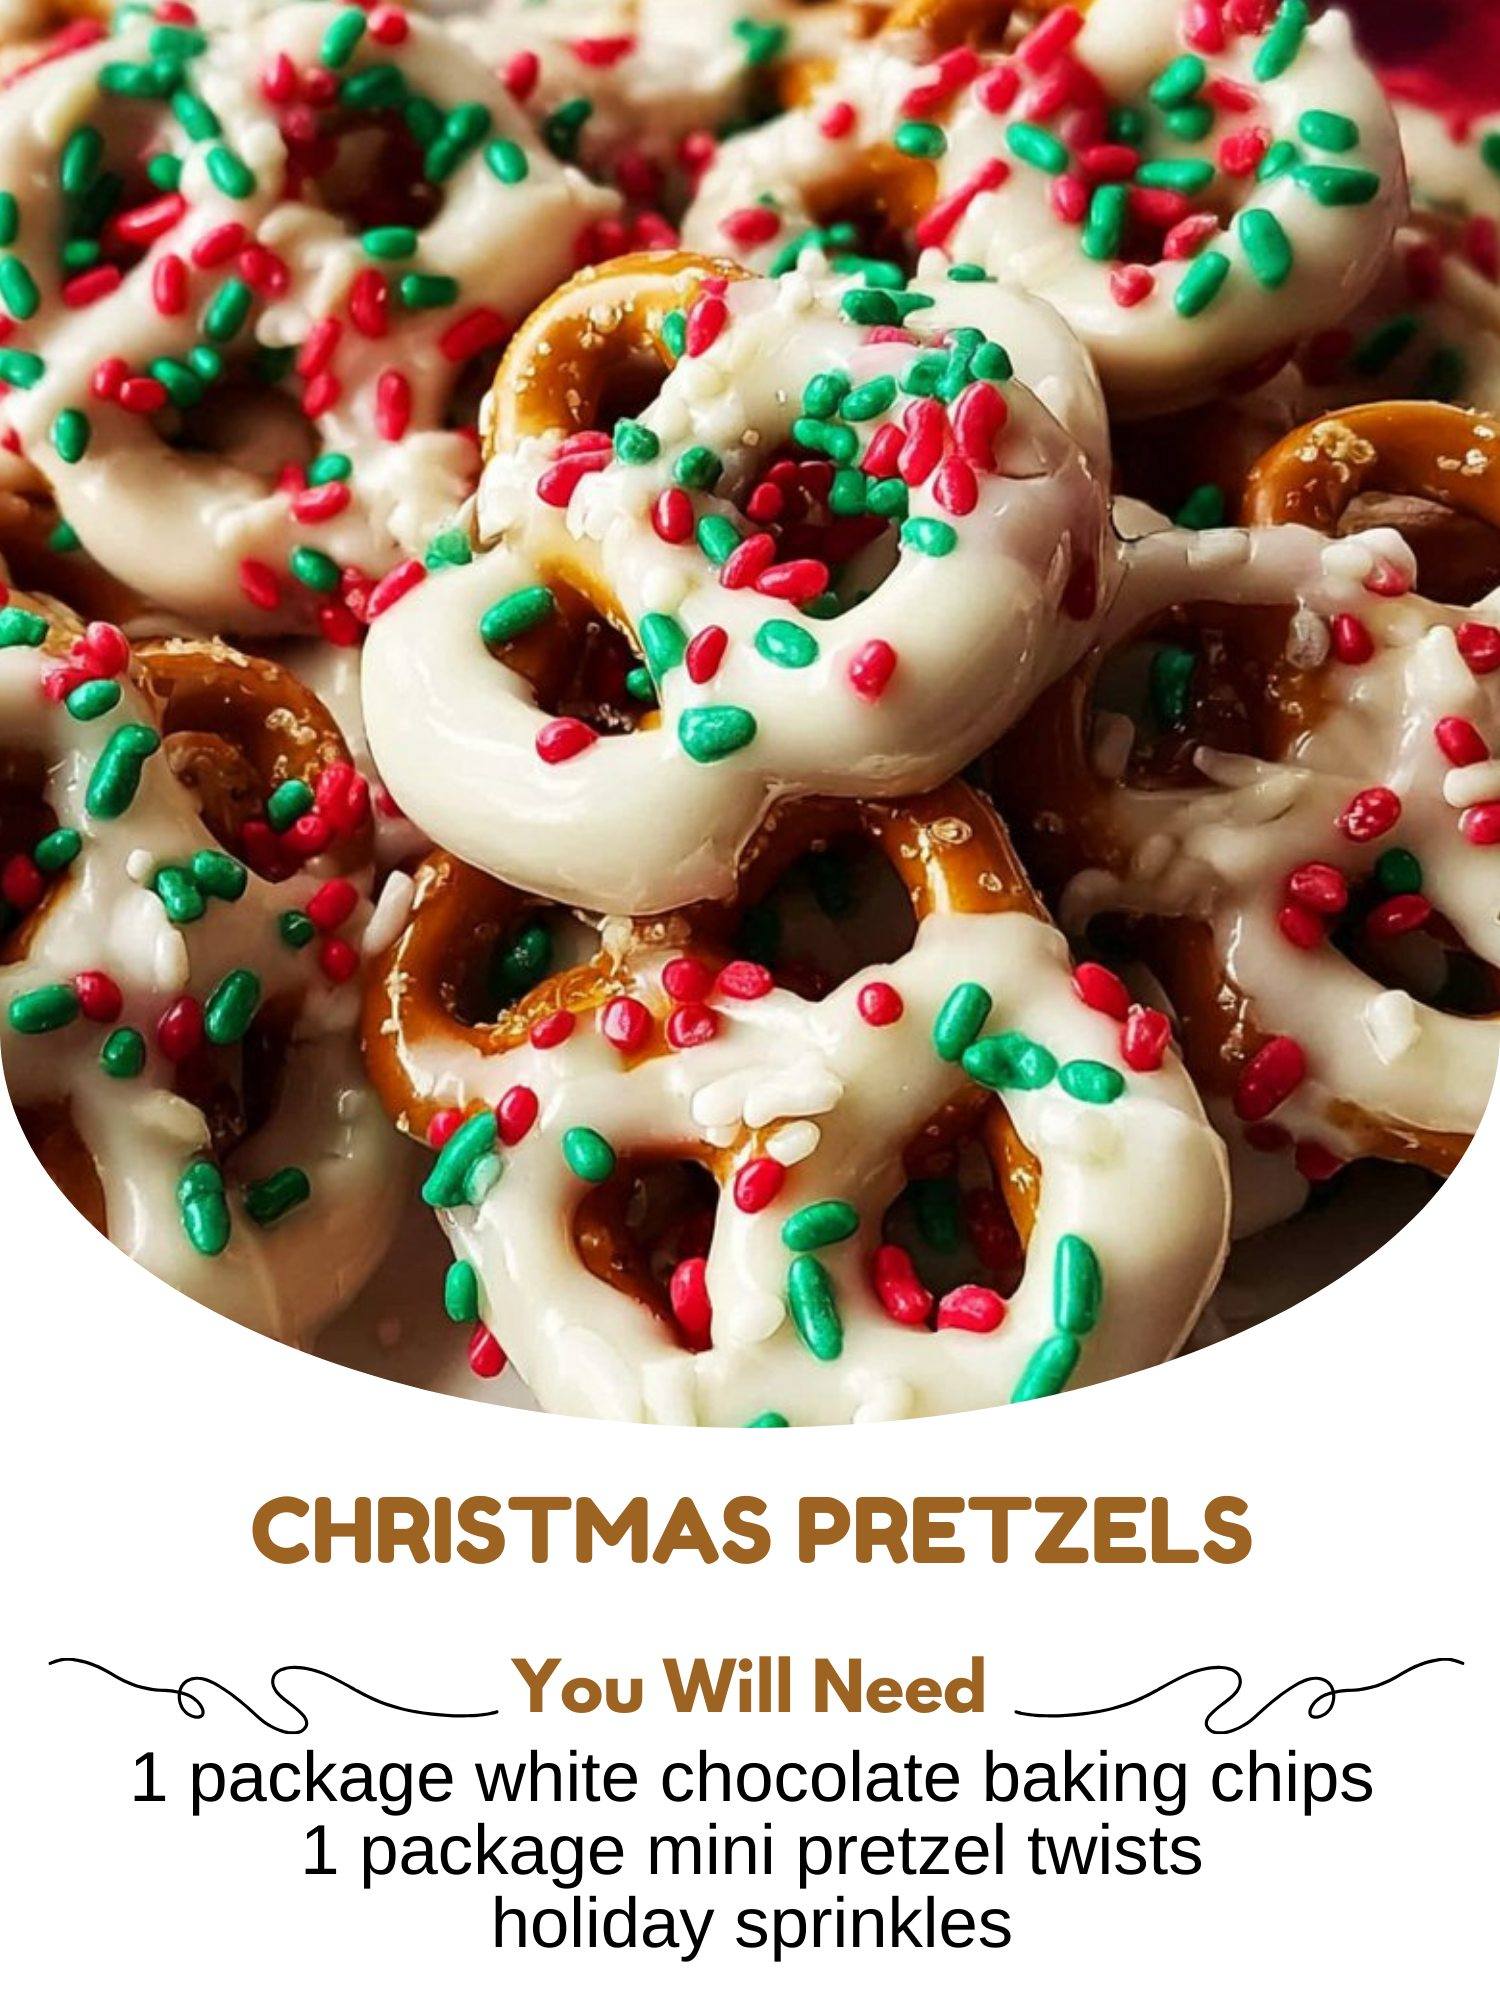
Now for the fun, slightly messy part: the dip and decorate! Working quickly, I take a pretzel and dip it halfway into the melted white chocolate. I let the excess drip off for a second back into the bowl. Then, I lay it on the parchment paper. Immediately—and I mean within 5 seconds—I shower it with sprinkles. The chocolate sets fast, and if you wait, the sprinkles won’t stick. I like to do a few pretzels with just one sprinkle type, and others with a joyful mix. This is the step where kids shine, and it’s okay if it gets messy. The charm is in their handmade look.(See the next page below to continue…)