
Avoid using a thin, cheap pot. A heavy-bottomed saucepan distributes heat evenly and prevents hot spots that can scorch the sugar. I used a thin saucepan once and ended up with a burnt, bitter layer on the bottom that tainted the whole batch. The right equipment is half the battle in candy making.
Do not skip toasting the pecans. Raw pecans have a tannic, sometimes bitter flavor that can overpower the delicate caramel. Toasting them deepens their flavor and adds a necessary crunch that complements the creamy candy. It takes just a few minutes but makes a world of difference.
And finally, don’t try to make pralines on a humid or rainy day. Sugar is hygroscopic and attracts moisture from the air. I attempted this once on a damp day, and my pralines never set properly, remaining sticky and tacky. Choose a clear, dry day for the best, firmest results.
Serving Suggestions
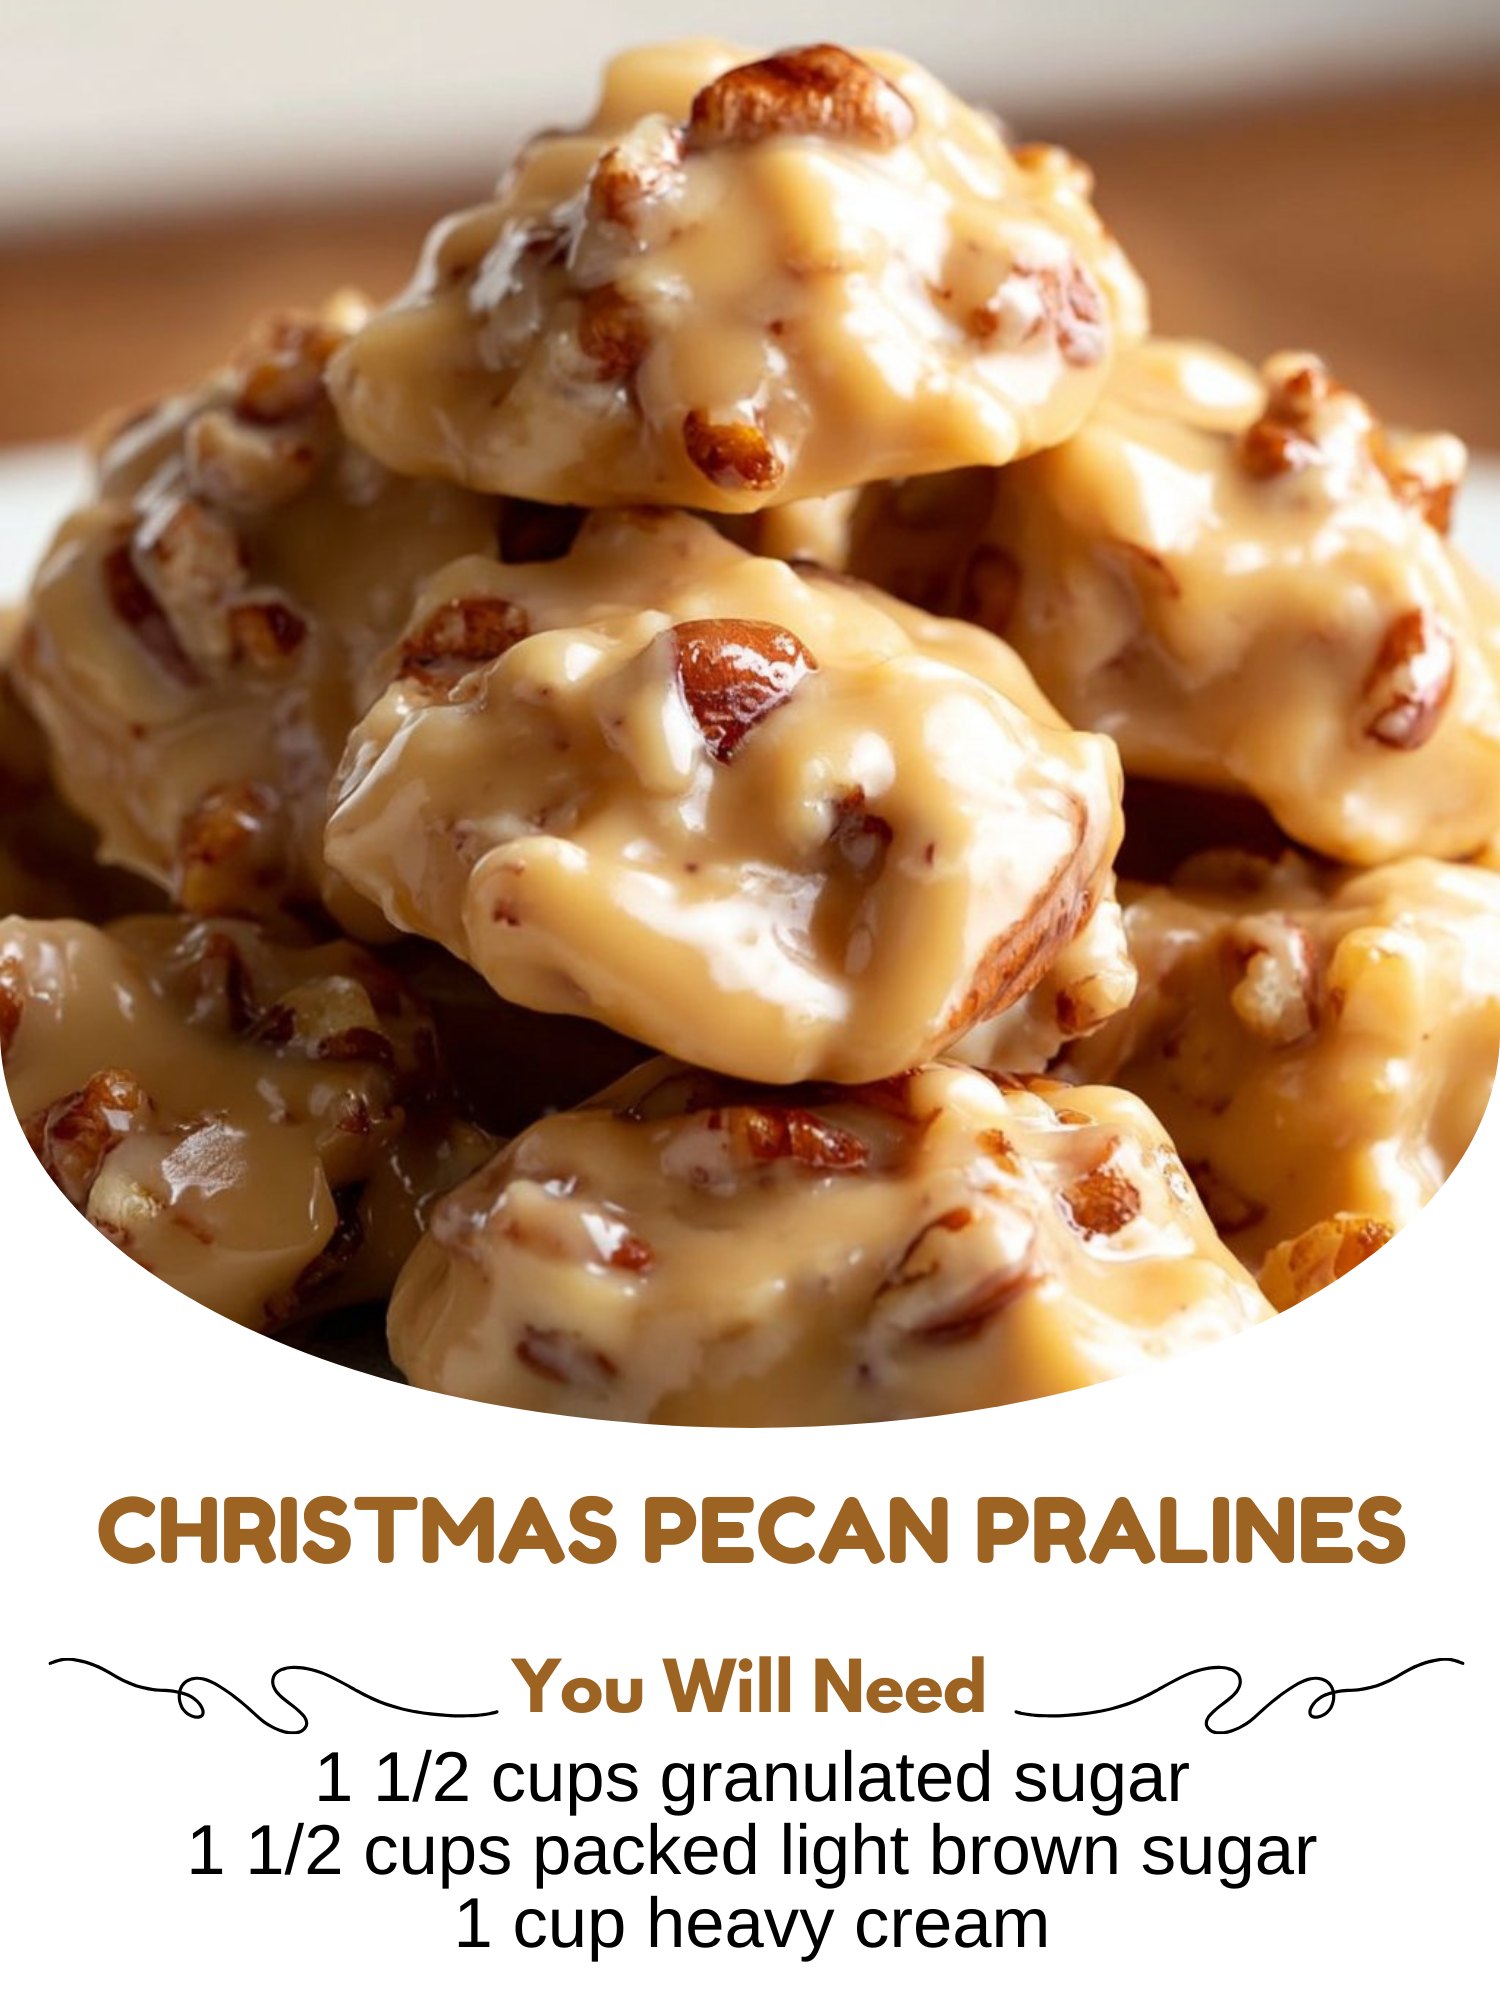
I love presenting pralines stacked in a rustic pyramid on a cake stand or arranged in a beautiful tin. They look like little edible jewels. For a festive touch, I sometimes sprinkle a tiny bit of edible gold dust over them while they’re still slightly soft, or place them in mini parchment paper cups.
They are the perfect ending to a rich holiday meal alongside a cup of strong coffee or a glass of dessert wine. The sweetness of the praline and the bitterness of the coffee create a perfect balance. They also make a wonderful addition to a cheese board, paired with sharp cheddar or creamy blue cheese for a stunning sweet-and-savory contrast.
For gifting, they are unparalleled. I pack them in decorative boxes or clear cellophane bags tied with a ribbon. A small tag with storage instructions is a thoughtful addition. They convey a sense of care and tradition that store-bought gifts simply cannot match.
Variations & Customizations
For a grown-up twist, add a tablespoon of bourbon or dark rum along with the vanilla extract. The alcohol cooks off, leaving behind a wonderful, complex depth of flavor that pairs beautifully with the pecans. You can also add a pinch of cinnamon or nutmeg to the sugar mixture for a warm spice note.
Try using different nuts! While pecans are classic, you can make wonderful pralines with walnuts, almonds, or even macadamia nuts. Just be sure to toast them first. You can also mix in a ½ cup of shredded coconut for a tropical twist.
For a chocolate praline, stir in ½ cup of mini chocolate chips after you’ve added the nuts and the mixture has cooled slightly. The residual heat will melt them into lovely streaks. You can also drizzle the finished, set pralines with melted dark chocolate for an elegant finish.
How to Store, Freeze & Reheat
Store pralines in a single layer in an airtight container at room temperature. Place parchment paper between layers if stacking. They will keep for up to two weeks. Avoid refrigeration, as it can cause them to become sticky and lose their perfect texture.
You can freeze pralines for longer storage. Wrap each one individually in plastic wrap, then place them in a freezer-safe container or bag. They will keep for up to 3 months. Thaw, still wrapped, at room temperature for a few hours to prevent condensation.
There is no need to reheat pralines. They are meant to be enjoyed at room temperature. If they become too sticky, you can place them in a single layer on a baking sheet in a very low oven (200°F) for 5 minutes to dry them out slightly, but this is rarely necessary if stored properly.
Conclusion
Christmas Pecan Pralines are more than just candy; they are little edible pieces of holiday heart, imbued with tradition and sweet patience. They’ve taught me the rewarding rhythm of slow cooking and the joy of sharing something made completely by hand. I hope this recipe brings a touch of that old-fashioned magic and sweetness to your holiday kitchen. Now, go calibrate that thermometer, toast those pecans, and get ready to stir up a batch of creamy, dreamy, holiday happiness.