
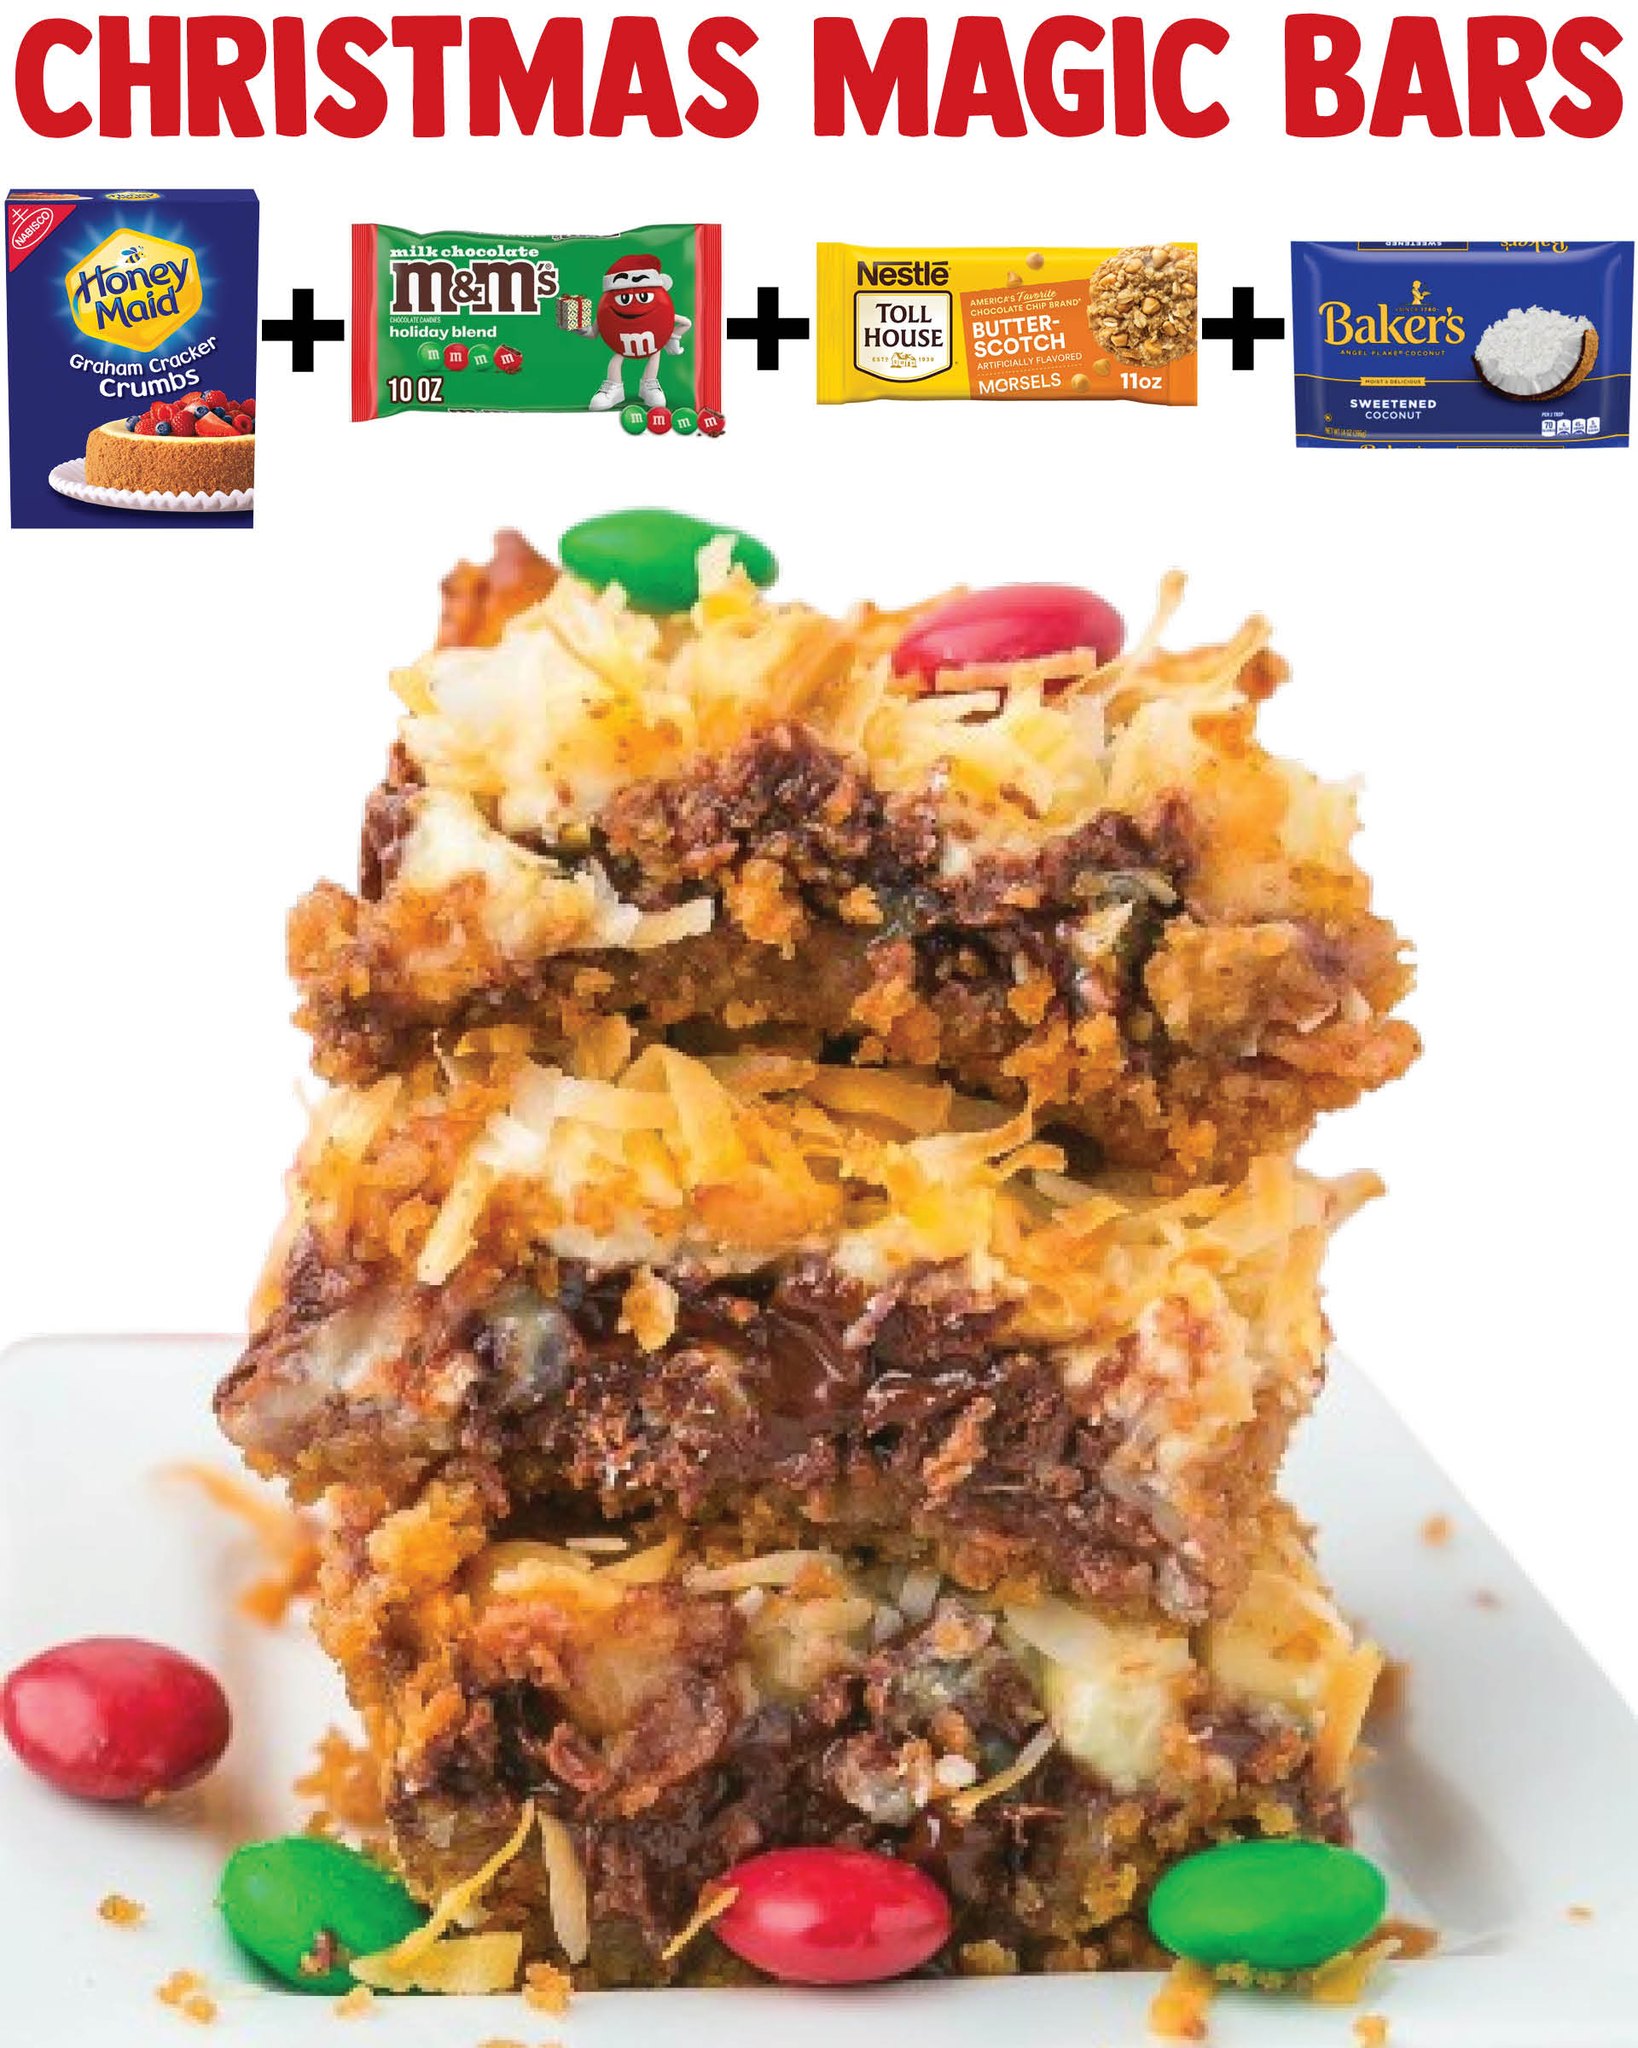
Next, I slowly drizzle the sweetened condensed milk over the crust. I’ve learned not to rush this step because an even drizzle helps the layers stick together as they bake. Watching the thick ribbon of condensed milk spread across the crumbs is one of my favorite parts; it’s like liquid holiday magic pooling into every nook. Then I sprinkle the chocolate chips, butterscotch chips, and M&Ms across the top, making sure to get some color in every corner. Each handful feels like decorating a Christmas tree.
After that, I scatter the shredded coconut generously over the whole pan. The first time I made this, I was nervous the coconut might burn, but trust me—when it toasts lightly in the oven, it becomes one of the best parts. I press the entire mixture down gently with my fingertips to help everything settle before sliding it into the oven. As it bakes, the smell that fills the kitchen is pure Christmas cheer: sweet, buttery, chocolatey, and warm all at once.
When the edges start to turn golden and the center looks set, I pull the pan out and let it cool fully before slicing. This is the hardest part because the bars look irresistible straight out of the oven, but cooling is what lets the layers firm up into clean, beautiful squares. Once cooled, I lift the parchment paper out and slice the bars into neat pieces, each one showing off colorful gems, chocolate swirls, and toasted coconut flakes.
Pro Tips for Best Results
I tested this recipe three different ways—pressing the crust lightly, pressing it firmly, and baking it partially before adding the toppings. The clear winner was pressing the crust firmly and baking everything together. The bars held their shape better, and the bottom stayed crisp instead of crumbly. If you want perfect edges, take an extra minute to tamp down the crust securely.
Here’s what I learned the hard way: don’t skip lining the baking pan with parchment paper. The one time I forgot, I spent way too long trying to pry the bars out with a spatula, and the bottom layer stuck in stubborn chunks. With parchment, the entire slab lifts out effortlessly, and slicing becomes beautifully simple.
Another tip is to let the bars cool completely before cutting. I know how tempting it is to slice into them early—the gooey middle can be irresistible—but warm bars will fall apart. If you chill the pan in the refrigerator for 20–30 minutes, you get the cleanest, most professional-looking cuts. Then you can let them warm back up to room temperature if you prefer a softer texture.
And one more thing: don’t skimp on the toppings. Christmas Magic Bars are meant to be indulgent, colorful, and bursting with flavor. Every bite should feel like a little celebration, so scatter those M&Ms generously and don’t be afraid of a thick layer of chips.
Common Mistakes to Avoid
I made this mistake the first time—don’t reduce the amount of butter in the crust thinking it will make the bars lighter. The butter is what helps the crust bind and hold together; without enough, the bottom layer becomes crumbly and unstable. Use the full amount for the perfect texture.
Another common pitfall is overbaking the bars. If you leave them in the oven too long, the sweetened condensed milk can darken too much and take on a caramel flavor—not bad, but it loses the classic magic bar texture. As soon as the coconut is lightly toasted and the edges look set, take them out.(See the next page below to continue…)