
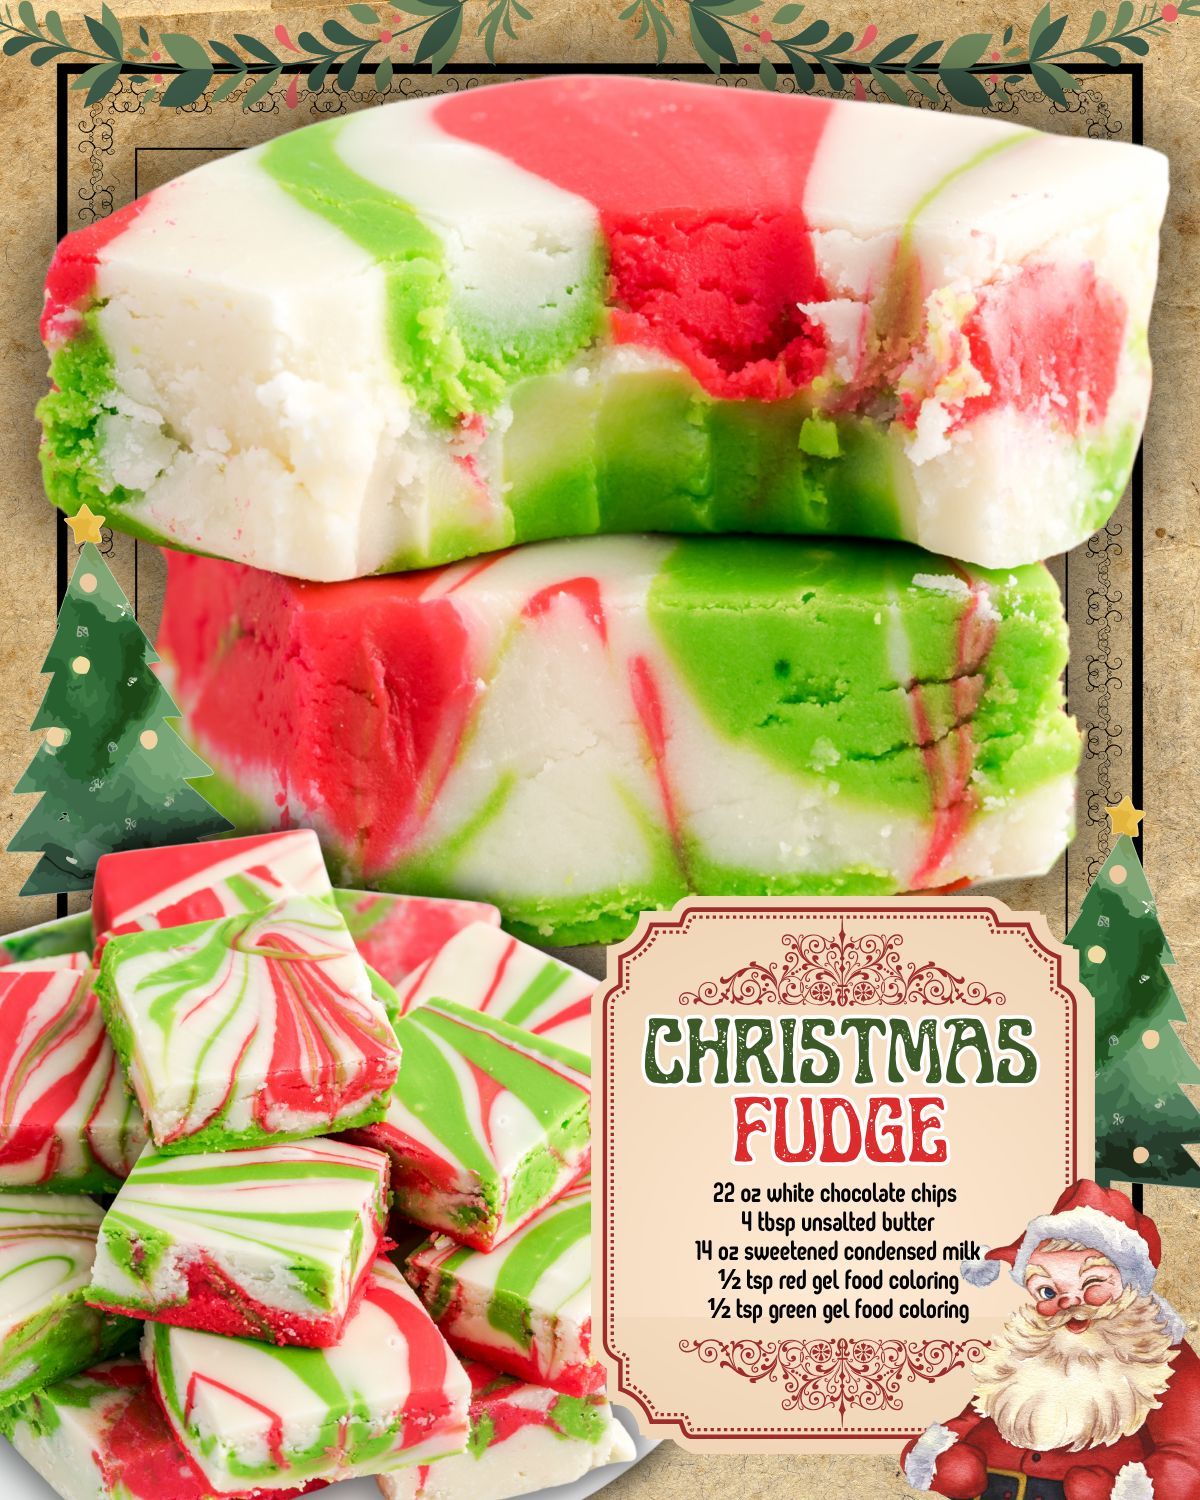
Then I pour the white mixture into the prepared pan, dolloping the red and green fudge in different spots on top. This part makes me feel like an artist every single time. I take a toothpick and gently swirl the colors together—never overmixing because I love the defined ribbons of color. I smooth everything out until it looks like a perfect Christmas marble design.
Pro Tips for Best Results
One thing I learned from trial and error: always keep the heat on low. White chocolate burns faster than regular chocolate, and once it scorches, there is no saving it. Stir constantly but gently—I treat the mixture like it’s delicate, which it is.
Another thing: if your fudge mixture looks too thick while melting, just keep stirring. I used to panic and raise the heat, but patience gives the smoothest texture. Trust the process.
If you want super vibrant red and green swirls, start with just ¼ teaspoon of gel color, then add more drop by drop. Too much color can actually change the texture, and even gel coloring can overpower the creamy flavor if overdone.
Finally—and this one is important—let the fudge cool completely at room temperature before chilling. Immediately refrigerating can cause tiny sugar crystals to form. Cooling naturally makes it set velvety smooth.
Common Mistakes to Avoid
The biggest mistake I made early on was using white chocolate chips with added stabilizers. Some generic brands don’t melt smoothly. Splurging on a good brand makes all the difference.
Another mistake: overheating the mixture. If you see it bubbling, your heat is too high. Bubbling leads to gritty fudge, and I had that happen once when I got distracted.
Don’t use liquid food coloring. It can seize white chocolate instantly and make the mixture thick, oily, and unusable. I learned that lesson fast—gel only.(See the next page below to continue…)