
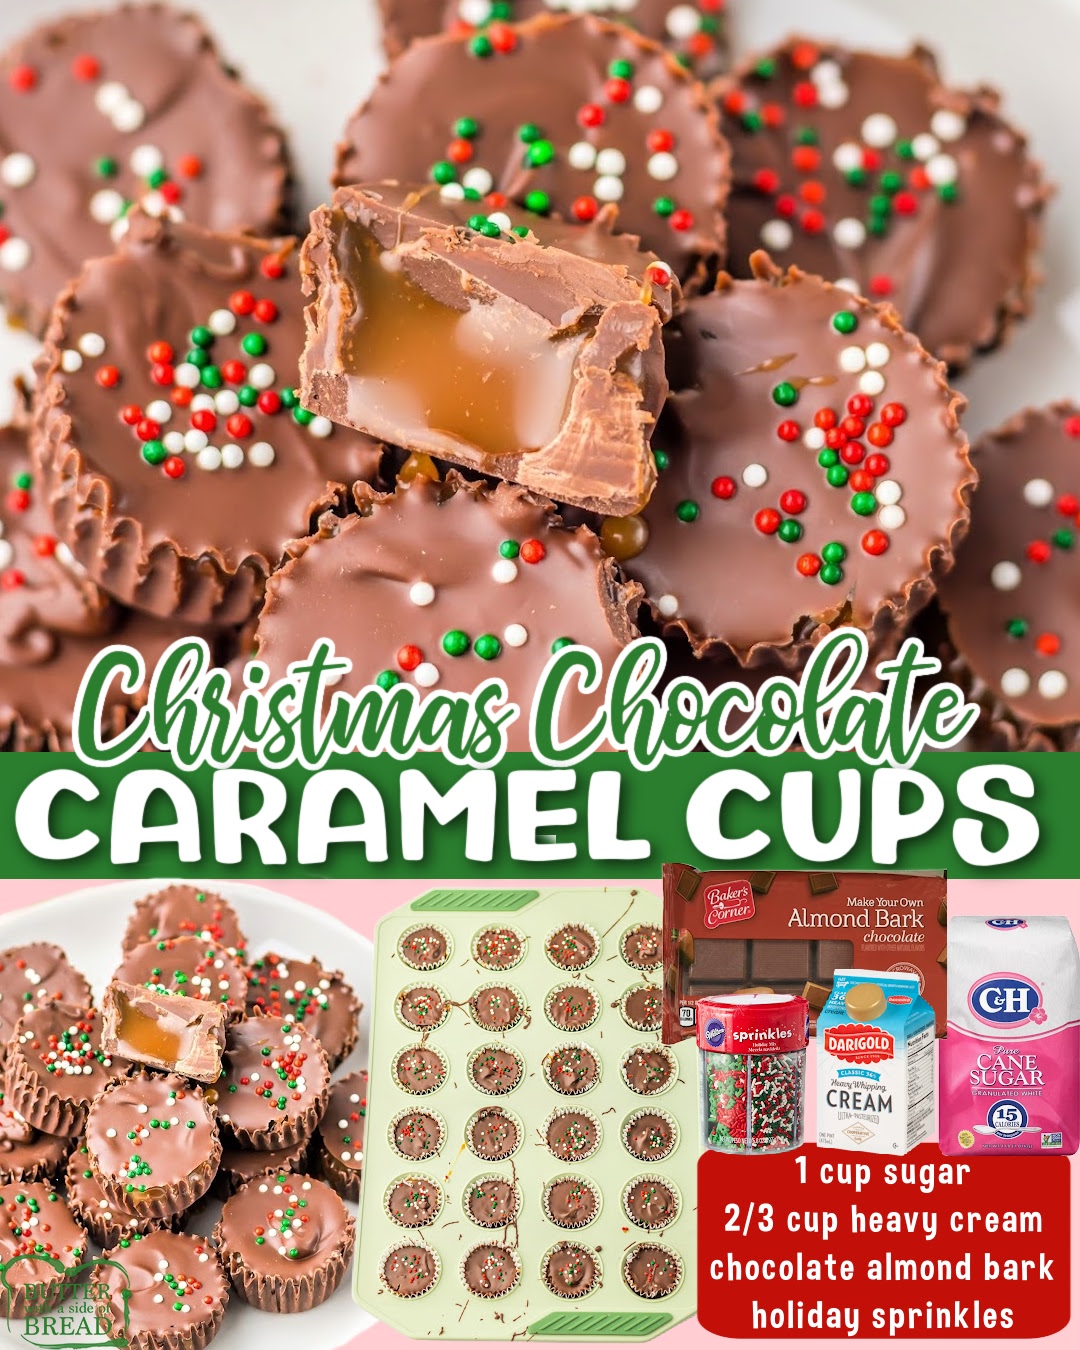
Once the caramel is ready, I spoon a small dollop into each chocolate-lined cup. I’ve learned to work fairly quickly here because caramel firms up as it cools, and you want it to settle into the chocolate evenly. If a cup looks a little too full, I remind myself that a little overflow never hurt anyone—it just creates a thicker caramel center, which no one has ever complained about in my house.
To finish, I melt the remaining almond bark and gently cover each caramel-filled cup with a smooth layer of chocolate. I tap the muffin pan on the counter to release air bubbles—this small step keeps the cups looking polished. While the chocolate is still soft, I sprinkle on the holiday sprinkles, which always gives me that final burst of Christmas joy. After the cups sit and firm up, they’re glossy, festive, and irresistibly tempting.
Pro Tips for Best Results
I tested this recipe three different ways before settling on this method, and every adjustment taught me something valuable. For example, adding the cream too quickly to the melted sugar will cause the caramel to seize, so I learned to pour it in slowly and whisk steadily. When I do this, the caramel stays smooth and blends beautifully. Heating patiently truly pays off with caramel.
Another helpful tip is to handle the chocolate in batches rather than melting it all at once. Chocolate cools fast, and working in smaller amounts ensures you always have a smooth coating ready. If the chocolate thickens, I just return it to the microwave for a quick five-second burst, stirring until it loosens again. Keeping your chocolate silky is key to professional-looking cups.
I also learned to never skip the tapping step once the chocolate is spooned into the liners. The first time I made these, I didn’t tap the pan, and a few cups had hidden air gaps that made the bottoms look uneven when they were removed. Tapping takes seconds and makes everything smooth and uniform. Little moments like that make a big difference in the final product.
Finally, I’ve discovered that letting the cups cool at room temperature before refrigerating them yields the best texture. When I rushed and popped them straight into the fridge, condensation formed on the chocolate, making them slightly tacky. Allowing them to set partially first gives them a gorgeous, glossy finish.
Common Mistakes to Avoid
One of the most common mistakes I made early on was overheating the chocolate. Chocolate that gets too hot thickens or burns, turning gritty instead of smooth. Now I stick to gentle microwaving in short intervals, stirring between each one, and my chocolate consistently melts exactly as it should.
Another mistake is stirring the sugar too early when making the caramel. I used to impatiently stir the sugar before it fully melted, which caused clumping and uneven caramelization. Letting the sugar melt untouched creates a beautiful, even amber color, and only then do I begin whisking. Trusting the process is essential.(See the next page below to continue…)