
To finish, I sprinkle the remaining walnuts over the top. I always press them in slightly with the back of a spoon so they adhere as the fudge sets. After that, I pop the pan in the fridge and leave it to chill for at least 2–3 hours. When it’s firm, I lift it out by the parchment and slice it into perfect squares. Every time I slice into it, the knife glides through like butter.
Pro Tips for Best Results
One tip I swear by is to avoid overheating the chocolate mixture. Even though it’s tempting to melt everything faster, rushing the process almost always leads to overcooked chocolate. Low heat ensures it stays velvety smooth. If you ever see the chocolate starting to look dry or grainy, pull it off the heat immediately and stir—it usually recovers if you catch it early enough.
Another trick I learned: toast the walnuts lightly before adding them. It takes just five minutes in a dry skillet, but the flavor becomes deeper, nuttier, and so much more fragrant. I didn’t realize what a difference this would make until I tried it one day on a whim. The fudge tasted richer and more complex, almost like something you’d buy from a gourmet candy shop.
I also recommend sifting through your walnuts to remove any dusty or powdery bits. Those tiny crumbs can muddy the smooth texture of the fudge, making it slightly gritty. Using clean, crisp walnut pieces ensures the fudge stays luxuriously smooth with clean pops of crunch.
And finally, when spreading the fudge into the pan, don’t overwork it. Too much pressing and smoothing can make the top look dull or streaky. I usually pour it in, nudge it into the corners, and call it good. It sets beautifully on its own without needing much help.
Common Mistakes to Avoid
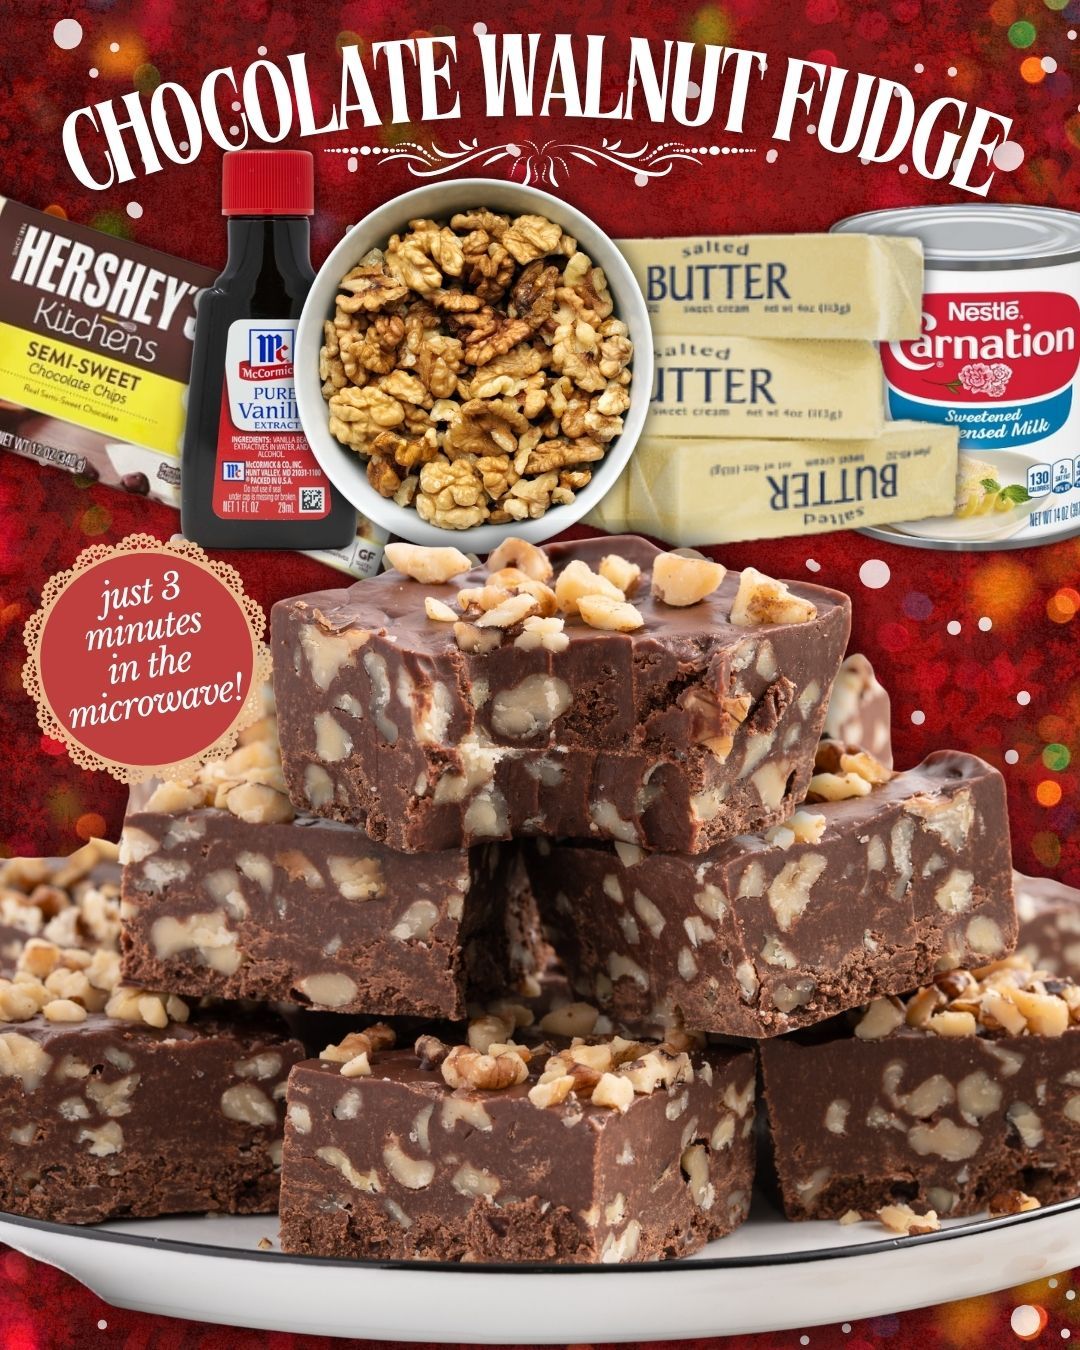
The biggest mistake I made the very first time was using evaporated milk instead of sweetened condensed milk. I thought they were interchangeable—oh, how wrong I was. The fudge never set, and I ended up with a sticky chocolate puddle. Always double-check the can before opening it.
Another mistake is not lining the pan. You might think you can get away with spraying it, but fudge is stubborn. It sticks, tears, and crumbles when you try to pry it out. Parchment paper makes removal effortless and keeps the squares neat and pretty.
Overloading the fudge with walnuts is also surprisingly easy to do. Yes, it’s called Chocolate Walnut Fudge, but more walnuts don’t automatically equal better fudge. Adding too many can make the mixture crumbly and prevent it from slicing cleanly. Stick to the measured amount—it’s perfect for flavor and texture.
And finally, cutting the fudge before it’s fully chilled is a common mistake. Warm fudge doesn’t slice cleanly; it smears and sticks to the knife. I’ve impatiently sliced early before, and it looked more like chocolate bark than neat fudge squares. Give it time. The wait is worth it.
Serving Suggestions
One of my favorite ways to enjoy this fudge is with a warm cup of coffee. There’s something about the bitterness of coffee paired with the sweetness of the fudge that makes the combination irresistible. I’ll often sit with a small square mid-afternoon as a little pick-me-up while I’m working or relaxing.(See the next page below to continue…)